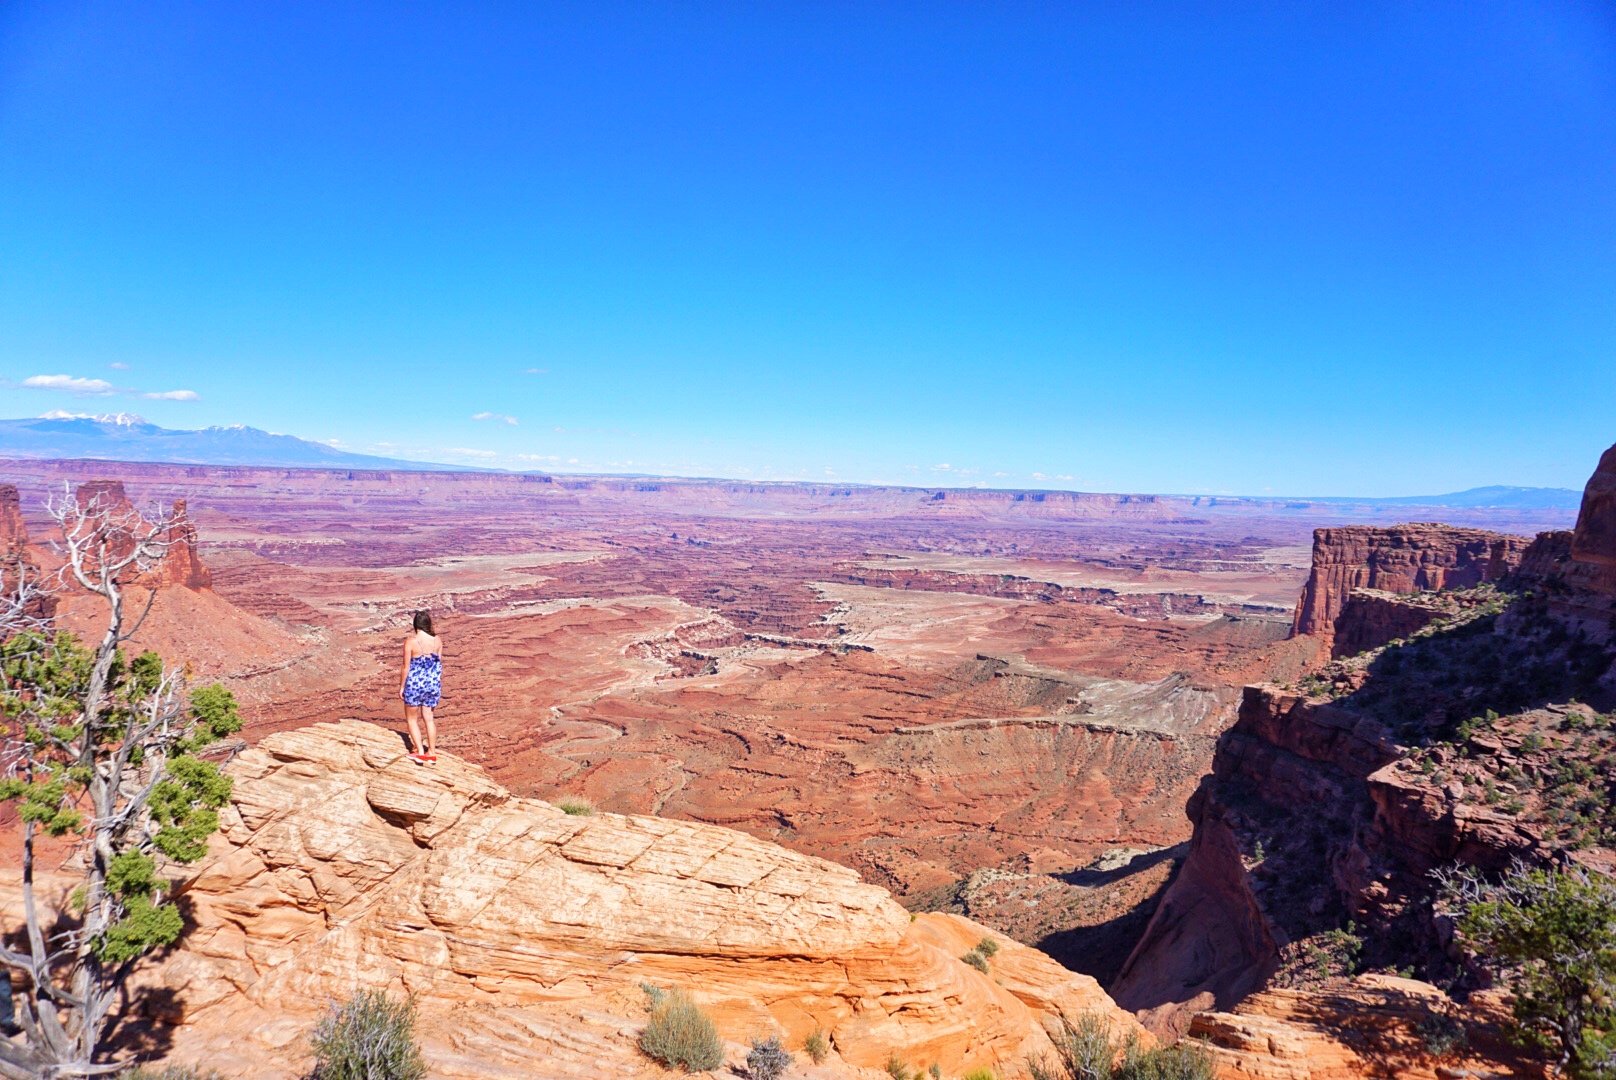
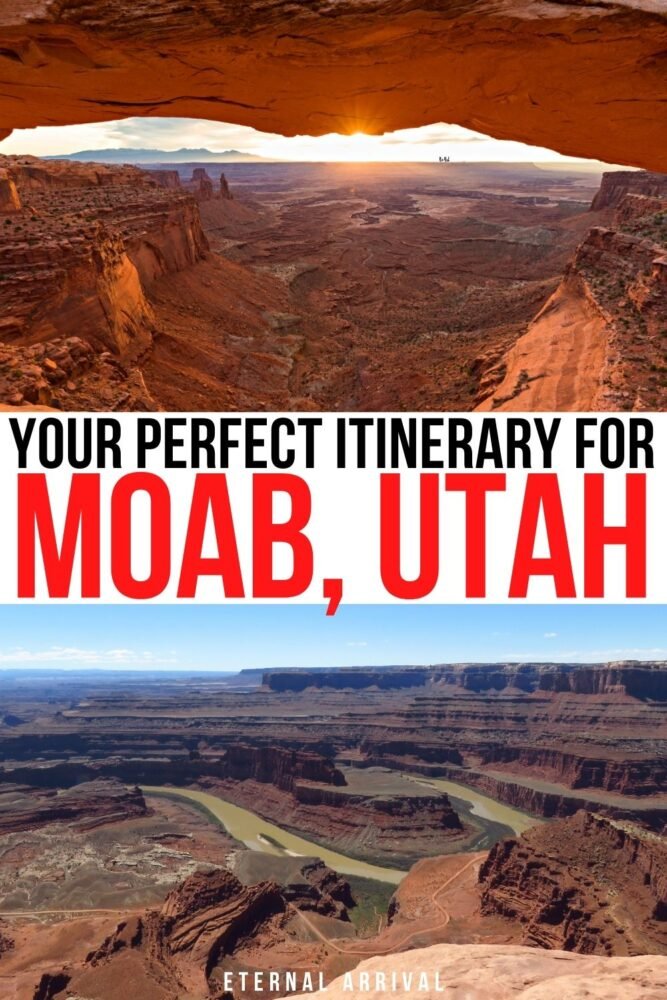
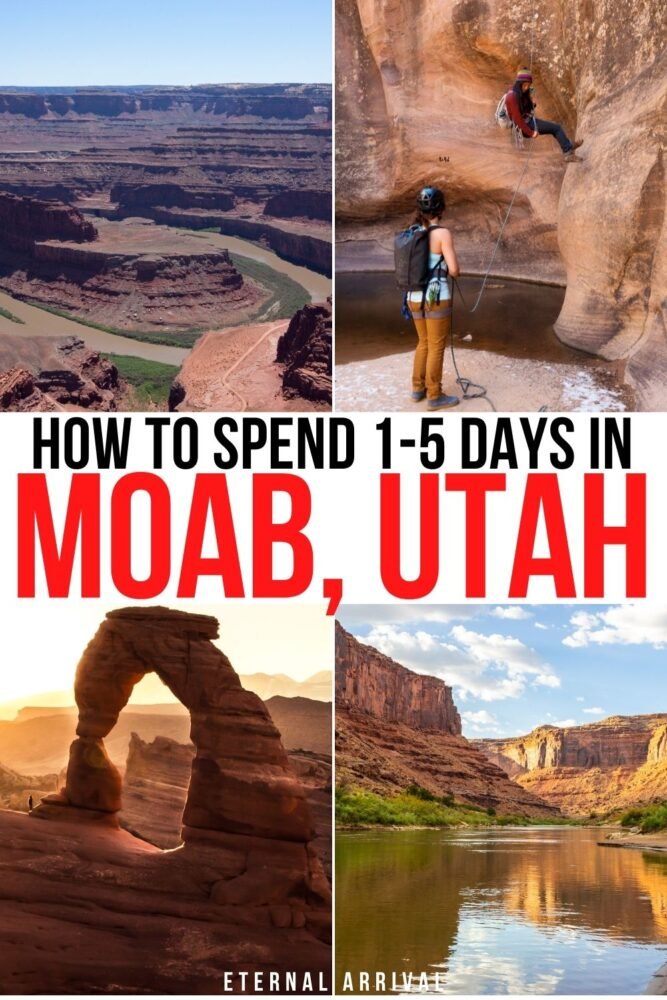
I’ve spent a lot of time in Utah over the years, road tripping through its national parks and exploring as much of the Southwest as I could.
Of all the places in Utah I’ve visited — which include five national parks and at least twice as many state parks — truly nothing beats the beauty of Moab.
While I love road tripping Utah, if I had to pick one place to base myself to explore the best that Utah has to offer on a short trip, it would be Moab.
Moab is otherworldly, surrounded by beautiful red rock formations everywhere you look. But it’s also in the perfect location, close to both Arches National Park and Canyonlands National Park, as well as the Colorado River and Dead Horse Point State Park.
But Moab is more than just pretty views and a convenient location for ticking off a couple of national parks. It’s also an active mecca for everything from mountain biking to whitewater rafting to rock climbing to hiking. Every outdoorsy person should put Moab on their bucket list!
Honestly, it’s hard for any other place in the USA to come close for how much beauty Moab packs into such a small region.
Table of Contents
How to Get to Moab, Utah
Typically, if you are heading to Moab, you will fly into Salt Lake City. There are many airports all over the U.S. that fly direct to SLC, making it a convenient choice.
From there, you can either drive to Moab (about 4 hour drive by car) or make a connecting flight to Canyonlands Airport (CNY).
However, Canyonlands Airport is a small regional airport with limited flights. As a result, it can get rather expensive to fly into CNY. Another thing I’ll note is that renting a car at CNY typically is more expensive than renting at SLC.
If you don’t mind doing extra driving, you might want to fly into and rent a car from SLC. If time is really short and you don’t mind spending a little extra in order to maximize your Moab itinerary, then fly into CNY.
Insider Tip: If you are driving to Moab from SLC, Google Maps will have you go via Green River to I-70 and then turn off on Route 191. This is the fastest route!
But there is an even more scenic drive if you continue east on I-70 and then turn off on Route 128. This is one of the prettiest roads in all of Utah! It will add about 1 hour of travel time, but it is so beautiful, as you track the Colorado River nearly the whole time.
If you happen to be driving in around sunset, it’s even more majestic. Words don’t do it justice.
How This Moab Itinerary Works
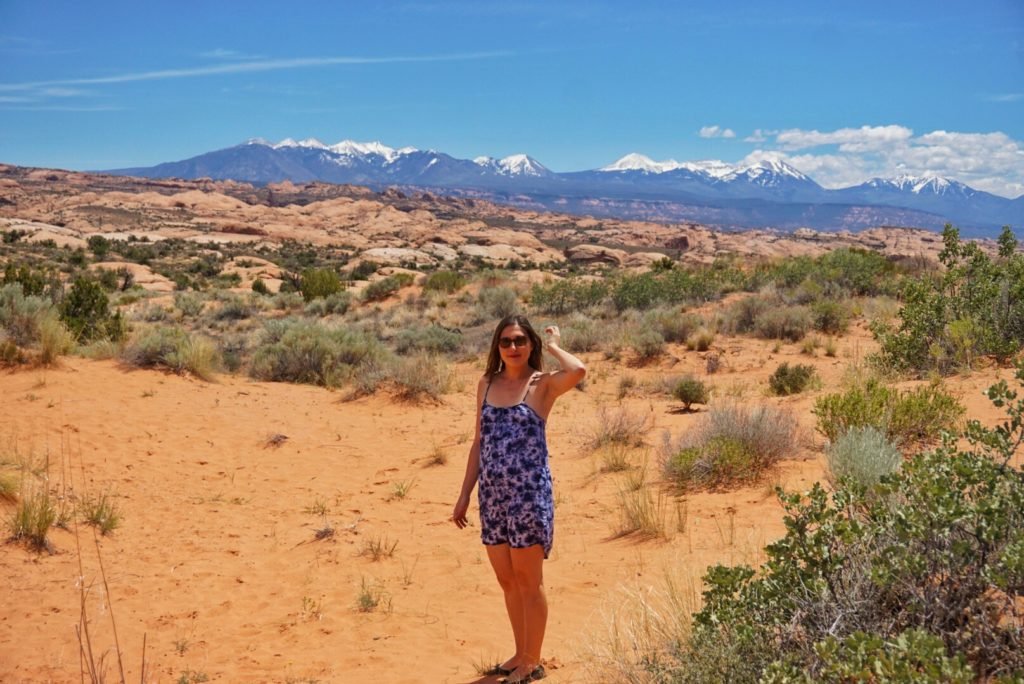
This Moab itinerary is additive, meaning that the first day of the itinerary covers everything you’d want to see if you have only one day in Moab: the highlights, so to speak.
It is structured in a logical way that reduces backtracking and prioritizes the most important things, mindful of your limited time.
It also makes sure you get out and do some light hiking, so that you’re not just doing a car-hopping, whistle-stop tour of overlooks without appreciating the nature. This is one of my pet peeves when traveling so I try to ensure that doesn’t happen in any of my itineraries.
If you have more time in Moab, you’ll find that the second day of this Moab itinerary contains the second most important things, and the third, fourth, and fifth days offer still more exciting things to do in Moab.
I would say that days 1 and 2 are the absolute core of a trip to Moab, covering Arches National Park, Dead Horse Point State Park, and a portion of Canyonlands National Park.
After that, I listed ideas for day 3, day 4, and day 5 based on my idea of importance and excitement.
However, you could easily swap day 4 for 3, 5 for 4, etc. Stick to days 1 and 2 as the core of this Moab itinerary and feel flexible with the rest of it.
Where to Stay in Moab: Hotels & Glamping
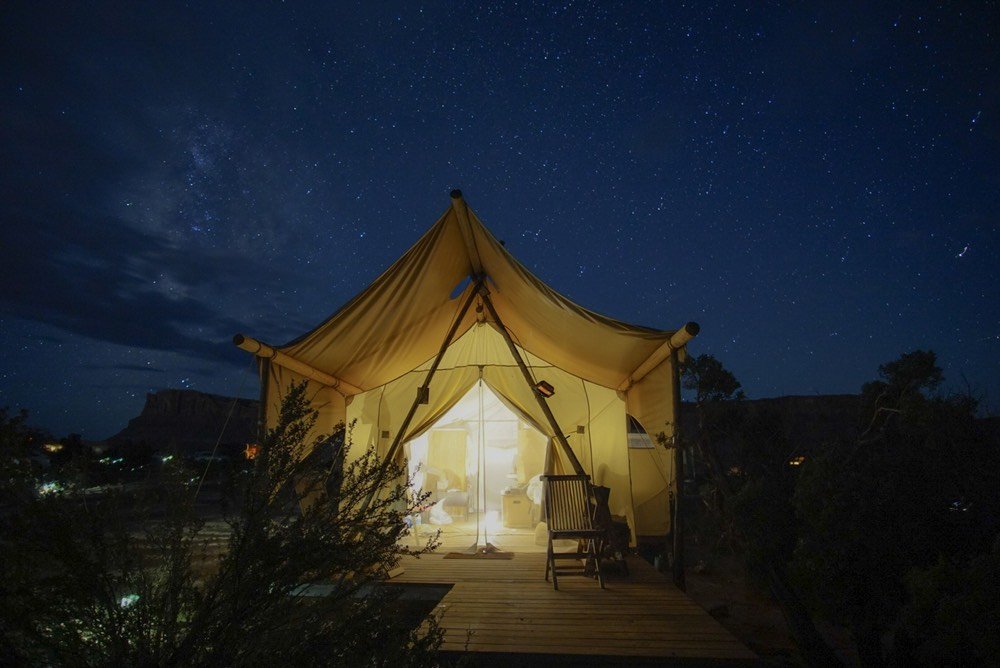
There are lots of great places to stay in Moab for every type of traveler and budget!
GLAMPING | Moab Under Canvas
I finally got to stay at Moab Under Canvas on my last trip to Moab and it did not disappoint! The tents were laid out so thoughtfully and I loved the amenities like the in-tent bathrooms (including hot showers!).
There was also a wood stove in the tent which would have made it great for chilly nights, too. I stayed there in July and it was a little hot, though, so I would suggest it for the shoulder season.
>> Check availability and pricing on Booking.com | Hotels.com | Expedia
MID-RANGE | Red Cliffs Lodge
Located right on the Colorado River, this gem is a bit outside of Downtown Moab and Main Street but it’s worth the small sacrifice of convenience for a location this spectacular.
There’s an on-site pool, hot tub, fitness area, and restaurant, and there are also activities available such as wine tasting and horseback riding that the property can organize.
>> Check availability and pricing on Booking.com | Hotels.com | Expedia
BUDGET | Lazy Lizard Hostel
This was a godsend during my first trip to Moab, where we didn’t book anything in advance and then arrived in Moab, only to find the only remaining rooms were $300+ a night!
The setting was friendly, the amenities were basic but well-priced, and our private room was no-frills but comfortable.
>> Check availability and pricing on Booking.com
Where to Stay in Moab: Vacation Rentals
Cabin Overlooking Moab

- 8 guests
- 3 bedrooms
- Prices from $300/night
- Check details on VRBO listing here
Cabin Overlooking Moab is a stylish cabin that can house 8 guests in 3 bedrooms. Best of all, it has one of the most impressive views in the entire Moab area.
This cabin features 1,700 sq. feet of modern convenience, with all the things you’d need for an extended stay, but it’s still very much a cabin.
Best of all, it offers breathtaking views of the La Sal Mountains from one deck, the Moab rim from another, and Arches National Park from yet a third!
Wisteria Cottage at Cali Cochitta

- 2 guests
- Studio (1 bed)
- Prices from $178/night and up
- Check the listing on VRBO for more details
The Wisteria Cottage at Cali Cochitta is a beautiful choice for couples and lovers of rustic cottage designs and colorful gardens.
The cottage is conveniently located 2 blocks from Main Street, and the inside comes equipped with a well-stocked kitchen, bathroom, and a beautifully designed bedroom with a king-size bed. Guests are also provided with a cruiser bike with which to explore the town, as well as secured bike storage.
The two main draws of this charming VRBO in Moab, however, are the garden area and hot tub. The garden is shared with other Cali Cochitta guests, so it makes for a beautiful place to chat with others outside.
On top of that, the hammocks are a great place to just sit back and unwind to the sounds of the stone water feature, another detail that adds to the dream-like ambient of the location.
Moab Travel Tips
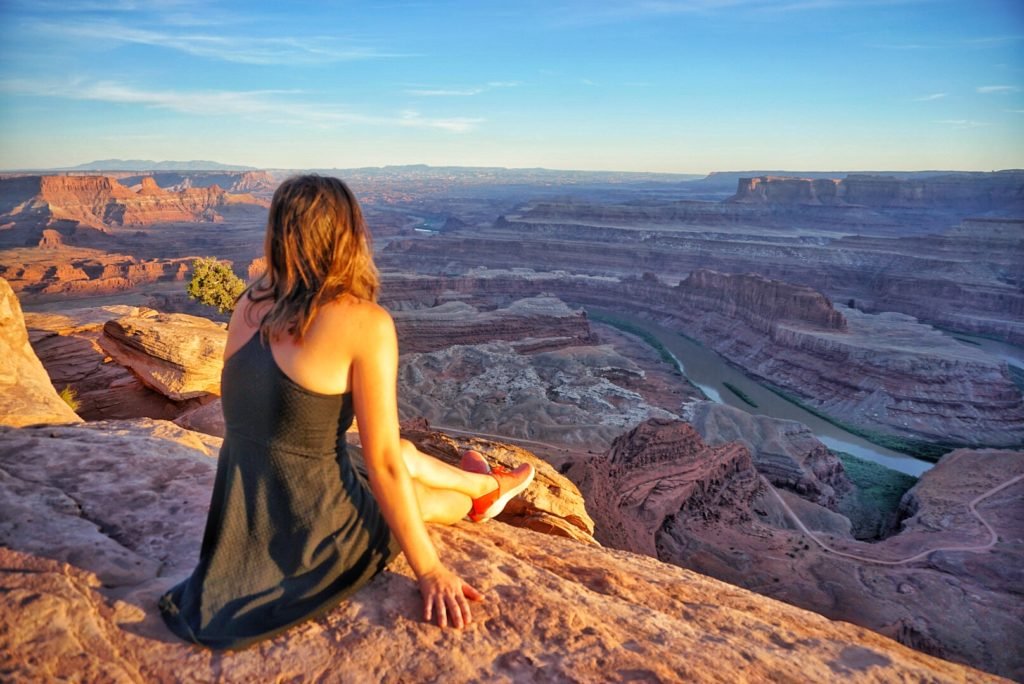
WHEN TO VISIT | Moab is indescribably hot in the summer! I visited Moab the last time in July and it was frankly pretty miserable. It was 110F the day we arrived!
My previous trip to Moab was in May and the weather was gorgeous — warm but not overbearing. The best months are April-May and September-October. Note that it may snow in Arches in winter!
WHERE TO EAT | Downtown Moab has so many amazing places to eat, and if you’ve been on a larger Southwest road trip without much variety in your food, you can find a lot of variety in Moab!
I had amazing Thai food at Thai Bella Moab (though some dishes were a bit too spicy, and I’m generally a person who can handle spice!) and Antica Forma has really nice Italian food. There are also a lot more options on Main Street.
Note that Moab can be very busy and crowded, so I always suggest making reservations or ordering take-out if picking last minute. On my last trip to Moab, waits for tables were like 1-2 hours!
If you’re on a budget, check out the take-out offerings at the Moab Food Truck Park — there are all sorts of delicious options.
GET AN EARLY START | While Arches currently does not run on a reservation system the way some national parks are, it is first-come, first-serve for space within the park.
Once all 1,000 parking spots in the park are taken, it will shut down for a period of time — sometimes up to three hours. Avoid this by arriving early! My itinerary has you getting to Arches in time for sunrise on day 1, so you shouldn’t have this problem.
HIKING SAFETY | Always bring plenty of water when hiking in Moab. Stick to the trails and have an offline map downloaded on your phone in case you get disoriented. Bring filling snacks that aren’t too sugary to keep you fueled while hiking if it’s hot.
Your Customizable Multi-Day Moab Itinerary
Day One: Arches National Park + Colorado River Cruise
You can follow this guide or you can also download an audio guide to Arches National Park for less than $10.
This one-day Arches mini-itinerary will walk you through the best spots quickly, but it may be more pleasant to have an audio guide if you’re an auditory learner!
Start with a sunrise hike to Delicate Arch.
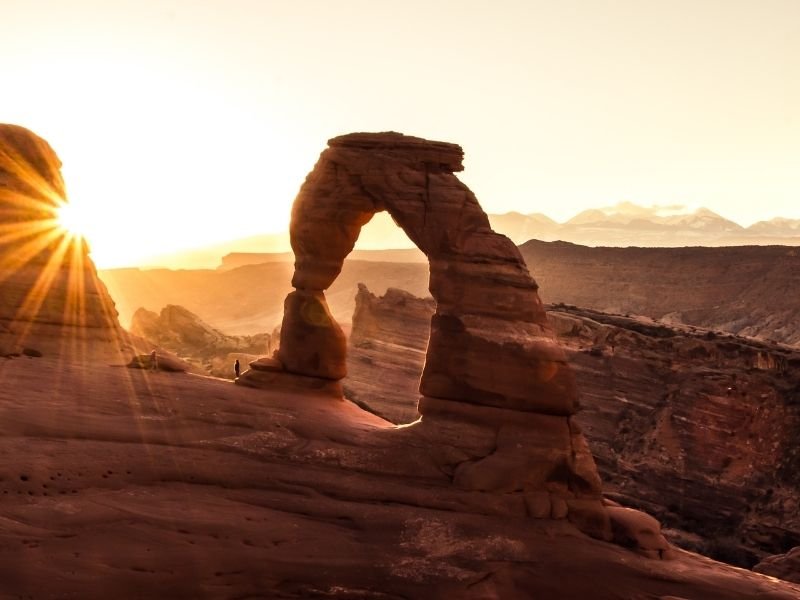
For the first day of this Moab itinerary, I’m assuming you arrived the day before in Moab and are able to wake up bright and early for a sunrise hike.
I know I know. Waking up for sunrise is a pain. But at Arches National Park, which gets really crowded, it’s absolutely worth it — especially for the pay-off of seeing Delicate Arch at sunrise with minimal crowds. It’s the best hike in Arches for a reason.
Delicate Arch Trail is 1.5 miles each way (3 miles round trip), and note that the way there is uphill — 480 feet of uphill, to be precise — so you will get an early morning workout! Allow about 45 minutes to get there.
To decide when to leave, I suggest looking at the sunrise time, then subtracting 45-60 minutes for the hike and however much time it’ll take you to drive to the trailhead. That should get you there around the right time!
Tip: You should bring a headlamp as it might still be dark when you begin your hike.
Explore the Devil’s Garden area.
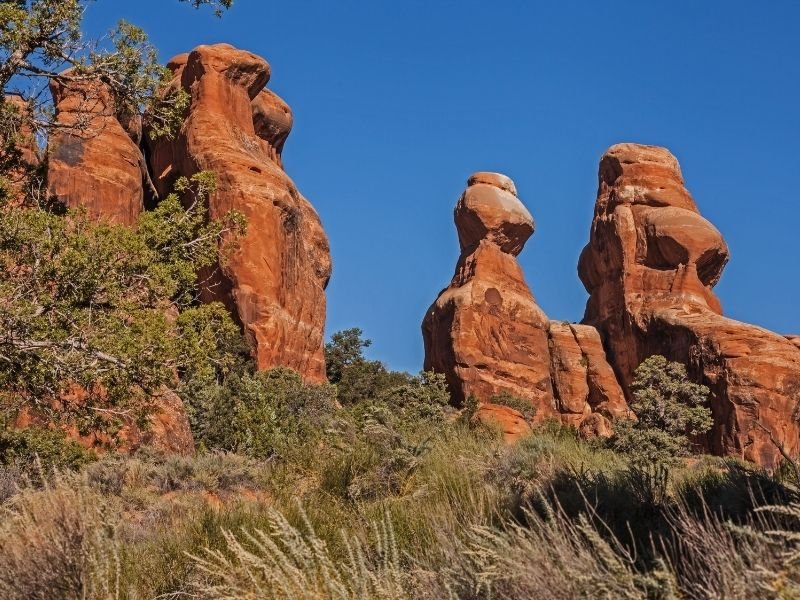
Once you return to the Delicate Arch Trailhead and get back in your car, head to Devil’s Garden, about 15 minutes by car.
You can do the entirety of the Devil’s Garden Trail if you are a serious hiker, or you can do just a small subsection of it.
Here are a few trails to choose from in Devil’s Garden: pick whatever suits your current fitness level and desire!
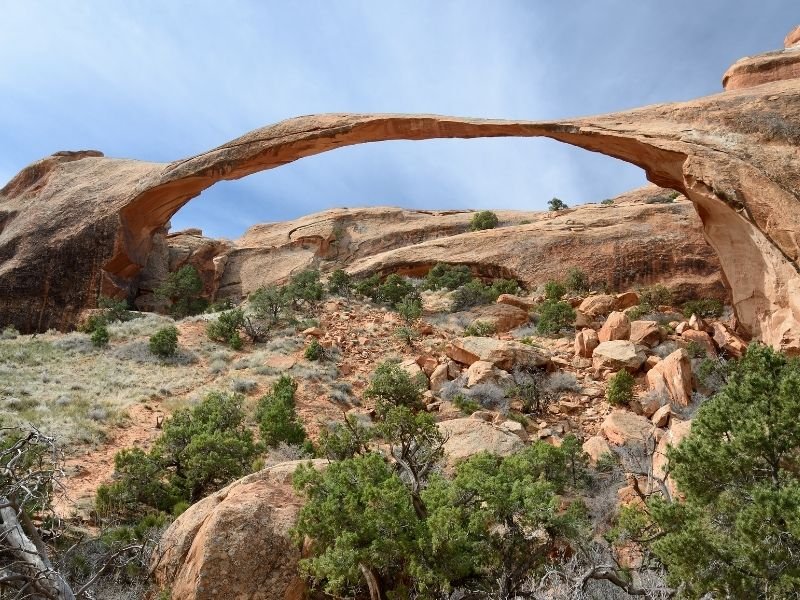
EASY | Landscape Arch Trail: 1.9-mile out-and-back trail with little elevation gain. A good short hike for beginners.
MODERATE | Double O Arch Trail: 4.1-mile out-and-back trail with 670 feet of elevation gain and some scrambling and heights.
HARD | Devil’s Garden Trail: 8-mile loop with 1,085 feet of elevation gain. Some scrambling, primitive trails, and heights.
Snap photos at the Windows Section and Balanced Rock.
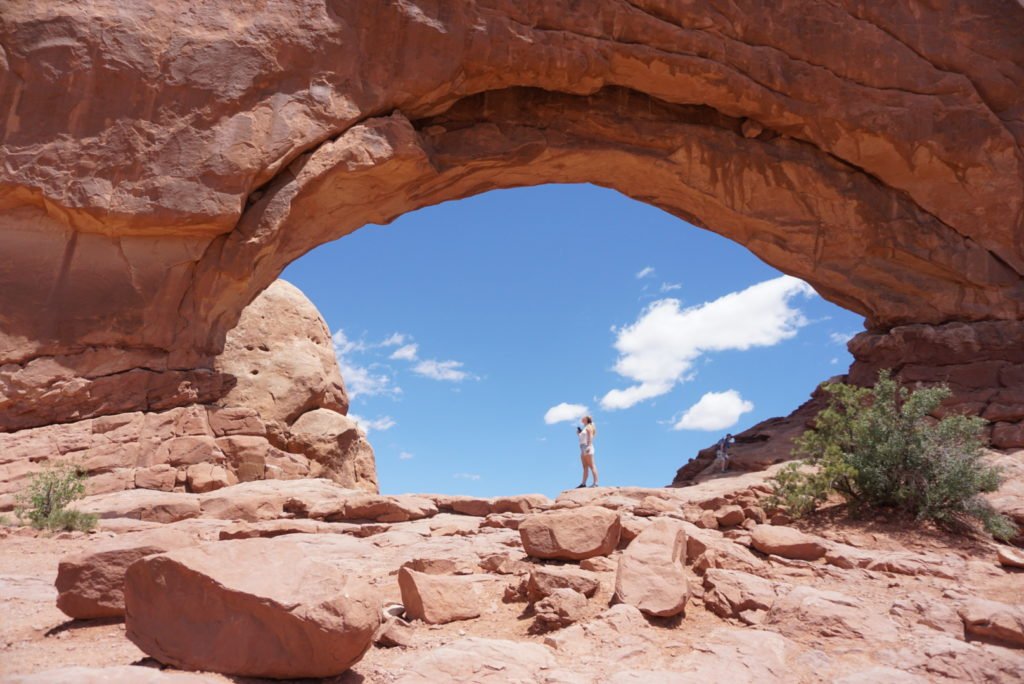
After you’ve done a fair bit of hiking, it’s time to take it easy, especially as the sun picks up in intensity. Luckily, the rest of this day in Arches is all easily accessible by car, with short walks rather than hikes.
Turn on The Windows Road about 15 minutes after leaving Devil’s Garden, and you’ll find a large parking lot. It may be difficult to find a spot here initially, so keep looking.
People tend to sightsee fairly quickly in this part of the park, since there are no long trails, so cars tend to cycle in and out at a decent clip.
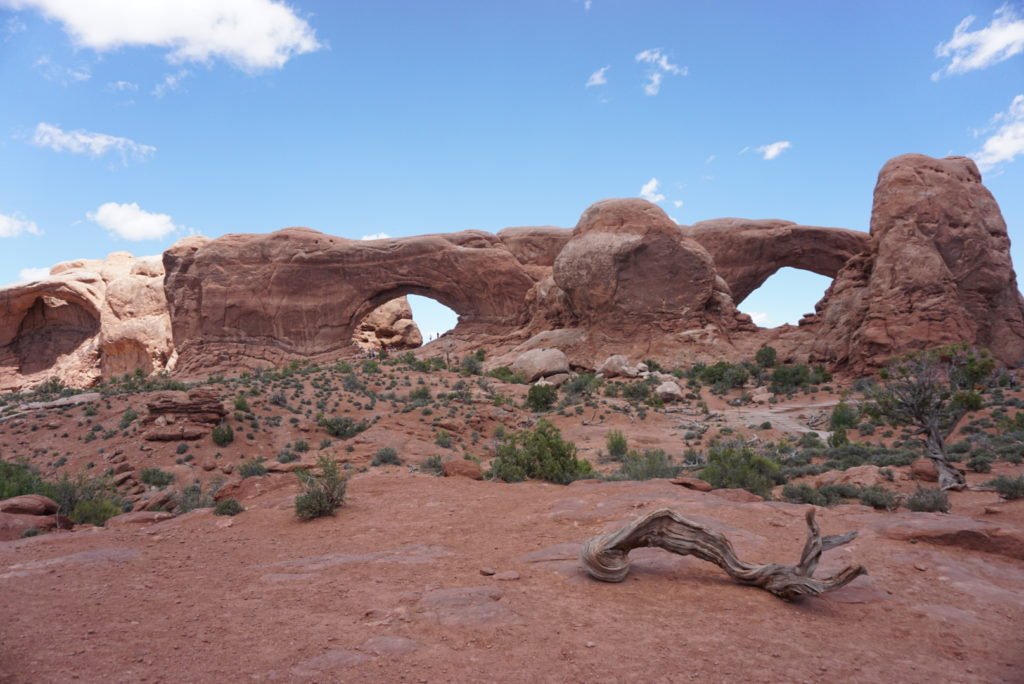
Once you find a parking spot, there are several gorgeous arches you can see in this section of the park.
Those include Double Arch, North and South Window Arches, and Turret Arch, all of which are absolutely beautiful and worth seeing!
As you leave the Windows area, be sure to turn your head and spot Balanced Rock!
Make one final stop at the Park Avenue Viewpoint.
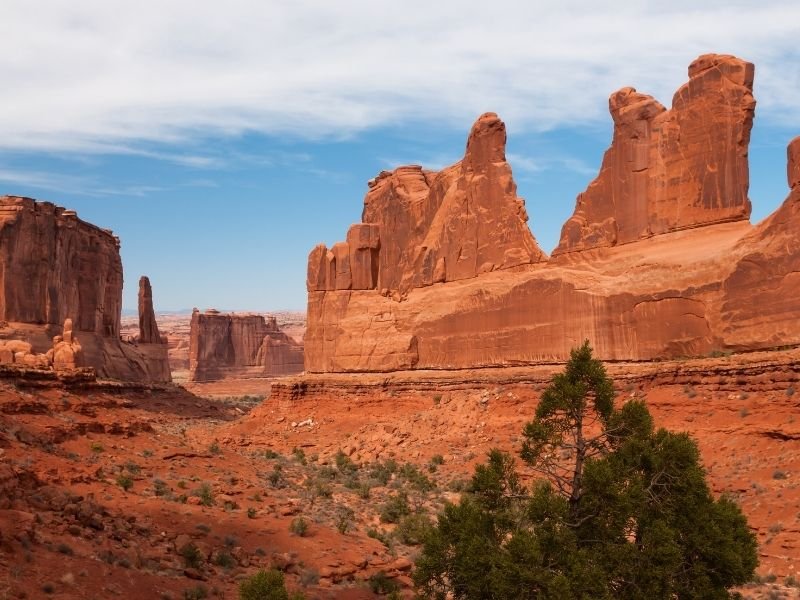
Finally, as you leave the park, make a stop at the Park Avenue Viewpoint, one of the best views in Arches National Park.
The viewpoint is beautiful, but you could also take the Park Avenue Trail for a short hike if you have enough time. It’s one mile to the Courthouse Towers Viewpoint one-way, two miles round trip, and the views from there are spectacular.
Relax and change at your hotel or glamp site.
Once you’ve tackled a full day at Arches, it’s time to head back to your hotel and get off your feet for a bit.
Don’t get too comfortable, though — you’ve got to be out the door at 5 PM to get to your sunset cruise on time!
Take a sunset boat cruise on the Colorado River.
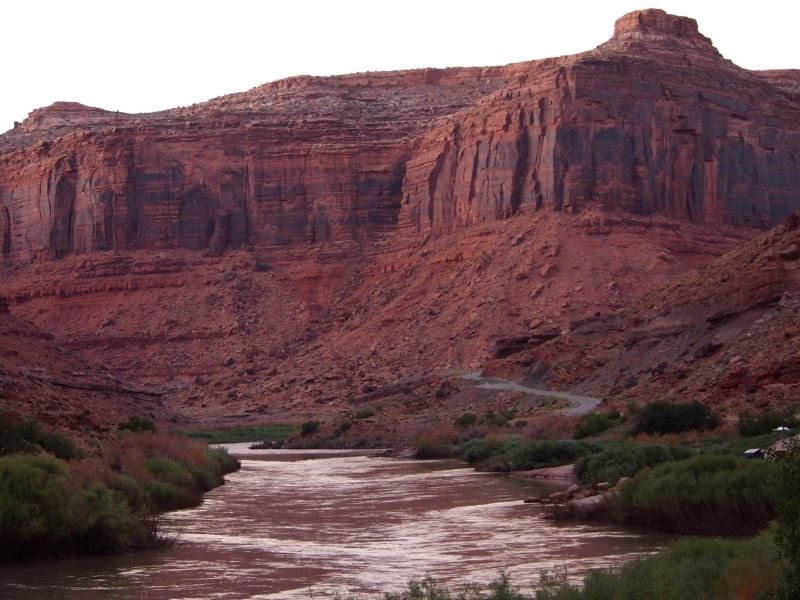
Time to finish your first day in Moab with a bang! A sunset boat cruise down the Colorado River is the stuff bucket lists are made of.
The cruise lasts 90 minutes, and then if you want, you can opt for a BBQ dinner add-on afterward so that you don’t have to figure out a dinner option after your cruise.
This tour starts at 5:30 PM, so be on time!
Day Two: Canyonlands National Park + Dead Horse Point State Park
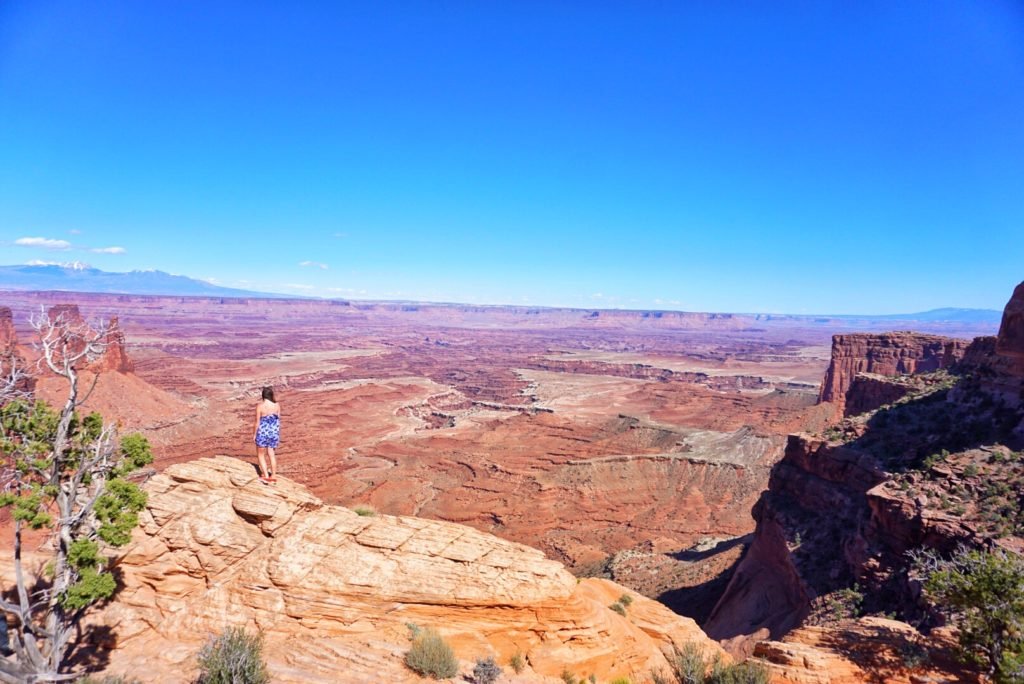
Day two of this Moab itinerary is all about Canyonlands and its surrounding area. We will tackle one section of the park today, Island in the Sky. There are other districts of the park, but we won’t be visiting them today.
You can follow this guide for Canyonlands or you can also download the Canyonlands audioguide tour for under $10 if you want something to listen to while you drive!
A quick note on Canyonlands: The national park is divided into four districts: Island in the Sky, Needles, the Rivers and the Maze. I include Island in the Sky on Day 2 and Needles on Day 4. I don’t include the Maze (as it’s entirely backcountry and only suitable for experienced backpackers) or Rivers since it requires more planning.
Optional: Start the day with a scenic flight
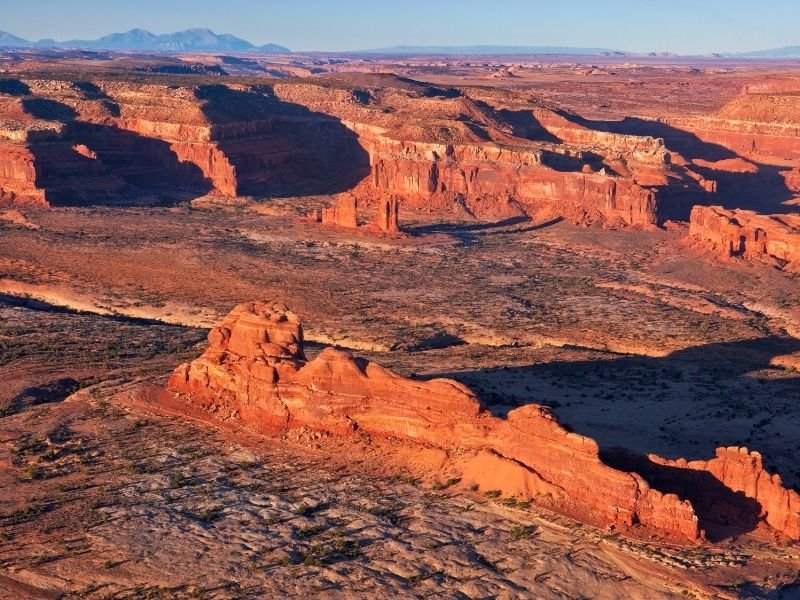
For an incredible wake-up call, take the 9 AM scenic flight over both Arches and Canyonlands to get a birds-eye view of what you saw yesterday and what’s to come!
It’s not cheap, but it is an otherworldly way to see the grandeur of the Moab region on an 80-minute flight — it’s certainly worthy of a spot on a Utah bucket list!
This is the only flight company allowed to fly over the national parks, so it’s a one-of-a-kind experience!
Book your scenic flight over Arches and Canyonlands here!
Check out Mesa Arch.
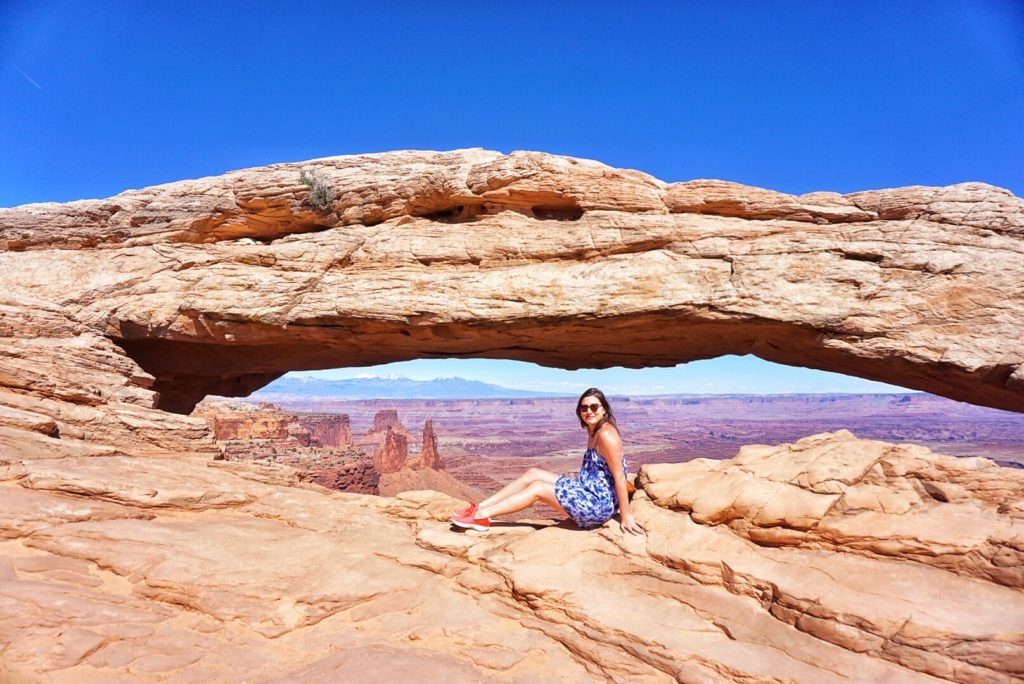
Whether or not you started the day with a flight, the first stop in Canyonlands is scenic Mesa Arch.
If you didn’t opt for the flight, you could do another pre-dawn wake-up call to see the sunrise at Mesa Arch.
At sunrise, there will be tons of photographers there, as the sun when it is rising lines up perfectly with the arch. With the right camera skills, you are able to get that classic framed “sunburst” you’ve probably seen on Instagram!
I didn’t visit Mesa Arch at sunrise (one sunrise is enough for me) but I still found it beautiful and worth the visit, with epic views and a gorgeous arch that rivals anything in Arches.
The Mesa Arch Trail is very short, just a 0.7-mile loop from the parking lot, making it an easy walk if you’re not in the mood for hiking.
Spend more time in the Island in the Sky District.
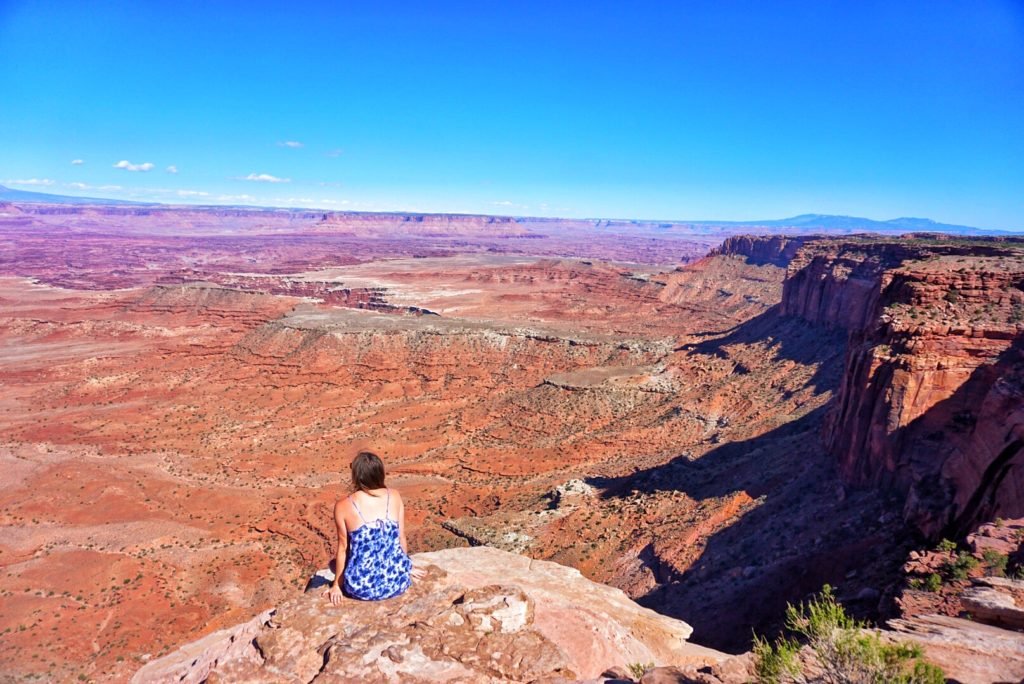
As you continue through Canyonlands, make your way to a few different stops along the Island in the Sky section of the park.
Your final destination is Grand View Point, but there are a few spots along the way to stop at. I suggest stopping at Candlestick Tower Overlook, Buck Canyon Overlook, and Orange Cliffs Overlook before stopping at the Grand View Point.
There is an overlook there and you can also extend your sightseeing with a 1.8-mile return hike via the Grand View Point Trail.
If you want to hike in the Island in the Sky district, here are a few suggestions:
EASY | White Rim Overlook Trail: 1.8 miles out-and-back with 160 feet of elevation gain. Rocky terrain, so watch your footing, but the final viewpoint is otherworldly and worth every step.
MODERATE | Aztec Butte Trail: 1.7 miles out-and-back with 259 feet of elevation gain. However, it is moderate since there is slick rock and some scrambling necessary.
HARD | Syncline Loop: 8.6 mile loop with 1,630 feet of elevation gain. Lots of scrambling and wayfinding, only for experienced hikers. Hiking the loop clockwise is recommended.
Watch the sunset at Dead Horse Point State Park.
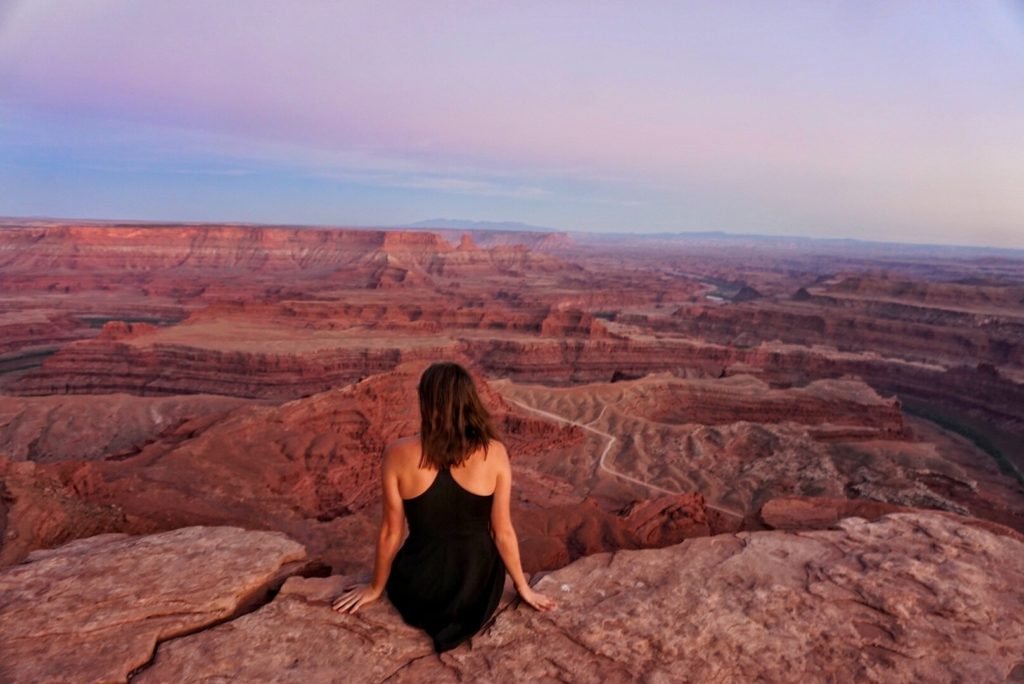
After a fun-filled day of hiking in Canyonlands, it’s time to rest your legs and watch the sun set over the beautiful Colorado River at Dead Horse Point State Park.
I consider Dead Horse Point State Park like a Grand Canyon in miniature. Personally, I find it more impressive than Horseshoe Bend in Arizona. It’s absolutely spectacular and sunset is when it’s the best.
If you arrive early at Dead Horse Point State Park you can opt for a hike. There is the Short Loop Trail (1 mile, easy), the Rim Loop Trail (5 miles, moderate), and the Big Horn Overlook Trail (3 miles, easy).
Note: There is a separate entry fee to Dead Horse Point that is a little pricy, about $20 per car, but it’s worth it in my opinion.
Grab a drink at Moab Brewery.

After your long day hiking, you deserve a cold one!
This fun, lively microbrewery is a great spot to celebrate your hikes, scan through your snaps from the day, and enjoy a tasty beer.
They focus on ales and IPAs — the FMU Double IPA is especially delicious.
The food, however, isn’t fantastic (though they do have good fries). I’d opt to eat at one of the restaurants I recommended above after you are finished with your beer!
Day Three: Rafting on the Colorado River
Start the morning with a half day rafting trip.
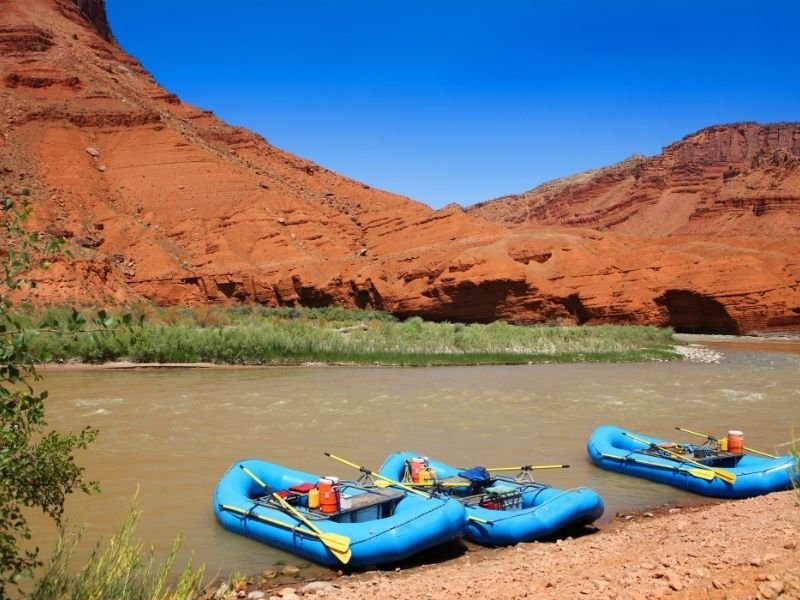
Next up on this Moab itinerary, we’ve seen the Colorado River from a cruise and from afar, but now we’re going to see it up close and personal!
If you’re new to whitewater rafting, take it easy with a half-day Class I and II rapids tour. The tour lasts 4 hours as you traverse seven miles of river, and includes pick-up, drop off, a buffet-style lunch, and an expert guide.
You could also pick a slightly more adventurous rafting tour, such as this Class I, II, and III rapids tour that includes Fisher Towers.
Hike Corona Arch.
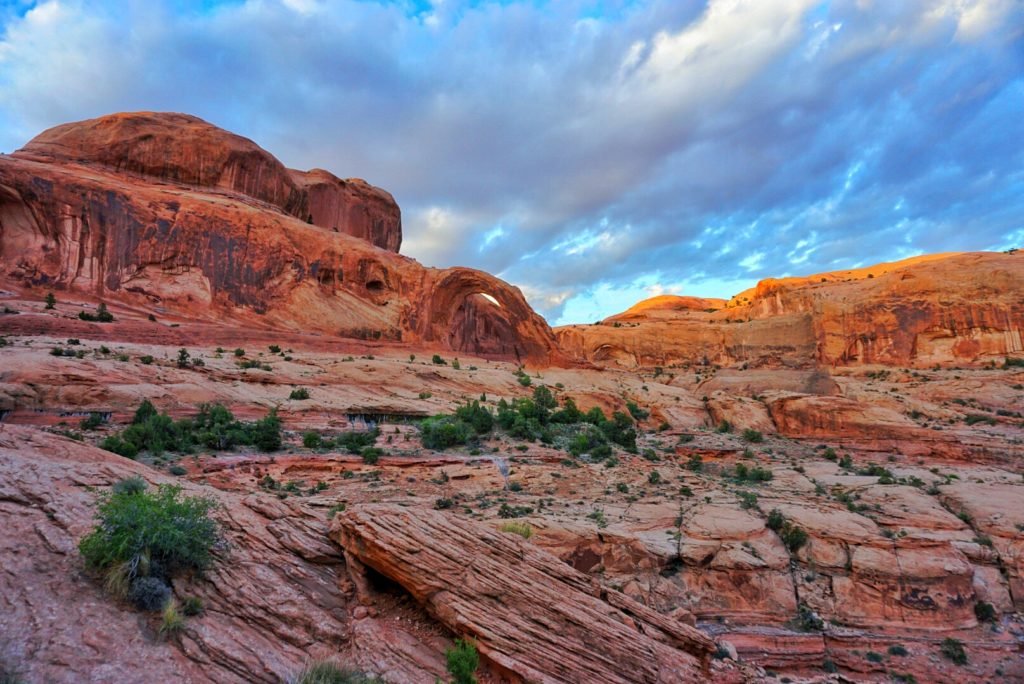
After you’ve rafted and had a tasty lunch, let’s go visit one of the coolest arches in Moab that isn’t part of a national park: Corona Arch!
The Corona and Bowtie Arch Trail is 2.4 miles long, out-and-back, with 482 feet of elevation gain.
The trail starts on Potash Road near the Gold Bar camping sites. You start by crossing some train tracks and then make your way through the trail, which is well-marked. The scenery is nothing wildly special but when you arrive at Corona Arch: wow.
It’s rated as a moderate trail but I found it on the easy side, though there is some scrambling near the end of the trail as you approach Corona Arch, as well as a section with some cables and a ladder that helps you ascend the boulder.
Have a tasty dinner in town.
Once you’ve worked up an appetite again, it’s time to find somewhere to eat in Moab!
Grab a great dinner and then either head back to your hotel or onto our next activity.
Go stargazing.
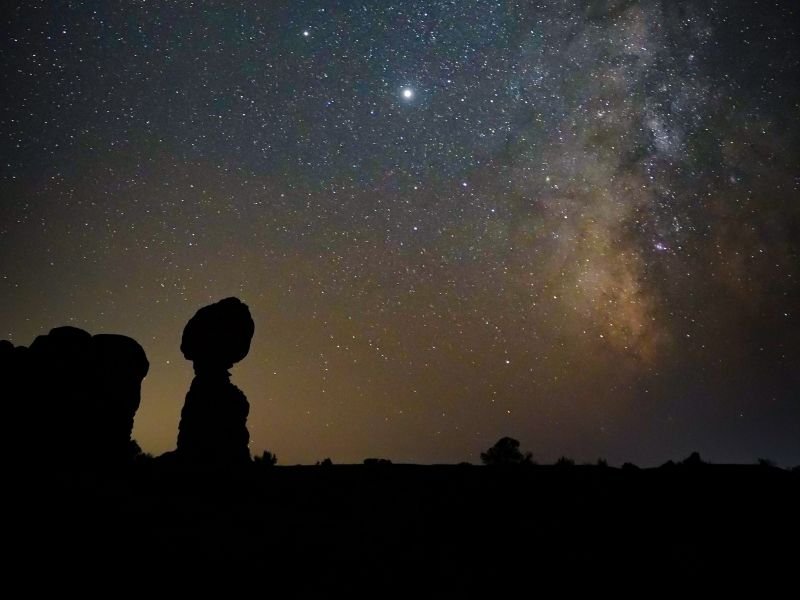
I love stargazing and Moab is a fantastic place to do so!
If you want to find one of the best places to see the stars, head back to Dead Horse Point State Park, which is an International Dark Sky Park!
Your pass should still be valid (they are good for two days), so you don’t have to pay the entry fee again. Just hold onto it from the day before.
Dead Horse Point State Park holds occasional night sky programming, so check it out and see if anything is going on during your trip to Moab!
Canyonlands National Park is also a Dark Sky Park, and they even have night sky ranger programs!
While Arches isn’t technically a Dark Sky Park, the park is actively working on reducing light pollution and there are several great viewpoints in the park to do so. Panorama Point and The Windows are two great areas for stargazing!
Day Four: More Canyonlands National Park
Spend the day in the Needles District.
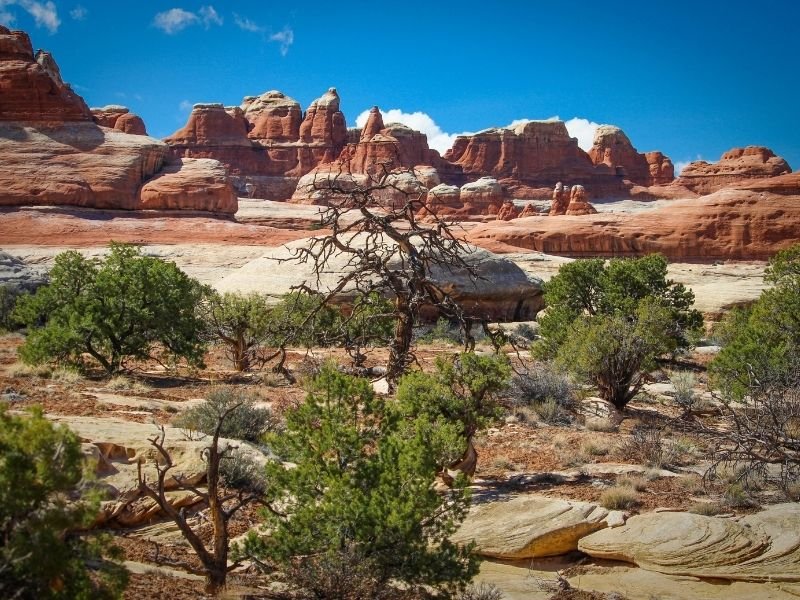
Tip: There is nowhere to eat in the Needles District, so have a hearty breakfast and pack a picnic lunch to enjoy later on one of your hikes!
Next up, we’re going to visit the Needles District, another part of Canyonlands National Park.
Here are some hikes you can choose from in Needles:
EASY | Slickrock Foot Trail: 2.4 miles with 137 feet of elevation gain. It’s on the moderate side of easy due to the uneven, rocky terrain, but it’s not a heart-pounder.
MODERATE | Lost Canyon Trail: 8.6 mile loop, 748 feet elevation gain, and some of the best views of all of the Needles District. Lots of up and down, so it’s a workout!
HARD | Druid Arch Trail: 10.8 miles and 1,614 feet of elevation gain. Added difficulty due to some sandy parts to hike through and some rock scrambling.
If you don’t feel like hiking, there’s still plenty to do in the Needles District!
Check out the Roadside Ruin, which is an ancient granary from the Puebloan era. It’s just a short walk here.
There are also some overlooks you can easily drive to, including Wooden Shoe Arch Overlook, and some very easy “hikes” that are really more like walks.
These mini-hikes clock in at around half a mile round trip. Pothole Point Trail and Cave Spring Trail are two of these short walks.
Take a sunset ATV ride on the Hell’s Revenge Trail.
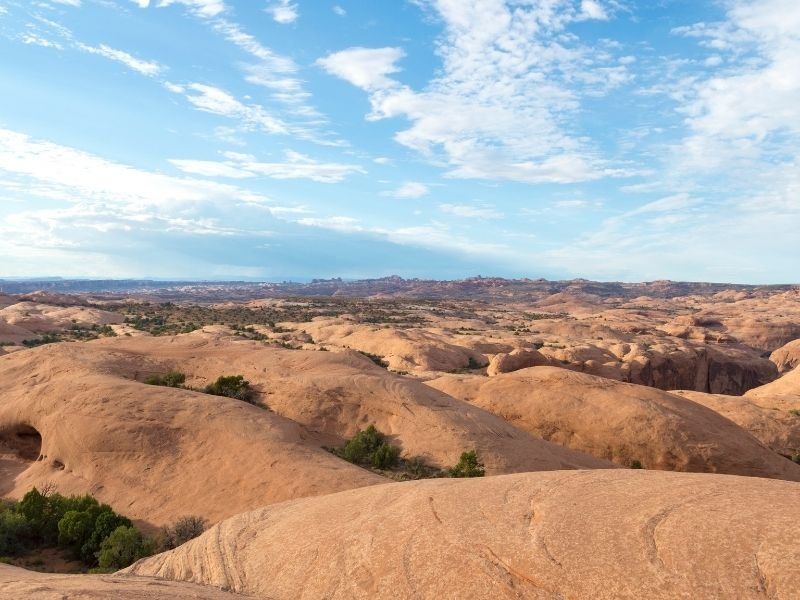
After you’ve seen a good deal of the Needles District, it’s time for a sunset offroading adventure!
Be sure to time your day so that you can get back to Moab in time for your sunset ATV — around 6 to 6:30 PM in summer. Check the exact time on the GetYourGuide website as times may change throughout the year to reflect sunset time.
The famous Hell’s Revenge route takes you to a beautiful Colorado River overlook (a thousand feet above the river!) and includes a brief sojourn into Arches Natonal Park on a thrilling self-drive ATV ride. You’ll roar up petrified sand dunes and admire beautiful red rocks changing color as the sun sets on this 2.5-hour ATV adventure.
While this sounds every bit the adrenaline-pumping activity, it’s family-friendly — kids as young as 3 can be passengers in the ATV, and drivers need to be 18 or older with a valid license.
Day Five: Outdoor Adventure Your Way
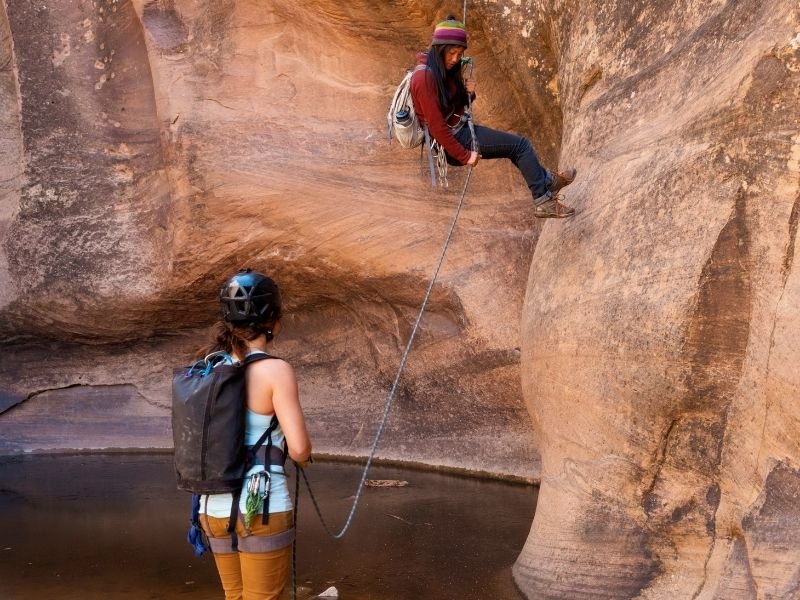
For your final day in Moab, let’s do some more outdoor activities — whatever you feel like trying, preferably something that you’ve never tried before!
Canyoneering is another popular activity in Moab, exploring beautiful slot canyons, rappelling down waterfalls (if the water level allows) or cliff edges, and getting to access all sorts of places you’d never be able to without this tour!
And of course, another thing that Moab is famous is rock climbing. This is all set up with guides, so you can try rock climbing even if you’ve never learned the ropes (pardon the terrible pun).
I’ve just started getting into bouldering and rock climbing and I love it, but I’ve never tried it in Moab. It’s on my list for my next visit!
Moab Without a Car
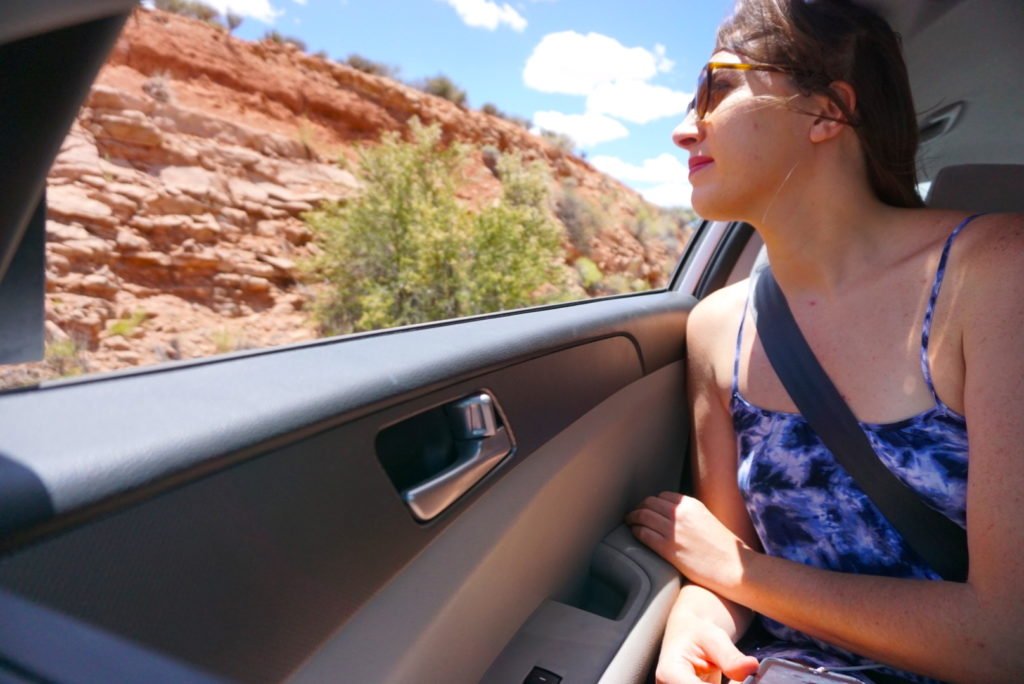
This itinerary assumes you have a rental car or your own car available to you. However, in case you don’t for whatever reason, note that there are no shuttles available in the Moab area national parks, and public transit is limited.
I don’t really recommend visiting Moab without a car, but if you had to, you could get around with tours. Here’s how I would do it.
Day One: Arches (4×4 tour of Arches) + Sunset Cruise
Day Two: Scenic Flight + Canyonlands (Island in the Sky 4×4 Tour)
Day Three: Rafting Tour
Day Four: Canyonlands (Needles 4×4 Tour)
Day Five: Canyoneering or Rock Climbing
Where to Go Before or After Moab
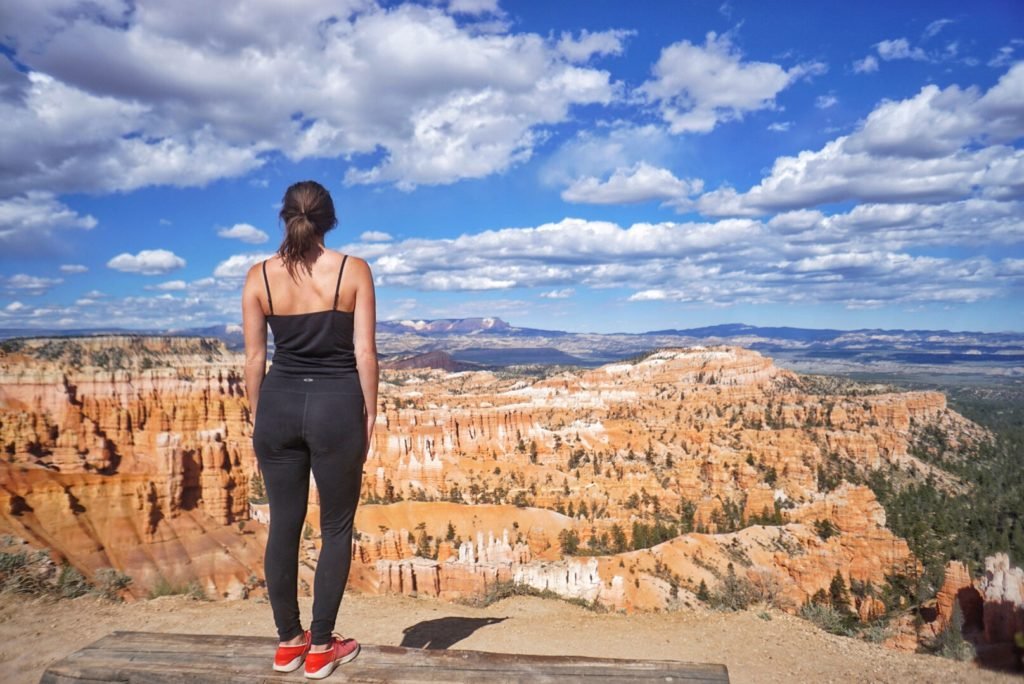
You can continue your Utah road trip in any way you choose!
Visit more of the Mighty 5, or head east to Colorado (Denver, Boulder, etc.), south to Arizona (Monument Valley, Page, Grand Canyon, etc.), or west to Zion National Park and Las Vegas.
Allison Green is a former teacher who has been travel blogging since 2016. She has a Masters in Teaching and a B.A. in English and Creative Writing. Her blog posts merge her background as an educator with her experience traveling to 70+ countries to encourage ethical, meaningful travel. She has been a speaker at the World Travel Writers Conference and her writing, photography, and podcasting work has appeared in National Geographic, CNN Arabic, CBC Canada, and Forbes, amongst others. Now a full-time traveler, she has lived in Prague, Sofia, New York City, and the San Francisco Bay Area.
