

Planning a Trip to Switzerland: A Simple Travel Checklist to Follow
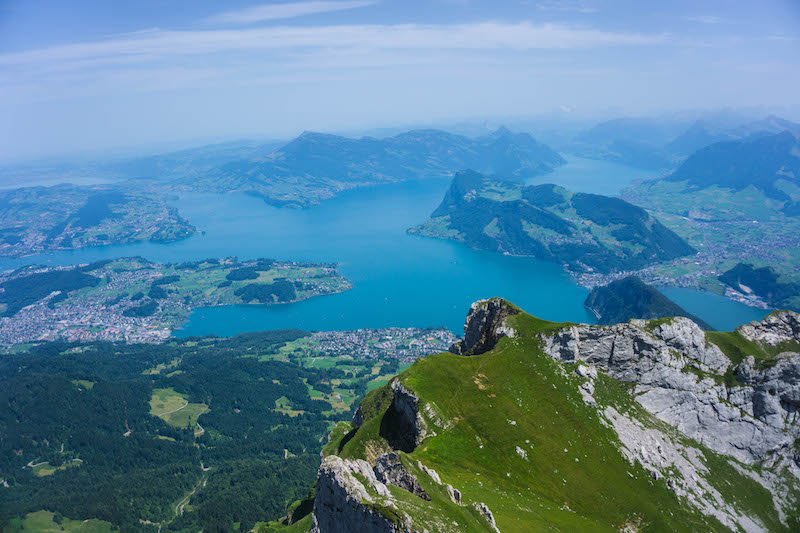
Switzerland tops many people’s bucket lists: from its scenic trains and soaring glaciers to its pristine lakes and picturesque cities, there’s something for everyone to fall in love with.
But planning a trip to Switzerland can be complicated, especially if you’re traveling on a budget without wanting to skimp on experiences.
I’ve gone over all the steps you need to create this simple 9-step Switzerland trip planner, to hold your hand and guide you through the process.
Planning a vacation to Switzerland may seem overwhelming at first but if you break it down bit by bit, you can tackle it one piece at a time.
Travel Checklist for Planning a Trip To Switzerland
Step 1: See if you need a visa
While not part of the EU, Switzerland is part of the Schengen zone, meaning that you’ll need a Schengen visa to visit Switzerland. You can check the EU website for more info on the Schengen zone and getting a visa.
Unfortunately, I’m not qualified to help on this step, so contact an embassy or a local travel agent if you have any questions about applying for a visa.
Note for 2026 Travelers: There are plans for a visa-waiver program called ETIAS, which will launch in the last quarter of 2026, so it’s not something you have to consider for 2025. You can read more about that initiative here.
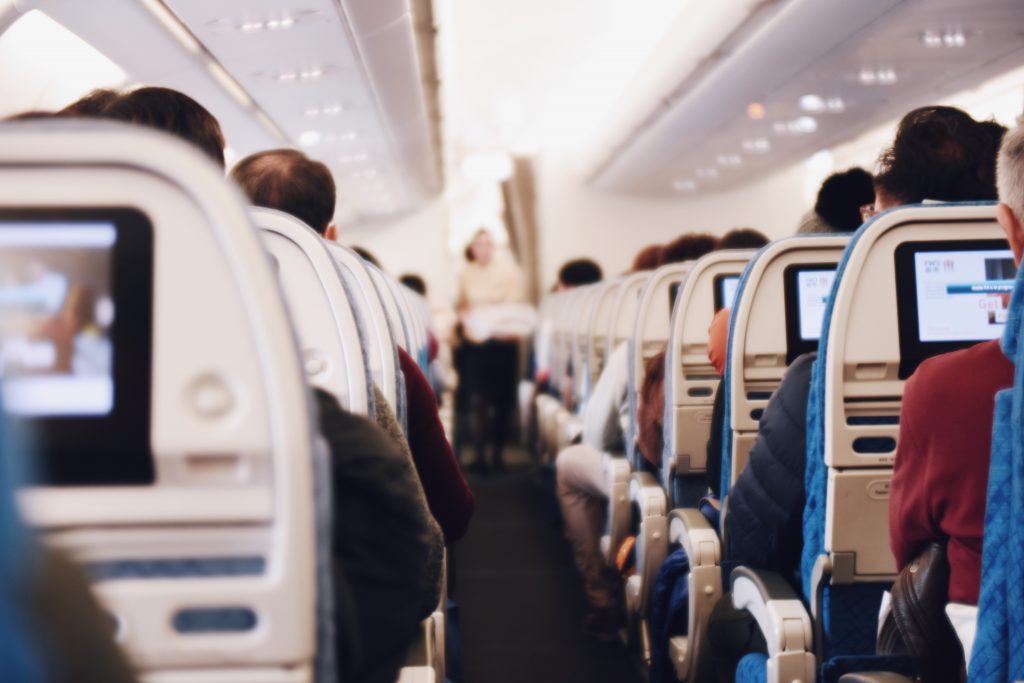
Step 2: Book your plane and train tickets

I generally use a combination of Skyscanner or Google Flights to find the best possible tickets in Europe. Skyscanner in particular is good at aggregating all the budget airlines that are sometimes missed by Google Flights, and I prefer their calendar feature. Generally, Geneva or Zurich will be the cheapest airports to fly into.
After you’ve booked your flights into Switzerland, you’ll also want to make sure you book your train tickets. Trains are much cheaper in advance, so if you know your exact route you want to take, I suggest booking that as soon as possible.
However, if you want the most flexible (and to likely save money along the way), I strongly recommend booking a Swiss Travel Pass, which you can book online here.
As of May 2025, here is a table of the prices for different kinds of train passes:
| Days | 2nd Class (Continuous / Flexi) | 1st Class (Continuous / Flexi) |
|---|---|---|
| 3 | $296.17 / $338.66 | $472.18 / $540.15 |
| 4 | $358.08 / $411.49 | $569.29 / $654.25 |
| 6 | $460.04 / $491.60 | $730.72 / $781.71 |
| 8 | $508.59 / $532.87 | $807.20 / $846.04 |
| 15 | $557.15 / $581.42 | $877.60 / $916.44 |
Check all the different options and prices for Swiss Travel Pass here!
Step 3: Plan your Switzerland itinerary
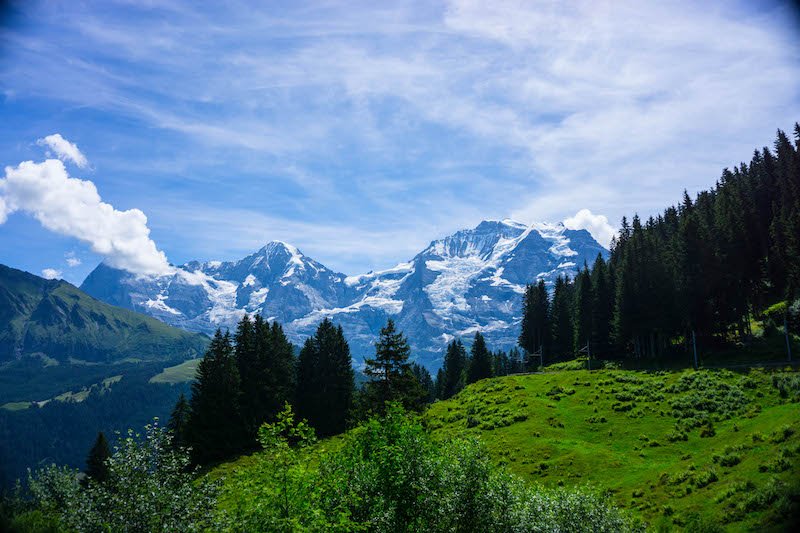
I’ve created a 10-day Switzerland itinerary that you can follow, which you can read here. It also includes suggestions on how to lengthen and shorten your trip.
If it’s possible budget-wise, I recommend flying into one airport like Zurich and then leaving via Geneva, or vice versa. That way, you can cover more ground without having to backtrack. Of course, if you’re visiting Switzerland as part a larger Euro trip by train, you can do this quite easily.
Here are a few itinerary suggestions depending on how many days you have and whether or not you can fly into the same airport:
- 3 days: Zurich – Lucerne – Zurich or Geneva – Interlaken – Geneva
- 5 days: Zurich – Lucerne – Interlaken – Zurich/Geneva or Geneva – Interlaken – Lucerne – Zurich/Geneva
- 7 days: Zurich – Lucerne – Interlaken – Lauterbrunnen Valley / Jungfrau – Zurich/Geneva or Geneva – Interlaken – Lauterbrunnen Valley / Jungfrau – Lucerne – Zurich/Geneva
- 10 days: Geneva – Montreux – Interlaken – Lauterbrunnen Valley / Jungfrau – Lucerne – Zermatt – Zurich (full itinerary idea here)
Step 4: Budget your trip
How much does a trip to Switzerland cost? Unfortunately – a lot. It’s up there with Iceland and Norway as the most expensive countries I’ve ever visited. For me, I traveled to Switzerland on as much of a budget as I could and still spent way more than I thought I would!
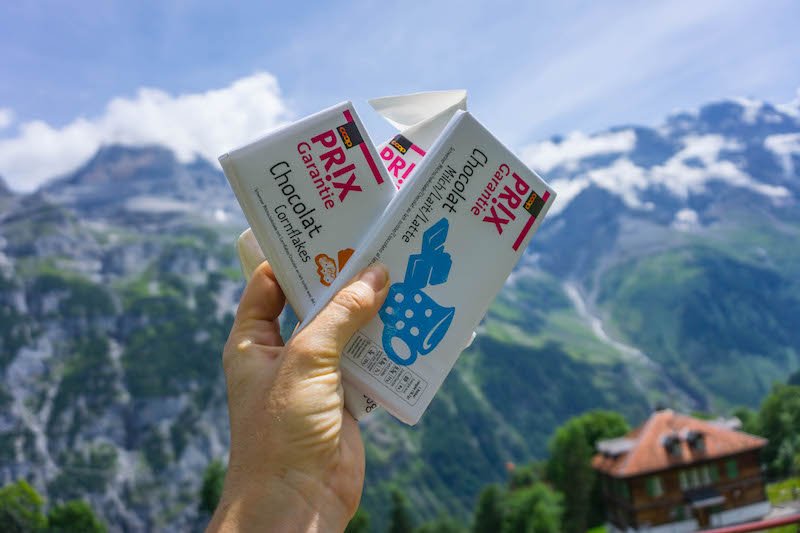
On average, I paid $40 USD a night for a bed… in a dorm with a shared bathroom. I spent about $10 USD per take-away meal from a grocery store or small kiosk selling sausages and the like, and $20 USD for McDonalds when I wanted to “treat myself.” Regular restaurants were too expensive for my budget for the most part, at around $35+ USD for a simple meal like a burger.
For my 8-day rail pass, it cost me $510 USD for a continuous train pass, which was definitely cheaper than booking independently, and also encouraged me to take the beautiful free scenic trains as well as taking advantages of discounts to places like Chateau Chillon in Montreux.
Even for a backpacking budget, I’d say you’re still looking at approximately $100 USD a day, including transit, meals, moving around, and accommodations. If you’re planning to add on any adrenaline activities, like paragliding or canyon swinging, prepare to pay a premium — a good rule of thumb is about $200 USD minimum per activity.
For families and couples traveling on a budget but not necessarily staying in hostels, I’d budget around $200 USD per day per adult including transportation, and maybe an extra $50 per day per kid if applicable. Kids 15 and under are included for free on your Swiss Travel Pass when traveling with a parent or guardian, and food for kids should cost less.
Heads up if you’re traveling as a family with a youngster who needs a crib: hotels in Switzerland often charge an obscene sum — as much as $50 per night per hotel! — to rent a crib.
My family blogger friends who traveled in Switzerland as a family recommend bringing a travel crib (they suggest the Phil & Teds travel crib) to save money. Especially if you’re visiting several different places in Switzerland, all these fees can add up, so a travel crib can be a budget-saver.
For couples and families who have a bigger budget to stretch, there’s pretty much no limit to the spending. A luxury hotel will cost around $400-500 USD per night, day trips like visiting Titlis or Jungfraujoch cost about $200 USD per person, and you can easily spend $50-100 USD per person on a meal, just to give you a benchmark.
Step 5: Plan your activities
This goes hand in hand with your budget. If you are traveling on a budget, I recommend getting a Swiss Travel Pass and taking advantage of all the inclusions and discounts on that. It’s pricy, but it becomes your transportation and activities all in one!
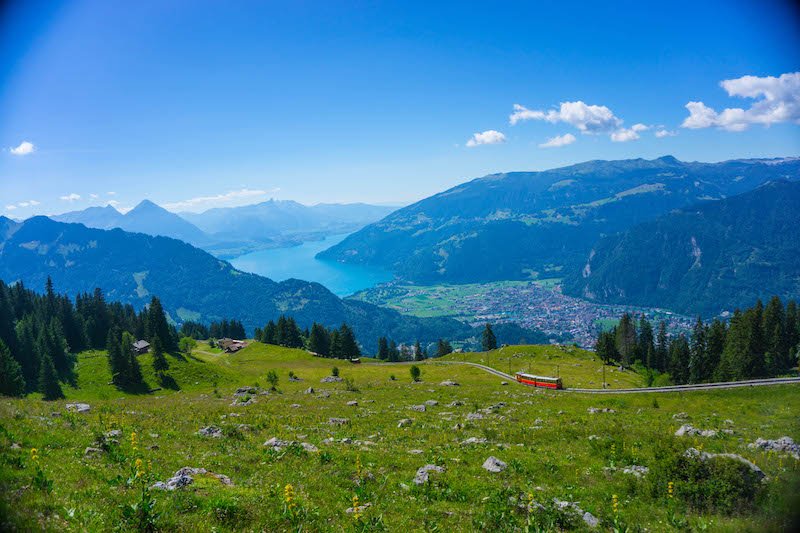
For example, you could do the Mt. Rigi scenic trains, steamboats across Lake Geneva and Lake Lucerne, the Belle Epoque scenic Schynigge Platte train, cable cars up the mountains, and visiting Chillon Castle in Montreux — a great destination in both summer and winter for its Christmas market.
The above-listed activities are included all for free on your pass, which ends up being much cheaper than trying to fill your time with paid activities. Check out pricing & details about the Swiss Travel Pass here.
If you have a little more to spend, there are some really cool extras that you could add on to your Swiss itinerary.
I’ve gone over them in detail on my best places to visit in Switzerland post, but I’ll include my recommendations for top day trips and activities for the main Swiss cities below.
Recommended Geneva Activities & Day Trips
I have a full guide to Geneva day trips here, but here are my quick picks.
- Geneva City & Steamboat Tour
- Golden Train & Gruyeres: Cheese & Chocolate Tour
- Day Trip to Annecy, France
- Day Trip to Chamonix & Mt. Blanc, France
Recommended Montreux Activities & Day Trips
Recommended Interlaken Activities & Day Trips
I have a full guide to Interlaken day trips here, but here are my quick picks.
- Tandem Paragliding
- Jungfraujoch (w/ transfer from Interlaken)
- 1-Hour Lake Brienz Boat Cruise
- Helicopter Ride + Skydiving
Recommended Zürich Activities & Day Trips
- Culinary Walking Tour
- 4-Hour City Walking Tour
- Mount Titlis Glacier & Cable Car Ride
- Rhine Falls Day Trip
Recommended Lucerne Activities & Day Trips
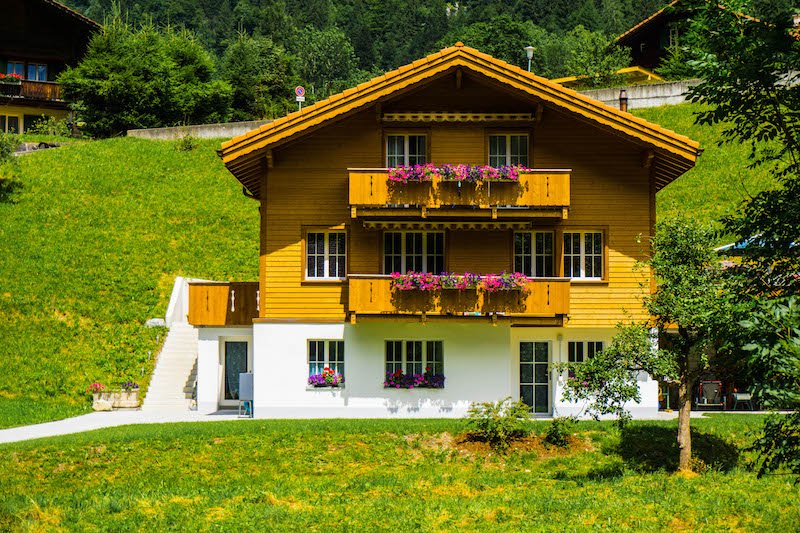
Step 6: Book your accommodations!
I strongly recommend booking your accommodations well in advance, especially if you are planning a trip to Switzerland on a budget, since the best and most budget-friendly places tend to sell out quite fast.
I’ve gathered my recommendations for the main cities you might visit all in one place, so check out below.
Where to Stay in Geneva
Budget: Geneva Hostel
Mid-range: ibis budget Petit-Lancy
Luxury: The Mövenpick
Where to Stay in Interlaken
Budget: Balmers Backpackers Hostel
Mid-range: B3 Boutique Bed & Breakfast
Luxury: The Royal St. James
Where to Stay in Lauterbrunnen
Budget: Schutzenbach Backpackers
Mid-range: Hotel Staubbach
Luxury: Hotel Silberhorn
Where to Stay in Lucerne
Budget: capsule hotel lucerne
Mid-range: ibis Lucerne
Luxury: Hotel Schweizerhof
Where to Stay in Montreux
Budget: Montreux Youth Hostel
Mid-Range: Le Coucou Hotel
Luxury: Fairmont Le Montreux Palace
Where to Stay in Zermatt
Budget: Zermatt Youth Hostel
Mid-range: ARCA Solebad Wellness & Spa
Luxury: Romantik Hotel Julen Superior
Where to Stay in Zürich
Budget: City Backpacker Biber
Mid-range: Motel One Zürich
Luxury: The Park Hyatt
Step 7: Pack your bags
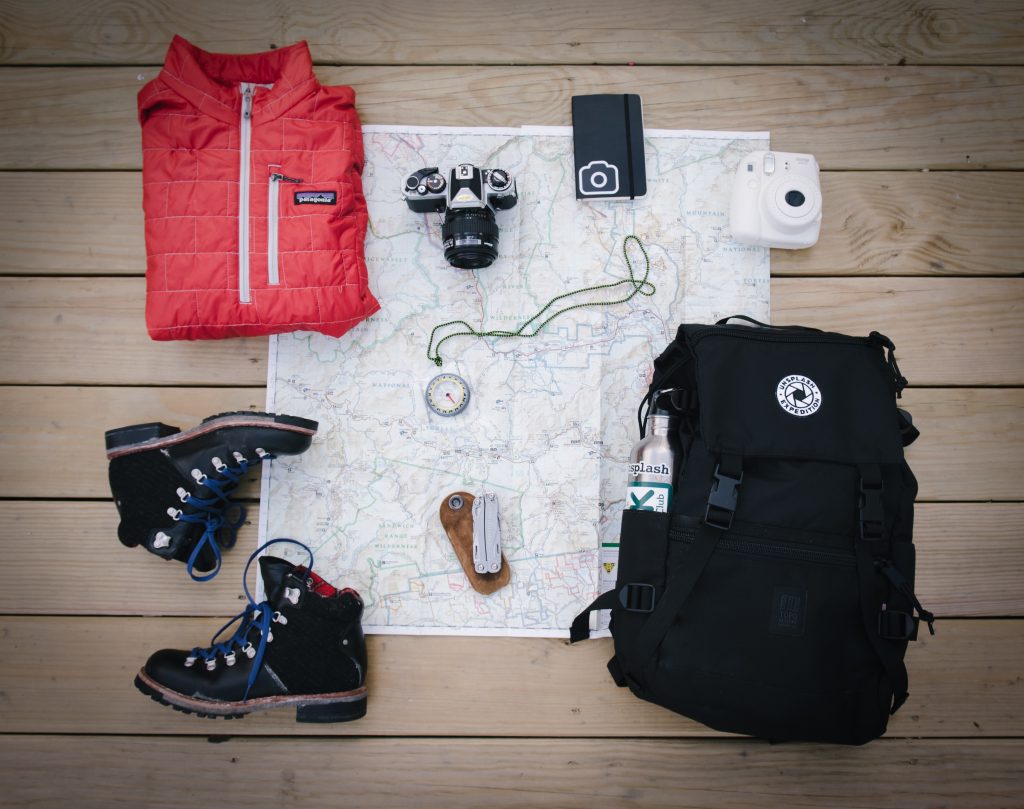
Luckily for you, I’ve already written a super-comprehensive guide to what to pack for Switzerland, for all seasons and genders — you can read it here!
Be sure to keep in mind that even if you visit in summer, you’ll likely want some cool/cold weather clothing if you visit glaciers or mountain stations. Hiking boots and other outdoor active clothing are also essential and expensive to purchase in Switzerland if you forgot them at home.
Step 8: Prepare for your arrival
Depending on what airport you land in (or train station you arrive to) you will have to plan your route between your arrival point and your first hotel. I strongly recommend looking up public transportation ahead of time or arranging a private transfer in advance, so you’re not caught off guard on arrival.
You should also decide if you are going to use a roaming plan on your phone or if you will purchase a local SIM card or WiFi device for your trip. I personally use Airalo because it’s the easiest way to be connected immediately upon arrival, even if it’s not the cheapest way.
I also recommend to have a bit of cash on hand in case your debit card gets declined for fraud when trying to withdraw cash when you arrive. Euros or USD are always a good bet and easy to convert into Swiss francs.
Credit cards are widely accepted in Switzerland, but there’s always the odd place that only accepts cash, so you’ll want to be prepared with both.
I generally always recommend you withdraw money from an ATM rather than converting cash that you’ve brought into the country with you. Decline the ATM’s conversion rate if you have the option to.
Step 9: Don’t forget travel insurance
I have been a paying customer of SafetyWing for years. It’s affordable, customizable for different lengths of travel, and it’s nice to have the peace of mind it gives me in case of emergencies, accidents, illness, theft, or trip disruption.
Don’t think that just because Switzerland is a safe country that it’s not necessary – accidents and illness can happen anywhere. Actually, I almost needed to visit a hospital during my time in Switzerland — I was so grateful I had travel insurance in case I had needed to check myself into the ER.
While Switzerland is super safe to travel around, there’s always some risk inherent in everyday travel, so it’s better to play it safe. The last thing you want is for an illness, crime, or accident to ruin your trip – so it’s better to be prepared!
Allison Green is a former teacher who has been travel blogging since 2016, visiting 75+ countries in total. She has a Masters in Teaching and a B.A. in English and Creative Writing. As a former educator, she merges her writing and educational experience to encourage ethical, sustainable travel. She has been a speaker at the World Travel Writers Conference and TBEX. Her writing, photography, and podcasting work has appeared in National Geographic, CNN Arabic, CBC Canada, and Forbes, amongst others. When she’s not on the road, she lives in Bangkok, Thailand.
Thank you!! You are amazing.
You’re welcome, enjoy your trip!
Hi Allison! My husband and I would like to plan a 10 day trip through Austrian and Swiss alps predominantly but if we could pop over to the Italian alps as well briefly! Where should I begin? Do you recommend any comprehensive Alps only itinerary?
Hi Nicole! I haven’t spent much time in the Austrian Alps so I’m not sure what to recommend there. I do have a Dolomites itinerary that one of my Italy-based writers contributed that may be helpful for the Italian Alps portion: https://eternalarrival.com/dolomites-road-trip-itinerary/
I’m all about the money-saving nugget: get a Swiss Travel Pass. The breakdown of prices—like around $296 for a 3-day 2nd-class pass, up to $557 for 15 days—highlights how valuable it can be if you love scenic trains and boat trips as much as I do . And the tip to fly into Geneva and out of Zurich (or vice versa) is genius—no doubling back.
Their recommended pacing—two nights per spot with day trips—feels perfect. It covers Geneva, Montreux, Interlaken/Jungfrau, Lucerne, and Zermatt in a 10‑day loop without turning the trip into a marathon.
Also loved the honest budget warning: Switzerland is expensive, even on hostels. Spending around $100/day as a solo backpacker—with snacks, rail, shared beds—is realistic. Plus, tips like bringing a travel crib (yes, you need one if you’ve got kids!) and getting local SIMs or eSIMs are the kind of practical gems I appreciate.
Thanks so much for your candid analysis 🙂