Weekend in Las Vegas: Epic 2 Day Itinerary for First-Timers

view over the las vegas sky with all the lights on

More than 41 million visitors flock to Las Vegas each year, and for very good reasons!

Las Vegas offers visitors an average of 310 sunny days year-round, and to put it briefly, an escape from reality. 

When in Vegas, there is no going home in the saying, “go big or go home!”

Grand, world-class casino hotels, big-name entertainment and attractions, and an always booming food scene fill 4.2-miles worth of the city’s major street: South Las Vegas Boulevard, which is famously known as the Las Vegas Strip or the Strip. 

But wait! There’s more. Head north of the Strip to downtown Las Vegas and you’ll enter the original Las Vegas Strip otherwise known as Fremont Street. 

This area is also called Old Vegas where historic casino hotels and an eclectic entertainment and arts district saturate the scene. 

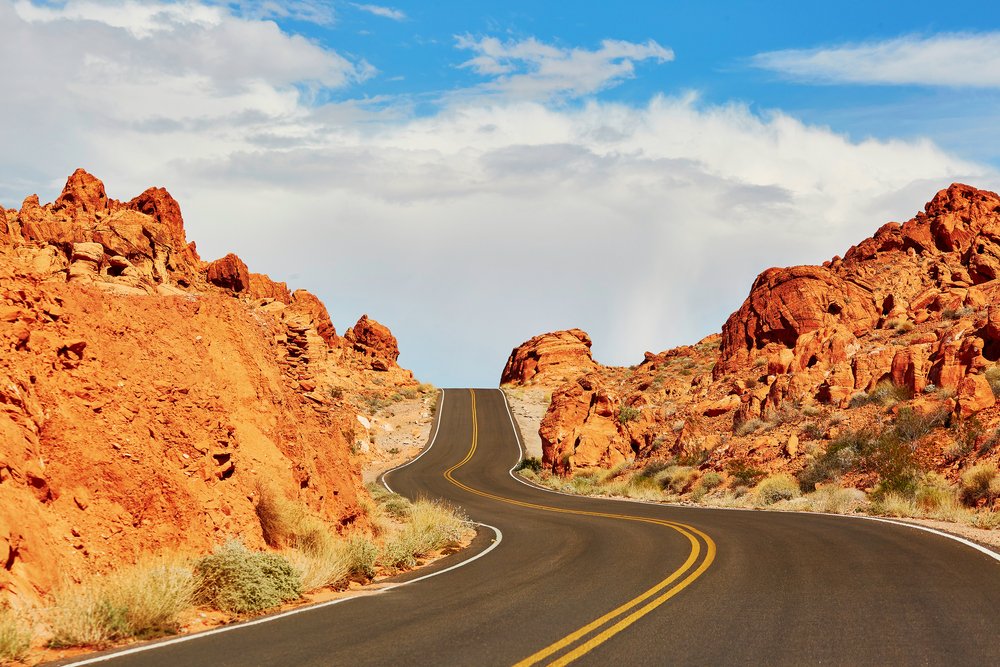
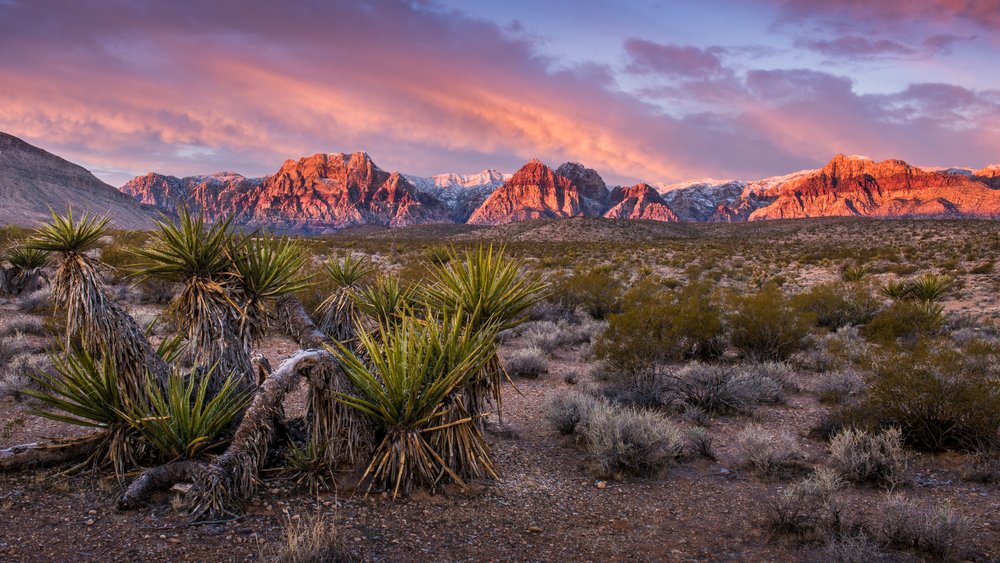
Head west into a reclusive part of Vegas and you’ll be surrounded by a natural wonderland full of towering red rock formations and unique desert plants and wildlife. 

Las Vegas is where curiosity and exploration is encouraged, and there is no shying away from letting loose and getting a little crazy here, especially if it’s your first time in Vegas

This 2-day Las Vegas itinerary will ensure every hour of your time is spent absorbing all the spectacular sights and sounds that make Las Vegas such a fabulous city!

Travel Tips for this Las Vegas Itinerary
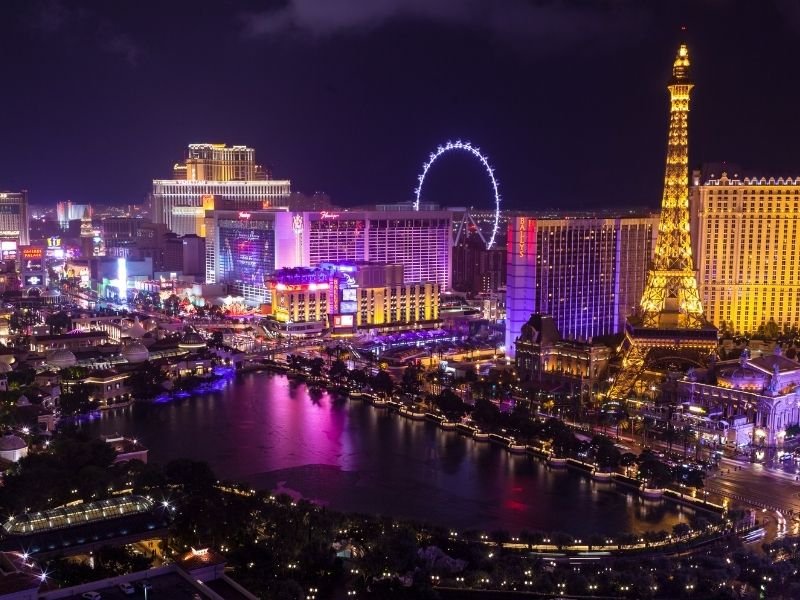
the las vegas strip lit up at night in colors of gold purple and more
  • Vegas is essentially an adult playground. Although there are kid-friendly activities, this specific weekend in Vegas itinerary is for everyone ages 21 and over!
  • If you’re staying at a hotel on the Strip, download the hotel’s app onto your smartphone for easier, faster, and contactless check-in.
  • Make dining reservations in advance (at least a week or two in advance). Same goes with booking tickets to attractions and events. Don’t mess up your Vegas trip by waiting too long!
  • If you want to gamble on the Strip, sign up for the casino players club (for free) to reap the benefits of the rewards that the programs offer like discounts and comps on hotel rooms, dining, and entertainment, and more.
  • You can’t hail a taxi anywhere on the Strip (see the “How to get around” section below)
  • It is legal to walk around outside on the Strip or in downtown with an open alcoholic drink in your hand (as long as the drink is not in a glass container), so cheers to that!

Best Time to Visit Las Vegas
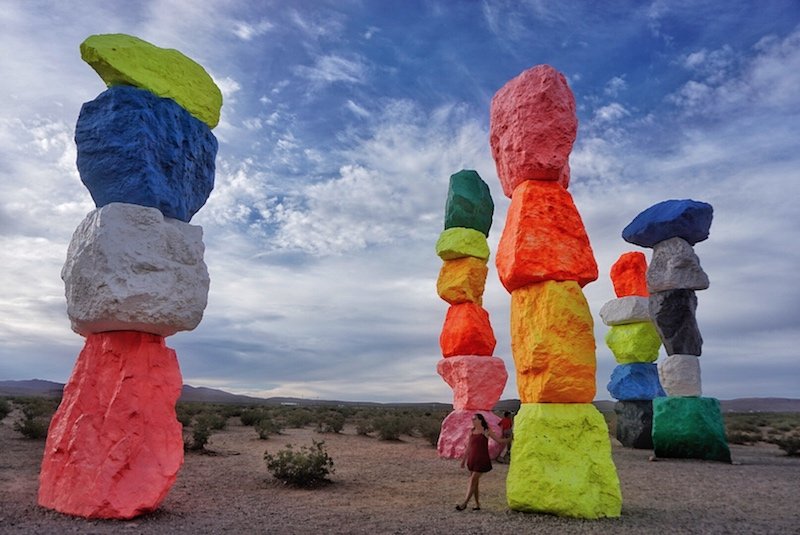
Allison exploring the area outside of Las Vegas
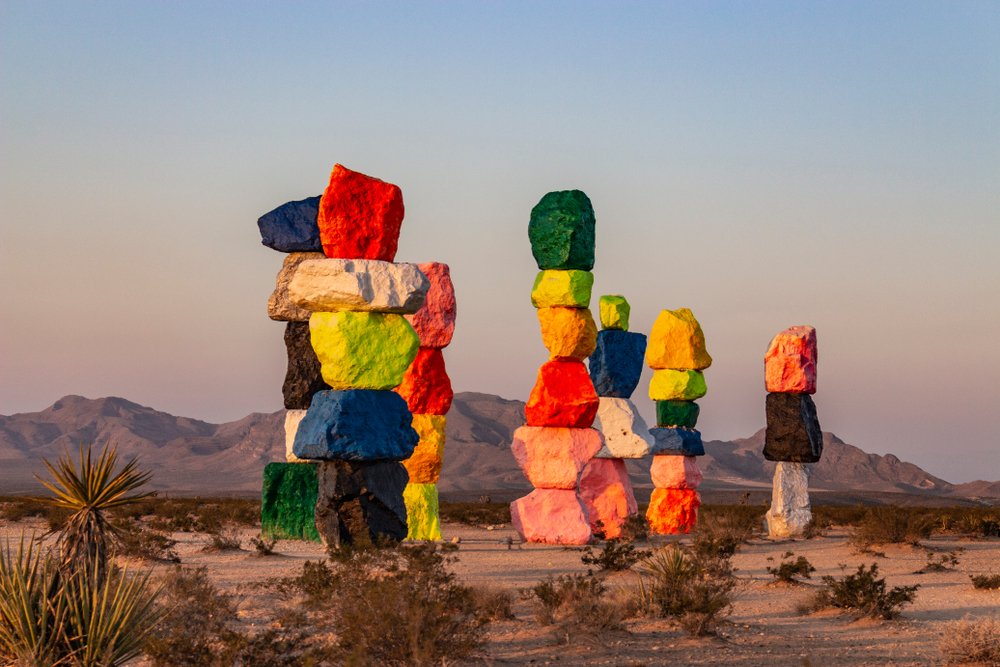
The Seven Magic Mountains installation, a temporary art exhibit 20 minutes outside of Vegas

Las Vegas is an improbable oasis in the midst of a desert. 

The average high temperature between June and August is 102 degrees Fahrenheit — so unless you have a good tolerance for heat, it’s best to stay away from Vegas during these times. 

For the most bearable weather, visit between March and May or September and November. The weather won’t be either too hot or too cold.

Keep in mind that the famous Vegas ‘pool parties’ typically open March through October. For an events calendar, check here.

Visiting Las Vegas on a Budget
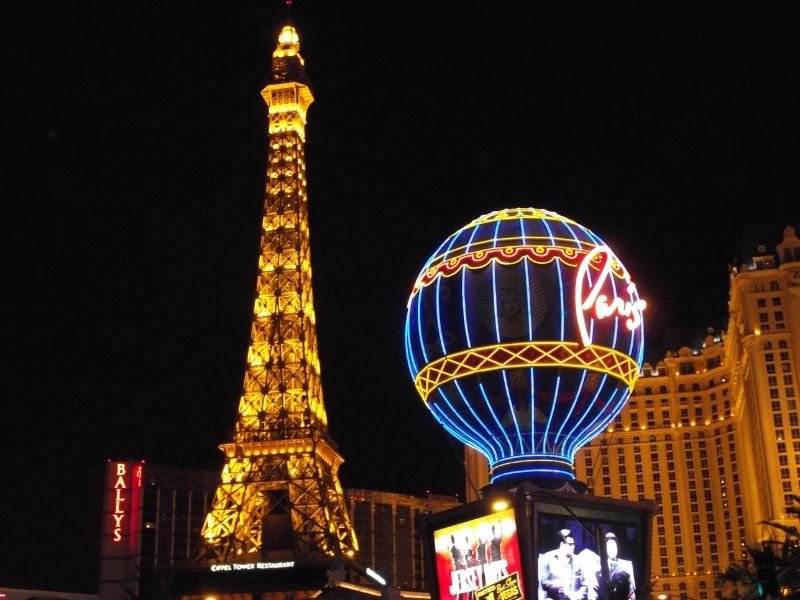
balloon and eiffel tower in las vegas lit up at night

If you are trying to save money, look for travel dates from Sunday to Thursday for lower hotel and airline prices. Booking on a weekend (Friday to Sunday) will usually always cost more. 

The cheapest months for flights and hotels are typically mid-June, mid-to-late July, and August (keep in mind it’s very hot in Vegas during this time). 

Other popular times to visit Vegas on the cheap are in late November; December (before Christmas and New Years); and January (after New Years).

Avoid visiting during federal holidays and during annual events that happen in the city (e.g., EDC festival, World Series of Poker, NASCAR, etc.). Check here for a list of all yearly events. 

What to Pack for a Weekend in Vegas
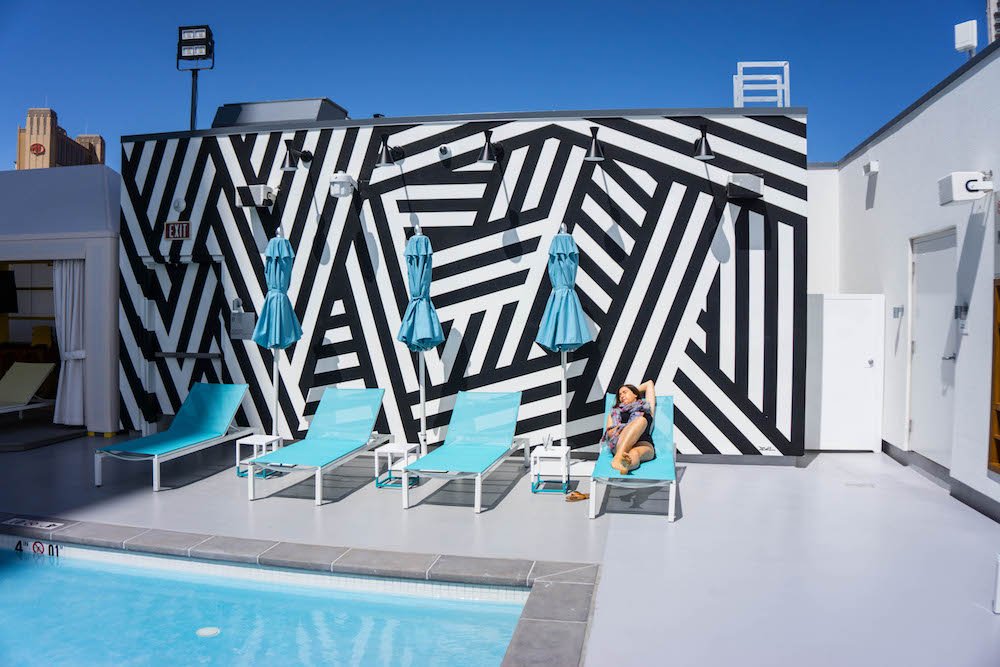
allison relaxing at the pool in las vegas
Definitely bring some clothes for poolside time when packing for Vegas!
  • Comfortable walking shoes: You will be doing a lot of walking!
  • Light jacket: While it is hot in Vegas for most of the year, all indoor spaces will have the AC on blast and you will likely find yourself feeling cold after a while! And if you visit outside the summer months, temperatures can drop quite drastically by night and it can feel chilly.
  • Sunscreen, hat, and sunglasses: The sun is bright and strong in Vegas!
  • Swimwear and sandals: If attending a Vegas pool party!
  • Summer clothes (e.g., tank tops, t-shirts, dresses, shorts).
  • Water and snacks: If you’re driving into Las Vegas, purchase this beforehand to bring with you as these items are pretty overpriced on the Strip.
  • Lotion/moisturizer: Because between the dry climate and the likelihood of drinking alcohol (which will further dehydrate you), your skin will be very dry.
  • A couple of nice club outfits (for women: a nice dress or skirt and top, and heels; for men: nice fitting pants or jeans, a button-up shirt, and dress shoes): Yes, there is a dress code requirement for the nightclubs on the Strip! The places in downtown Vegas do not have a strict dress code.

Where to Stay for a Weekend in Las Vegas

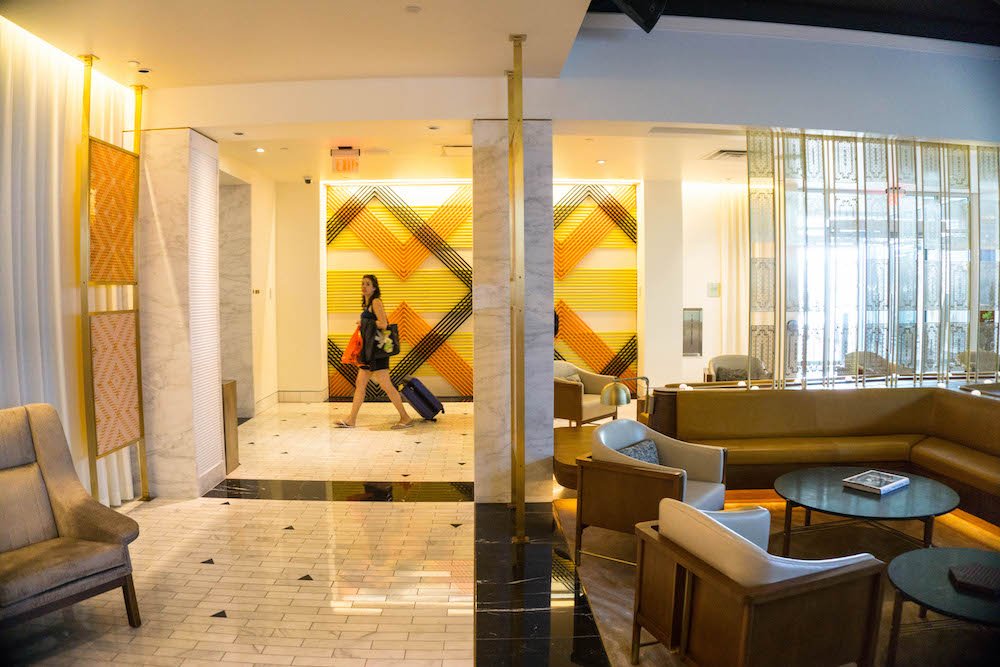
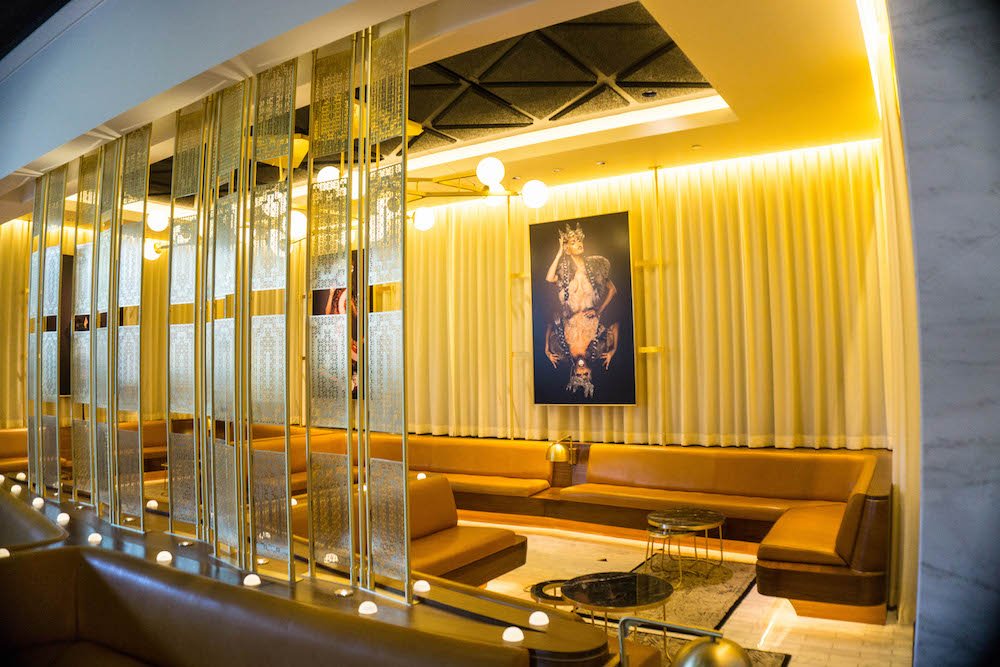
Relaxing at the W hotel in Las Vegas
Staying in style in Las Vegas!

Getting Around Vegas

public transit in las vegas - the las vegas monorail train serves the strip

Walking: For the first day of this Las Vegas itinerary, you’ll be walking the Strip, so a good pair of walking shoes is highly recommended.

Car rental: For the second day, you may want to rent a car (but you can get away without it and use rideshares or public transportation). I use Discover Cars to find the best price on my car rental.

Uber/Lyft/Taxi: Depending on where you choose to stay on the Strip relative to the locations of the activities listed on the first day (or if you just get tired from walking), Uber, Lyft, or taxi is a convenient option for getting around. 

If you don’t rent a car for this itinerary, you can get around on day 2 of this trip by using rideshares or public transportation 

Note: When on the Strip, you must go to a designated pick-up spot at a hotel if you want to take a taxi or use Uber or Lyft.  

Bus: For the first day, the cheapest option besides walking is by bus. The local double-decker Deuce bus has a route that goes directly along The Strip. The Deuce offers frequent services approximately every 15 minutes. A 2-hour pass is $6 and a 24-hour pass is $8. To buy a pass and plan out your route, download the rideRTC app on your smartphone.

Monorail: For the first day, another option for getting around is by riding the Las Vegas Monorail. After you’ve finished touring the Strip, you can ride the Monorail straight back to your hotel from one end of the Strip to the other end. 

A single ride costs $5 while a 24-hour pass costs $13. You will have to walk a fair distance to get to the monorail stations, but considering the Monorail can get you to your destination in less than 15 minutes, this is a true timesaver! 

Plus, trains arrive every 4-8 minutes at each station. The Monorail map can be found here and tickets can be purchased online here.

RTC Bike Share: For the second day, riding an e-bike is a great alternative when you’re in downtown if you don’t want to deal with driving around everywhere (if you decide to rent a car). 

You can buy a dasher pass for $5, which gives you 24 hours of access and unlimited 30-minute rides. Check out the map of all the bike share stations downtown here

Day 1 of Your Las Vegas Itinerary: On the Strip

The first day is about being at the heart of where all the hustle and bustle is in Las Vegas—the Strip!

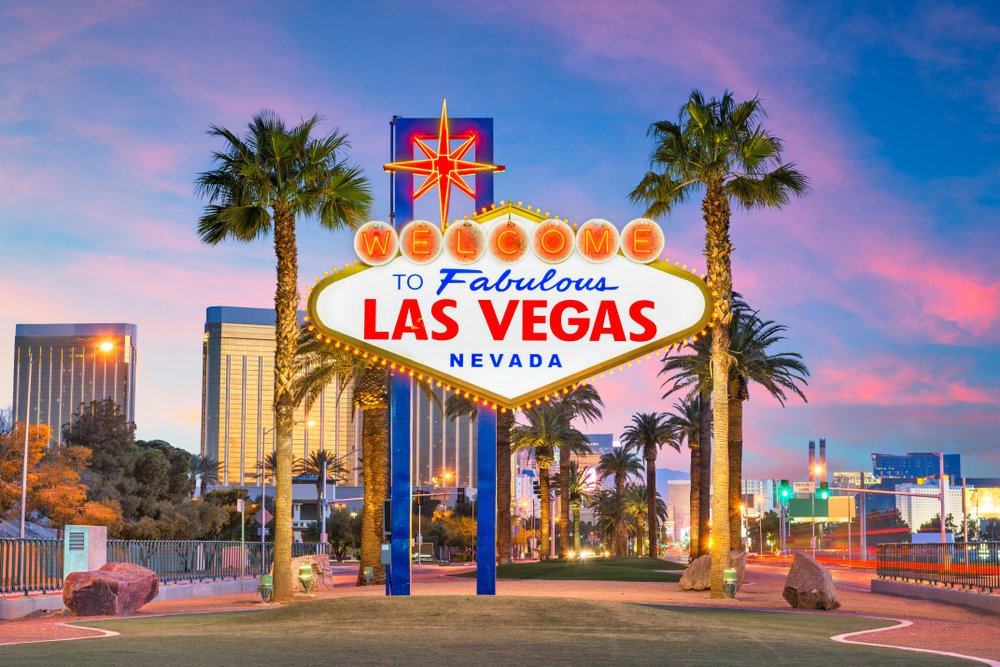
See the iconic “Welcome to Fabulous Las Vegas” sign. 
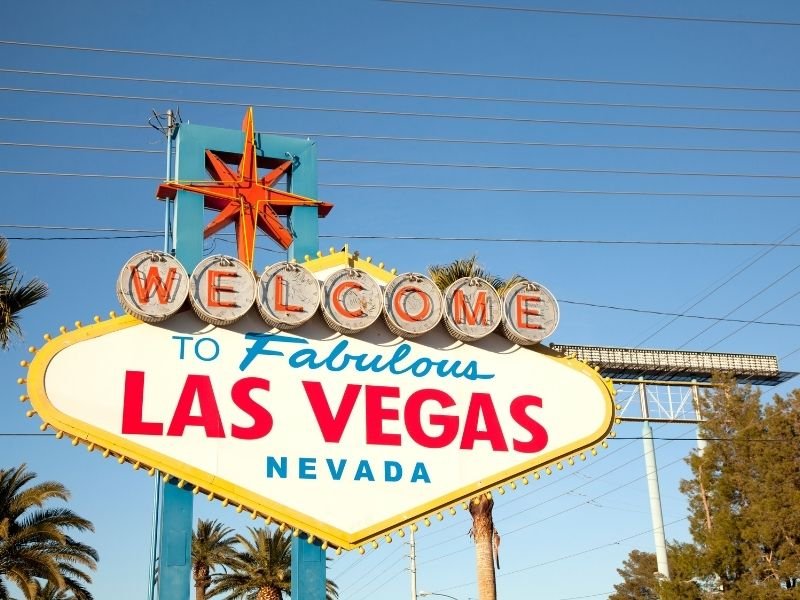
Retro-fabulous sign that reads "welcome to fabulous las vegas nevada" on a sunny day

Kick off your trip with a warm welcome from the “Welcome to Fabulous Las Vegas” sign! Fill up your camera reel with some fun photos in front of the sign. 

There may be a line to take a close-up photo with the sign, but you can always step to the side of the sign to snap a photo if you don’t want to wait. 

There will also be workers by the sign offering to take your picture for tips, but feel free to decline this. There is a designated parking lot for this attraction if you have a car rental with you.

Address: 5200 Las Vegas Blvd S, Las Vegas, NV 89119

Grab breakfast on the Strip.

a breakfast spread on a white tablecloth with pastries and coffee and pancakes

The one unfortunate part of the Strip is the overpriced food and drinks. So if you’re on a budget (or you’re just trying to save when you can), grab a bite at The Egg Shop

You can buy breakfast for roughly $10 to $12 and choose from a menu that includes delicious classics like pancakes, French toast, and scrambled eggs and toast! 

Now if you’re here to splurge, head to the Four Seasons Hotel and dine at Veranda

The restaurant offers a variety of egg dishes like steak and eggs, eggs benedict, and omelets. If you prefer a sweet breakfast, they have several pastries to choose from and of course, pancakes and waffles. 

The service is top-notch, everything is perfectly cooked, and the portions are filling. Don’t shy from adding a mimosa or bloody mary with your meal too, it’s never too early when you’re in Vegas! Breakfast averages at $23 per dish.

The Egg Shop ($)Address3961 S Las Vegas Blvd, Las Vegas, NV 89119 

Veranda ($$$) Address3960 S Las Vegas Blvd, Las Vegas, NV 89119 (inside the Four Seasons Hotel) 

Soak in all the splendid sights and sounds of the Strip. 
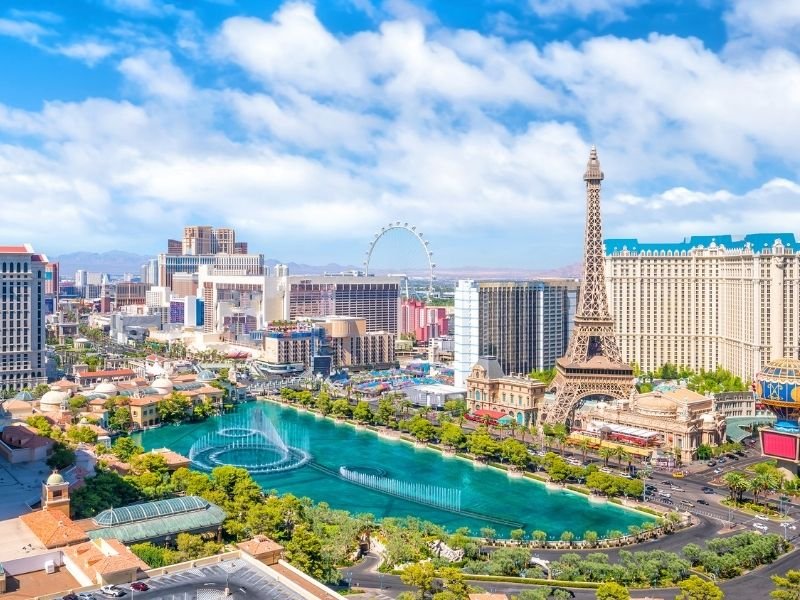
the las vegas strip as seen from above on a sunny day

After enjoying a hearty breakfast, spend the afternoon enjoying the Vegas playground! 

It’s extravagant, lively, and full of spirit—and the best way to experience all its splendor is by immersing yourself in all the action located directly on the Strip. 

The Strip is about 4.2 miles long and takes roughly an hour and a half to walk it at a steady, moderate pace. 

But since you’re here to explore and absorb your surroundings, you should take your time (at least 3 to 5 hours, about a half-day). The afternoon is yours to roam, sightsee, shop, eat, and drink!

And while the Strip can be expensive (when it comes to buying certain food and shopping), there are many free and affordable things you can do! Here are some free and low-cost things to check out during the afternoon: 

Watch the Bellagio fountain show. Enjoy the choreographed music and lights in front of the fountains of Bellagio Hotel!
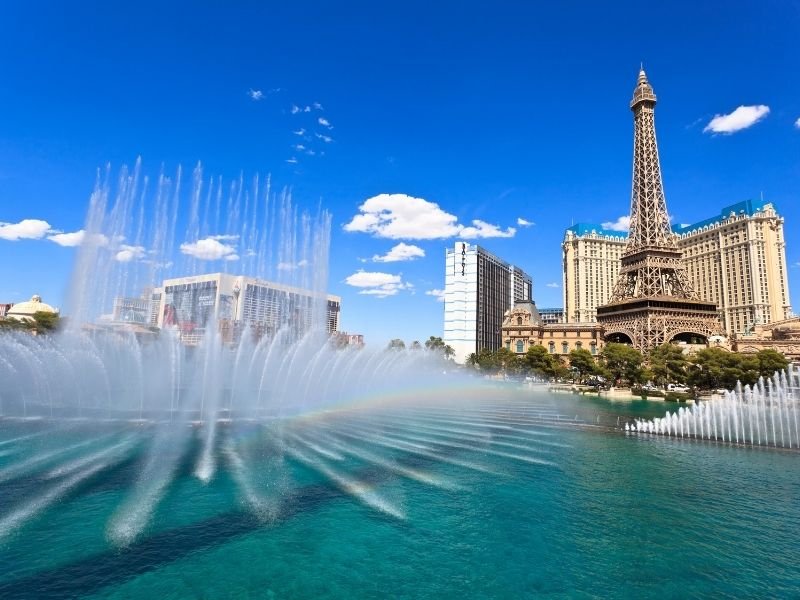
fountain in front of the bellagio during the day time making a small rainbow prism in the water with the eiffel tower visible in the background

Check out the architecture (exterior and interior) of each hotel. You’ll see each hotel has its own theme (e.g., Caesars Palace looks like an Italian palace, Paris Las Vegas has its own Eiffel Tower, the Luxor and its pyramid, etc.) and the construction and design of each hotel is something to admire.

Tour the Bellagio Conservatory and Botanical GardensThe remarkable part of this conservatory and garden is that it changes seasonally (e.g., during winter, the displays transform into a breathtaking holiday theme). You’ll definitely be taking a lot of photos here!  

Window-shop your way through Vegas. You may not have the cash to burn, but you can spend some time enjoying drooling over the luxury items at the designer shops in Aria, The Forum Shops at Caesars, Grand Canal Shoppes at The Venetian, and the Wynn Plaza at the Wynn—there is a lot to gawk at that will keep you intrigued!

Walking the Shark Reef Tunnel at the Mandalay Bay. While not free, this activity is on the cheaper end of Vegas attractions. Admire more than 2,000 different animals — ranging from sharks to piranhas to giant rays and sea turtles, and even Komodo dragons!

Book online in advance here to skip the ticket purchase line!
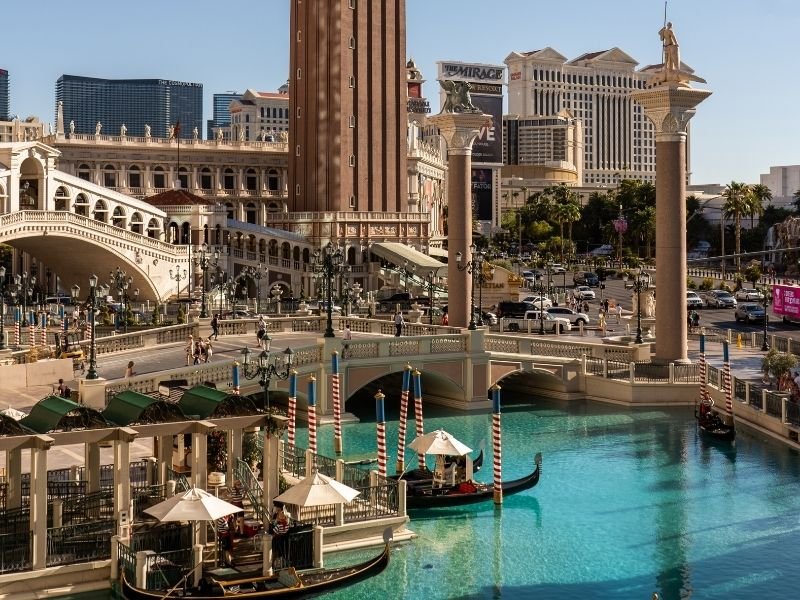
realistic venetian-style architecture with gondolas, a pool, a bridge and a replica tower

See the gondola rides at The Venetian. Even if you’re not paying to ride a gondola, it’s a sight worth seeing as the Venetian itself is a stunning, intricately built hotel full of marble columns, arch bridges, painted ceilings. 

Walking around here will feel like you’ve arrived in Venice, Italy. You may catch the gondoliers themselves belting out a song too, it’s quite the performance!

Wanna gondola? Book this combined ticket for a gondola ride and entrance to Madame Tussaud’s to save some money!

Book your combination gondola ride + Madame Tussaud’s ticket here!

Visit the Flamingo Wildlife habitat at the Flamingo Hotel. Here, you can see a variety of wildlife like Chilean Flamingos, pelicans, hummingbirds, turtles and an impressive array of fish.
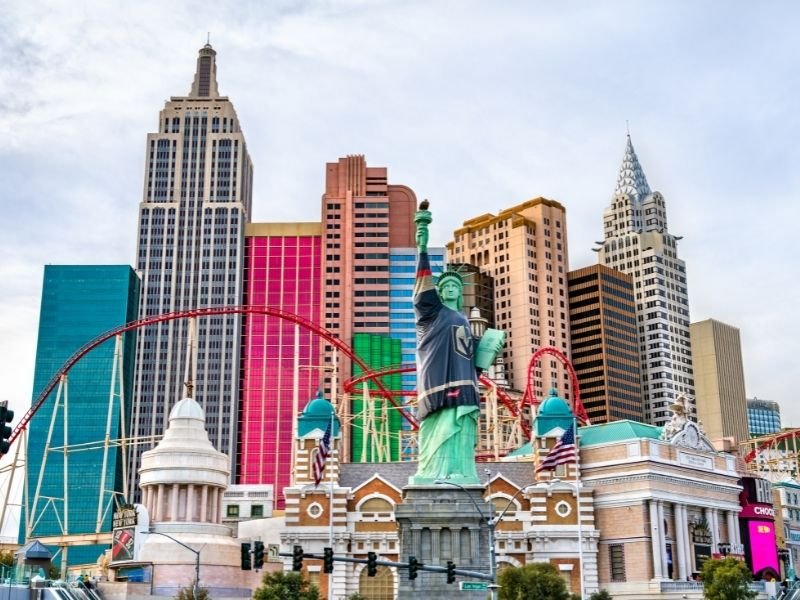
The roller coaster in front of the new york new york hotel in las vegas with the statue of liberty in front

Take the Big Apple Coaster at the New York-New York Hotel. Another lower-ticket item, a ride on the famous roller coaster in front of the New York-New York Hotel is a fantastically fun way to spend a bit of one day of your Vegas trip! 

Book online in advance here to skip the ticket purchase line!

Have dinner on the Strip.

buffet with options like sushi and other asian fare offered at a las vegas buffet

After a full afternoon of exploring the Strip, it’s time to eat! 

Here are a couple of highly-rated places to eat on the Strip, with one budget-friendly option and a pricier option for those who want to splurge:

Budget: They’re not the cheapest tacos you’ll find in the world, but for a meal on the Strip, Tacos El Gordo is a very affordable option. 

They serve Tijuana-style tacos like suadero (beef brisket) and abobada (spiced pork) with handmade corn tortillas, and they also make their own fresh guacamole and salsas. Be prepared to wait in line here, this place is popular for a reason! Each taco is approximately $3-$5.

Splurge: An absolute must when in Vegas is dining at a buffet! The buffets in Vegas are next level in terms of food quality, interior design, service, and ambiance. 

There are dozens of buffets on the Strip that offer some exquisite, mouth-watering food, and among the most popular is the buffet at the Wynn

Dinner is $64.99 per person Monday through Thursday and $69.99 per person on Friday and Saturdays. It’s a worthwhile dining experience as there is nearly every type of cuisine here (vegan and vegetarian options included). Add an open bar tab for $27.99 per person!

If you’re a fan of seafood, be sure to pile your plate high with their Alaskan Opilio crab legs! The dessert section is huge, so make sure to leave room for this too. 

There is also a server at your table who attends to you for drinks. Make a prepaid reservation online here.

Tacos El Gordo ($) Address: 3041 S Las Vegas Blvd, Las Vegas, NV 89109

Buffet at The Wynn ($$) Address: 3131 S Las Vegas Blvd, Las Vegas, NV 89109

Watch the Las Vegas skyline light up the night at 1,149 feet high.
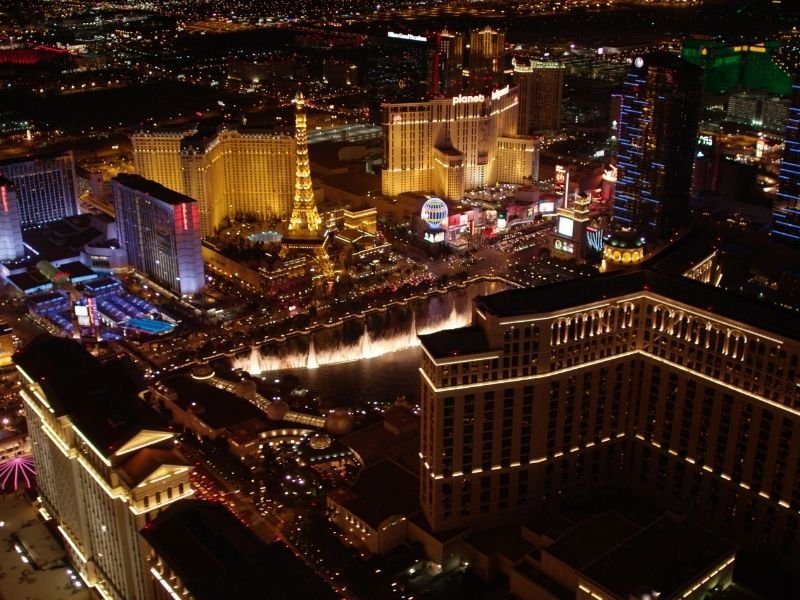
las vegas at night as seen from above

Hopefully, you’re not afraid of heights, because you’re about to be standing in the tallest freestanding observation tower in the U.S.! 

Head to the SkyPod at the STRAT Hotel (previously The Stratosphere) for breathtaking, 360-degree views of the Las Vegas Strip and Valley. 

Las Vegas is considered the brightest spot on Earth, and since you can’t fly to space to see this spectacular view (though of course, you could take a helicopter tour!), this is the next best thing!

Buy tickets and book your dates in advance online here. Tickets are $24 and include access to both the indoor and outdoor observation deck. 

And if you’re an adrenaline junkie, purchase the package for skyjump, which allows you to bungee jump from 829 feet above the Strip!

Book your bungee jump online here!

photo of the linq ferris wheel from below

Alternately, take a spin on the High Roller at the LINQ, which is a less intense option. 

 If all that height is a bit much for you, there’s also the High Roller observation wheel which is a great alternative, where you slowly ascend 550 feet in your own air-conditioned pod.

Book a ride on the High Roller here!

The LINQ also has its own zipline experience, where you can zoom over 1,000 feet down a zipline towards the base of the High Roller, over 100 feet in the air! 

This is a good introductory activity if you want something in between bungee jumping and a Ferris wheel.

Book your ziplining experience here!

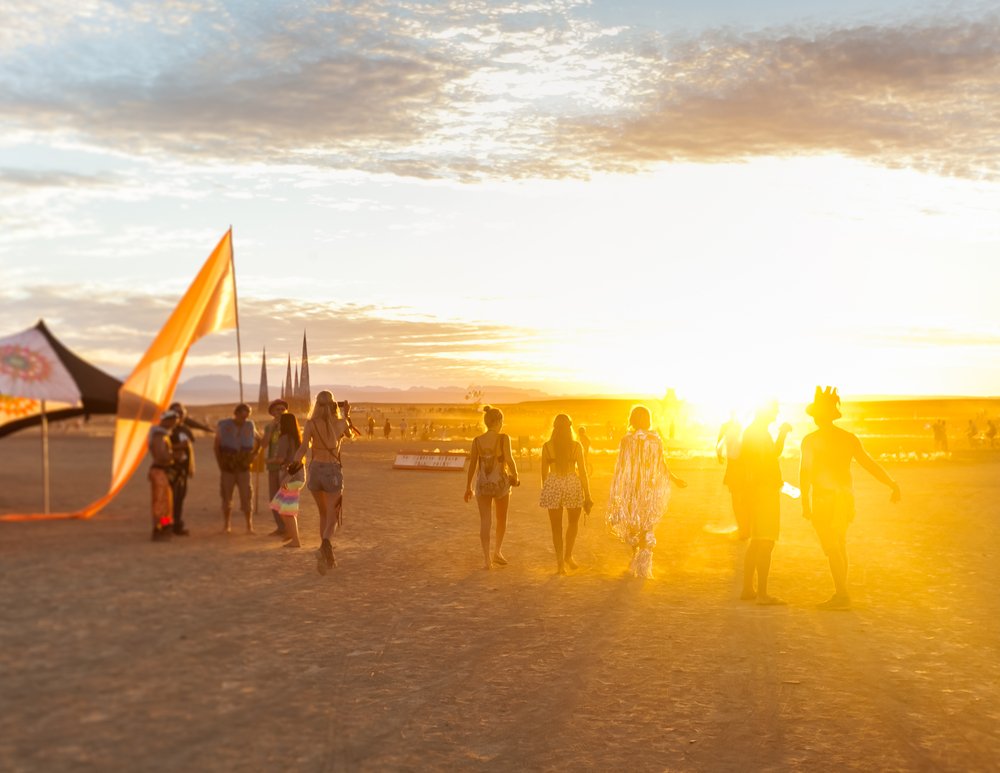
Experience an unforgettable Las Vegas party.

african american man and caucasian woman in heels going out for a night of dancing in las vegas

Alright, time for bed! Just kidding. 

Another “when in Vegas” experience is about to unfold—time for a night out of partying at the club! 

The exciting part about the party scene in Vegas is that many clubs feature big-name DJs as the headliners and sometimes celebrities as their special guests for the event. 

To get into any club event, you will need to put your name on the guestlist. To do this, add your name to one of the free guest lists here for the club you want to go to (you can also check the calendar on this website to see who is the DJ at each club). 

Not all clubs offer a free guestlist, so alternatively, you can purchase tickets directly on the club website. Unfortunately, ticket prices are not the same for males and females (it costs more for males). Ticket prices vary per club.

Note: All clubs have a strict dress code, so make sure to check the club’s website to make sure you are wearing the appropriate attire or else there is a chance you might be declined entry!

Tip: Some of the best parties are held at XS Nightclub, EBC (at night), Drais, Omnia, Marquee, and Hakkasan.

Not into partying? There are a plethora of Vegas shows worth seeing to see Sin City, minus the sin part! Cirque du Soleil is a Vegas classic, but there are all sorts of shows for every kind of taste.

Day 2 of your Las Vegas Itinerary: Exploring Off the Strip

For the next day of our weekend getaway in Las Vegas, it’s time to go on an adventure away from the Strip. 

Your second day in Las Vegas will take you to other parts of the city that often do not get the attention it deserves—Vegas has a lot more than just sightseeing along the Strip!

Have breakfast at Café Lola.

Enter this pretty-in-pink cafe and it’s as if you’ve sat down for a traditional afternoon tea, but with a modern twist. 

At Café Lola, every food and beverage item is adorable, aesthetic, or to put it simply—Instagrammable. 

Beyond the presentation, their items are freshly made and a delicious treat to start your morning! 

Try the breakfast croissant (their house-made croissant served as a sandwich with an organic egg, roasted turkey, and havarti cheese). 

For something sweet, go for the strawberry shortcake waffle served with fresh strawberries, white chocolate, cookie crumbles, housemade whipped cream and strawberry syrup—is your mouth watering yet?

Address: 4280 S Hualapai Way #109, Las Vegas, NV 89147

Take a scenic drive through Red Rock Canyon.
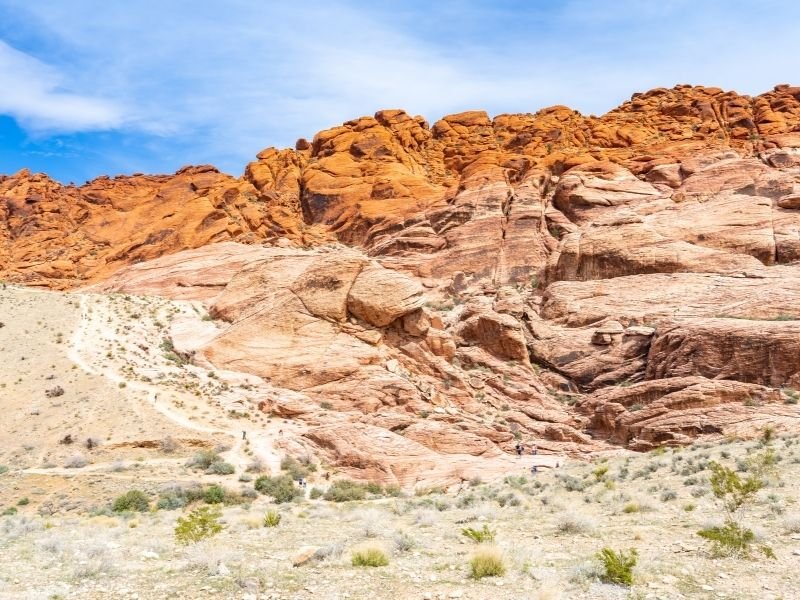
visiting the red rocks of red rock canyon in las vegas with shrubbery and desert flora

Take the 13-mile scenic drive through Red Rock Canyon in Nevada’s Mojave Desert and it’ll appear as though you’ve been transported to another planet! 

This rugged and brilliant red landscape contains 600 species of plants like Joshua trees, and wildlife like desert bighorn sheep (usually seen at higher altitudes if you can spot them from afar). 

The drive offers spots where you can pull over to take photos, and you can take your time driving through the entire route—there is no time limit.

You will need to book a time to enter the canyon. Make a timed-entry reservation online here. It’s $15 per car, and $15 + $5 per person for commercial tour vehicles (e.g., taxi, rideshares, etc.).

Address: 1000 Scenic Loop Dr, Las Vegas, NV 89161

Wander and wonder inside AREA15.

At AREA15, you’ll be invited to engage in many mind-bending and mesmerizing experiences. 

This venue is full of various immersive entertainment and games, psychedelic art displays, and unique food and beverage options that provide you a full-sensory experience. 

One of the highly raved about exhibits is their interactive and immersive art experience, Omega Mart—you have to buy tickets here, you don’t want to miss out on this while you’re here!

Address: 3215 S Rancho Dr, Las Vegas, NV 89102

Check out downtown Las Vegas. 
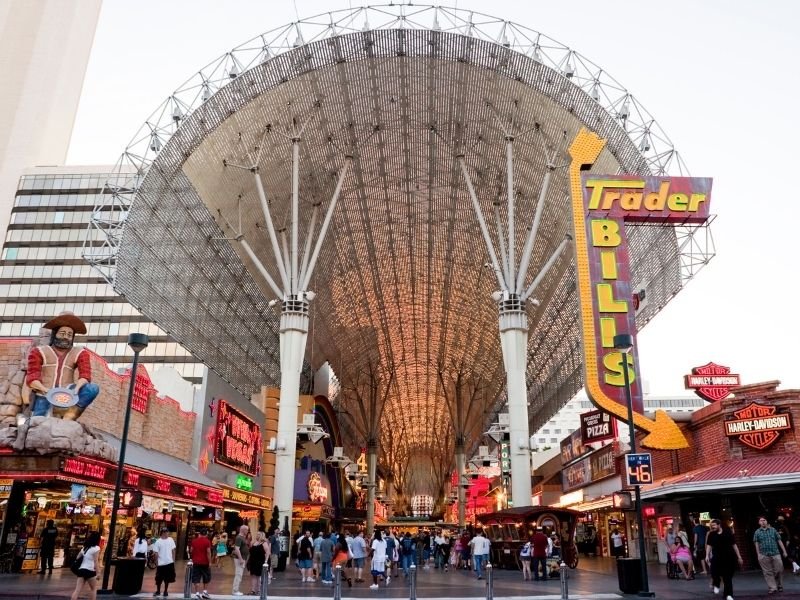
the busy downtown of las vegas, fremont street off the strip

In 1906, the first hotel, Golden Gate Hotel & Casino, was built in downtown Las Vegas on Fremont Street.

This marked the beginning of what the city is known for today—glamour, endless entertainment, gambling, brilliant lights, sleepless nights, and ultimately, a place to stay and play. 

Thereafter, Fremont Street flourished and became a hotspot for visitors! 

Covering five blocks of downtown, the Fremont Street Experience is where you can see free concerts, watch the Viva Vision Light Show for free (the world’s largest digital ceiling display), and ride the SlotZilla Zipline, which is 11 stories high and takes you on a thrilling ride over Fremont Street.
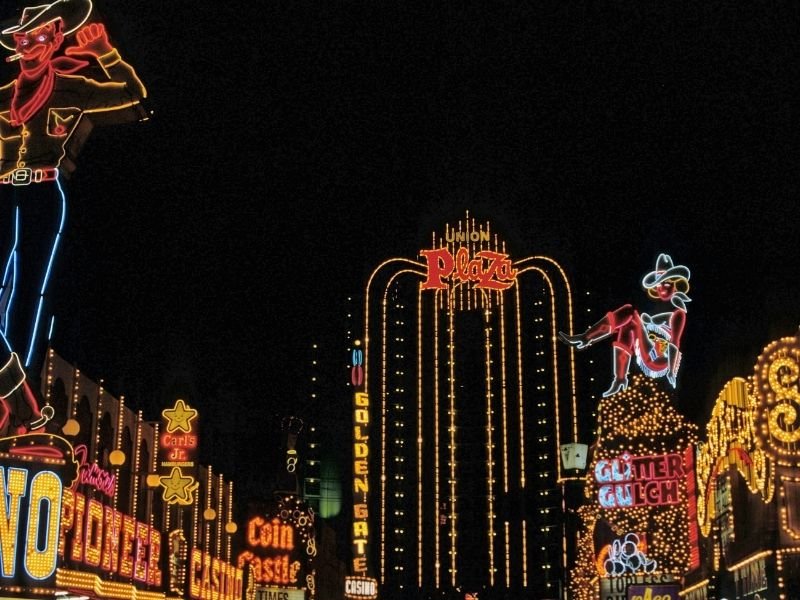
the downtown area of fremont street all lit up with neon signage

After you’ve explored Fremont Street, check out The Neon Museum and tour its exhibit full of dazzling neon signs—some date back to the 1930s! Buy tickets online here.

Another interesting museum is the Mob Museum, which focuses on the history of organized crime in the United States and housed in a historic courthouse. Buy tickets online here.

Another cool area to visit when you’re in downtown is the Arts District.This district is brimming with both contemporary and antique art galleries and shops. 

Bars, pubs, and a variety of restaurants and cafes also fill the scene. Keep an eye out for all the beautiful murals throughout the district too!

Fremont Street Address: E Fremont St, Las Vegas, NV 89101

The Neon Museum Address: 770 Las Vegas Blvd N, Las Vegas, NV 89101

The Mob Museum Address300 Stewart Ave, Las Vegas, NV 89101

Arts District Address: 1001 S 1st St, Las Vegas, NV 89101

Dive into the downtown food scene.

There is no shortage of culinary choices in downtown Las Vegas, so if you’ve decided to explore the Arts District, dine at Esther’s Kitchen for some superb Italian cuisine made from farm-to-table ingredients. 

Their housemade sourdough bread (with your choice of spread) may be the best sourdough you’ll ever have. 

Paired with any one of their pasta dishes (also made from scratch), you’ll be blown away at how perfect it tastes!

If you’ve stayed around the Fremont Street area, eat at Carson Kitchen where you can indulge in elevated, re-imagined New American cuisine. 

A must-order is their “Devil’s” Eggs, Black Rice & Oxtail Risotto, Cocoa-Espresso NY Strip, and of course, dessert —the Glazed Donut Bread Pudding.

Esther’s Kitchen Address ($$): 1130 S Casino Center Blvd #110, Las Vegas, NV 89104

Carson Kitchen Address ($$): 124 S 6th St Suite 100, Las Vegas, NV 89101

Finish off the night with round 2 of dancing.

Man's hand serving an orange drink with crushed ice and mint

In Vegas, the nightlife is always buzzing. End your trip with a bang with another night out on the town. Bar or club, there are endless spots to choose from! 

Still in the Arts District? Check out Millennium Fandom Bar where you can play board games and trivia or sing karaoke. 

Looking for a good cocktail? Head back up to Fremont Street to the Downtown Cocktail Room.

Or if you want, go back to the Strip, and dance the night away at one of the clubs. The night is yours, so make it count!

Millennium Fandom Bar Address: 900 S Las Vegas Blvd #140, Las Vegas, NV 89101

Downtown Cocktail Room Address: 111 S Las Vegas Blvd, Las Vegas, NV 89101

Extending Your Weekend in Las Vegas
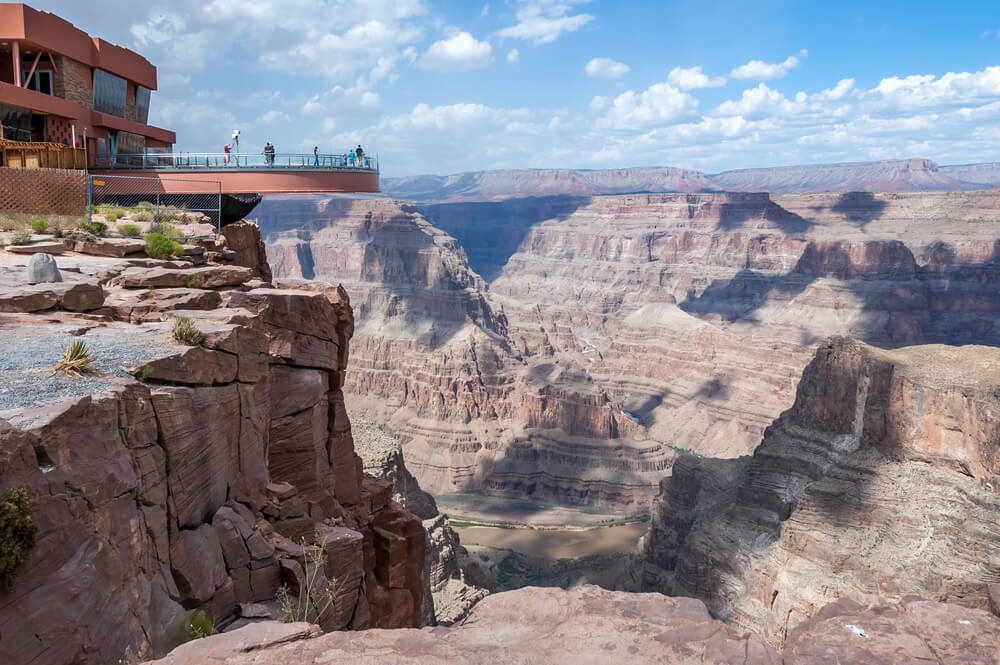
people out on the skywalk platform at the west rim of the grand canyon

If you have three days in Vegas, allocate one for a day trip to see some of the nature that surrounds Las Vegas!

Grand Canyon and Hoover Dam: See two of the USA’s biggest bucket list items on one easy day trip from Vegas! This tour takes you to the West Rim of the Grand Canyon (where you can do the legendary skywalk) with a stop at the Hoover Dam along the way. Check tour itinerary and more details here!

Note that the west rim is the closest part of the Grand Canyon, and while it is the Grand Canyon, it is not the national park’s land; this land is part of the Hualapai Reservation and is sovereign native land.

Antelope Canyon and Horseshoe Bend: See two classics of the American Southwest all in Page, Arizona! Antelope Canyon is a beautiful slot canyon that twists and turns through narrow rock, and Horseshoe Bend is a scenic bend in the Colorado River that has to be seen to be believed. 

This tour includes pick-up, transit, and drop-off, as well as a guide, all the fees, and lunch included. Check tour itinerary and more details here!

How to Visit the Valley of Fire From Las Vegas: Day Trip Guide

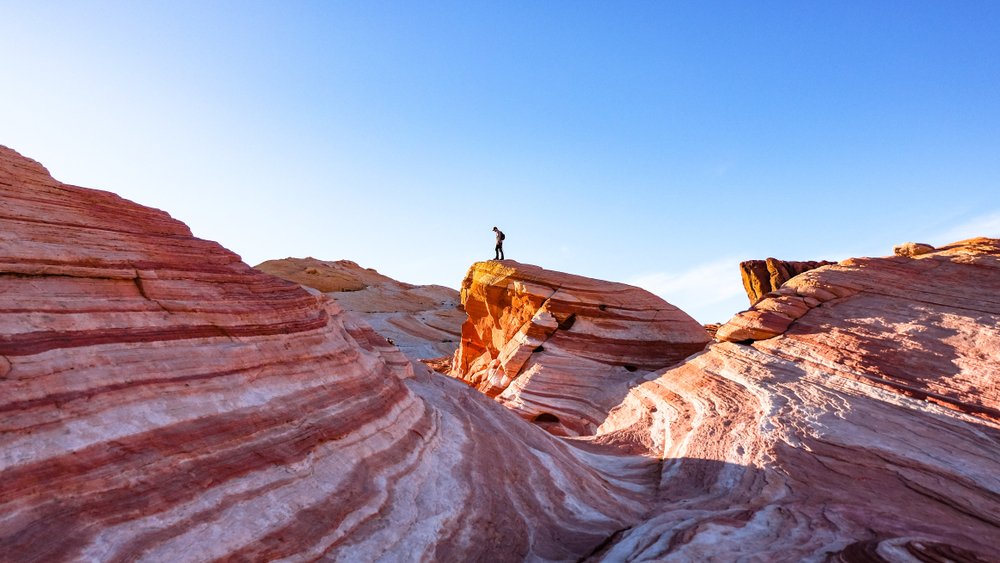
Just 45 minutes outside of Vegas is one of the most spectacularly under-the-radar spots in the entire American Southwest: Nevada’s Valley of Fire.

The American Southwest road trip is so popular that it’s become a tad predictable. You’ll hit Zion and Bryce and Arches, for sure. The Grand Canyon, because duh. 

You’ll pop through Page, Arizona for Horseshoe Bend and Antelope Canyon, if only to keep the ‘gram happy. 

If you’re intrepid, you’ll visit a few of the lesser-known national parks and monuments scattered along the way — perhaps Canyonlands or Capitol Reef to finish up Utah’s Mighty 5, or check out Monument Valley or Grand Staircase.

But my favorite stop of any Southwest road trip is even less well-known than many of these. It’s not even a National Park. It’s just a humble little state park, an easy day trip from Vegas. 

Where is the Valley of Fire?

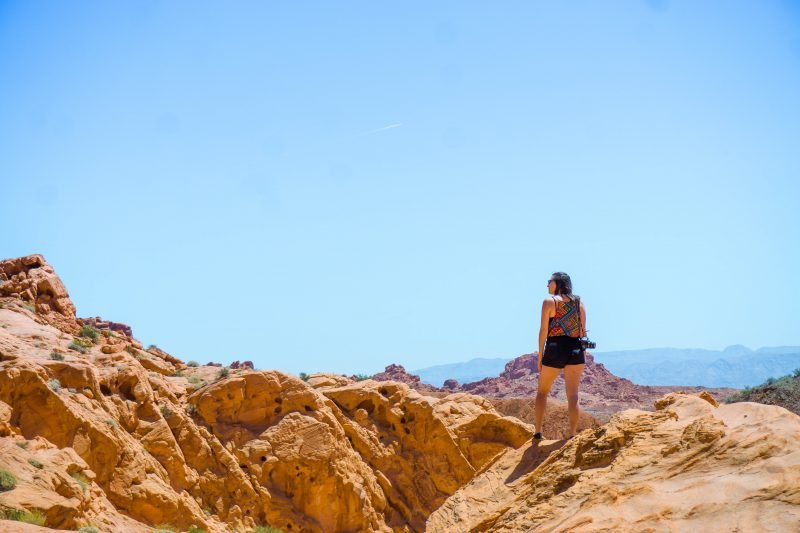
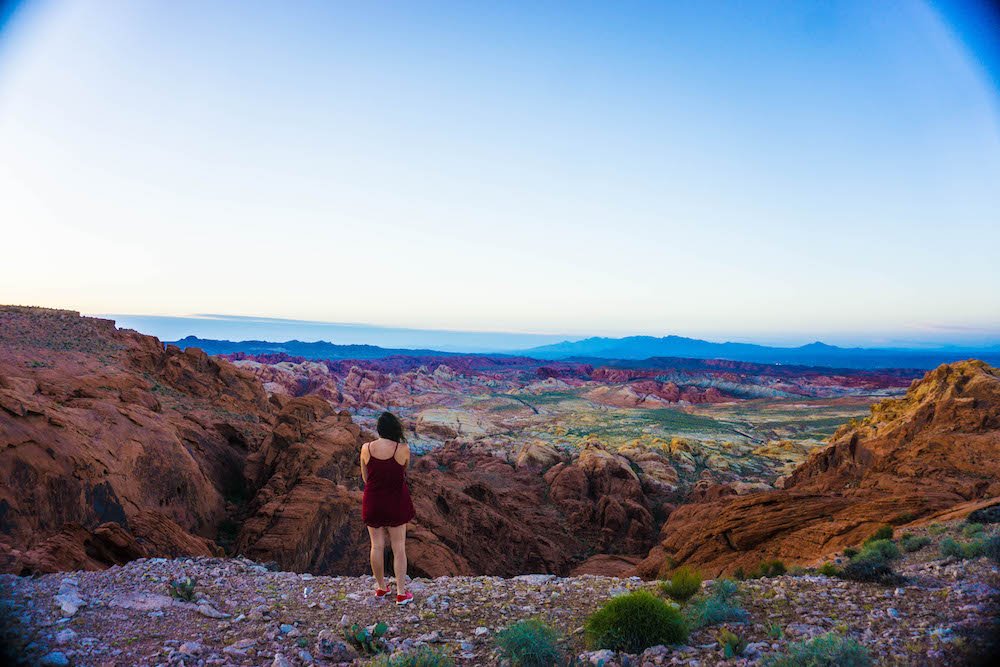
Allison standing in the Valley of Fire on a tour

Valley of Fire State Park is located in Overton, NV, about 45 miles and 45 minutes from Las Vegas.

There are two ways to get there: via the East Entrance and via the West Entrance.

This tour assumes you are visiting the Valley of Fire from Las Vegas on a full-day excursion, and thus will use the West Entrance. 

This closest to Fire Cave, Windstone Arch, and the Beehives (the first stops on this Valley of Fire tour as written).

The way to get here is via the Las Vegas Freeway (I-15), followed by exiting at the Moapa Paiute Travel Plaza. You can stop here for some shopping or a bathroom break before continuing on the Valley of Fire Highway.

At the West Entrance, you’ll need to pay a $10 entrance fee for a Nevada vehicle ($15 entrance fee for an out-of-state car).

If you enter via the East Entrance for some reason, such as if you are coming from Zion National Park, you’ll want to follow this itinerary in reverse.

To get here, before reaching Las Vegas, you’ll exit off I-15 (Las Vegas Freeway) onto Highway 169, through Moapa Valley and Overton.

Map for This Valley of Fire Itinerary

One Day in Valley of Fire Itinerary

This Valley of Fire itinerary assumes you are visiting Valley of Fire from Las Vegas on a self-guided day trip with a car, either your own or a rental car.

Not sure where to get the best deal on your rental? I’ve rented cars dozens of times through various search engines and have settled on Discover Cars as the best car rental search engine – it searches over 500 trusted rental companies to find the cheapest price for your rental! Compare prices for car rental from Las Vegas here.

Get an early start because this is a jam-packed day in Valley of Fire State Park!

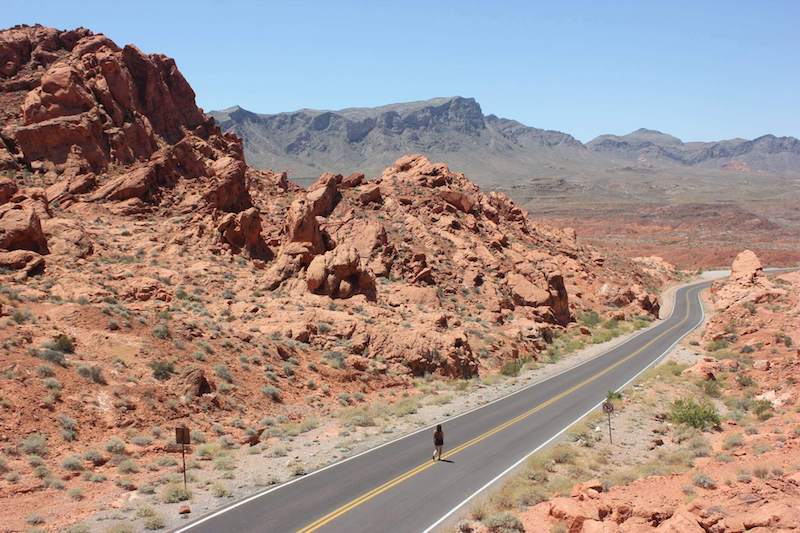
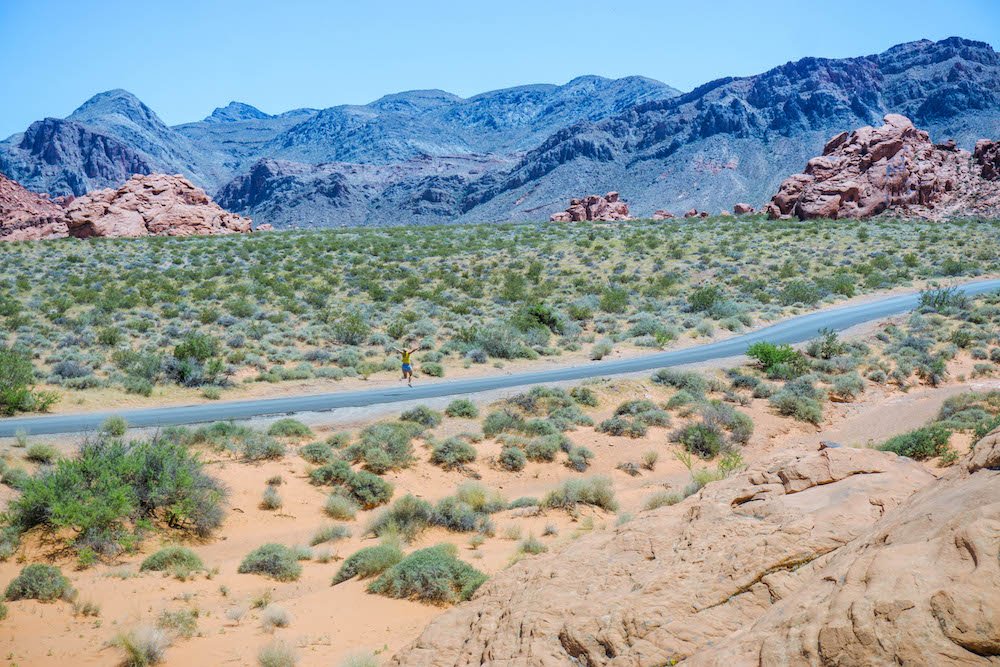
Allison walking in the valley of fire on the road throughout the park

Start at the Fire Cave and Windstone Arch.

As you enter the park, your first stop is just a quick side-trip off of Valley of Fire Highway, turning left down a dirt road.

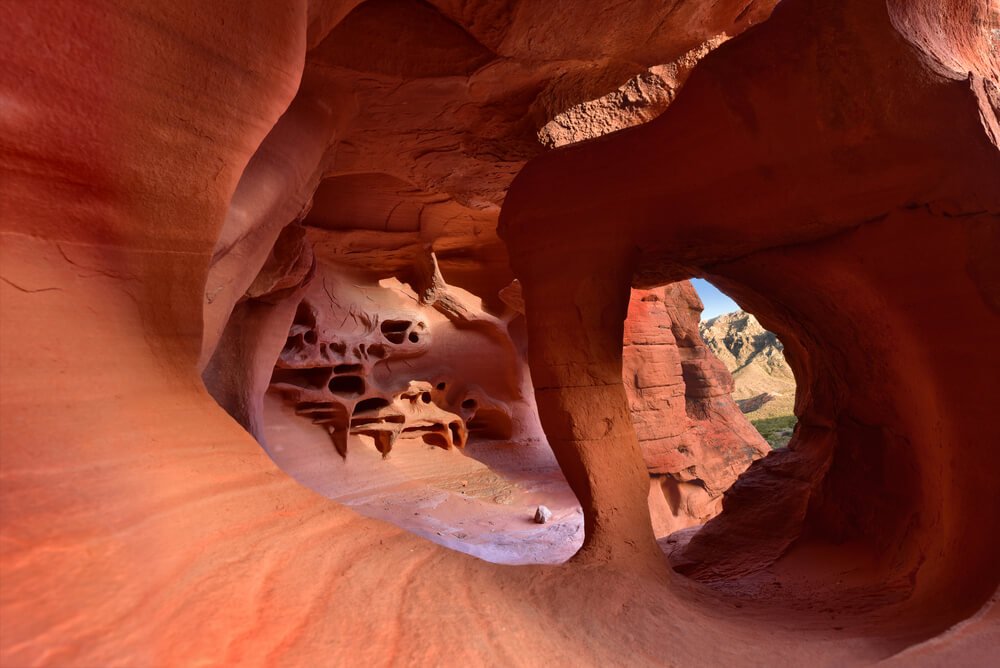
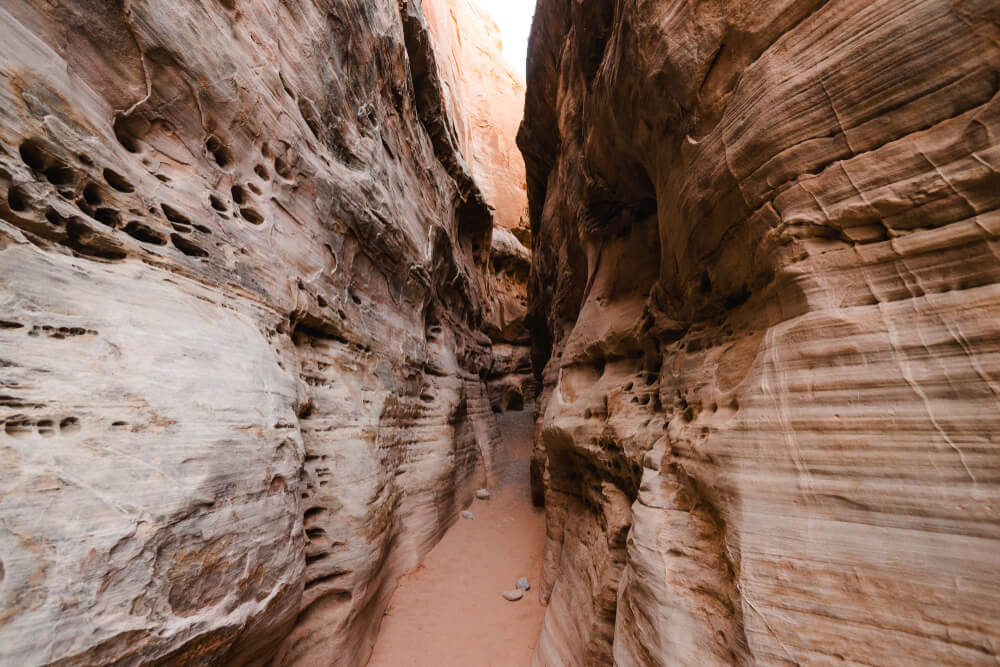
There will be a small parking area for Fire Cave / Windstone Rock, a series of wind caves and arches that are absolutely stunning, with lots of little notches in the rocks carved by wind erosion over the course of millennia.

This is a more off-the-beaten-path area of the park and not too many people will be here, so enjoy the solitude while it lasts!

The arch and several unique holes made in the red sandstone rock over the course of many years from wind erosion

Check out the Beehives.

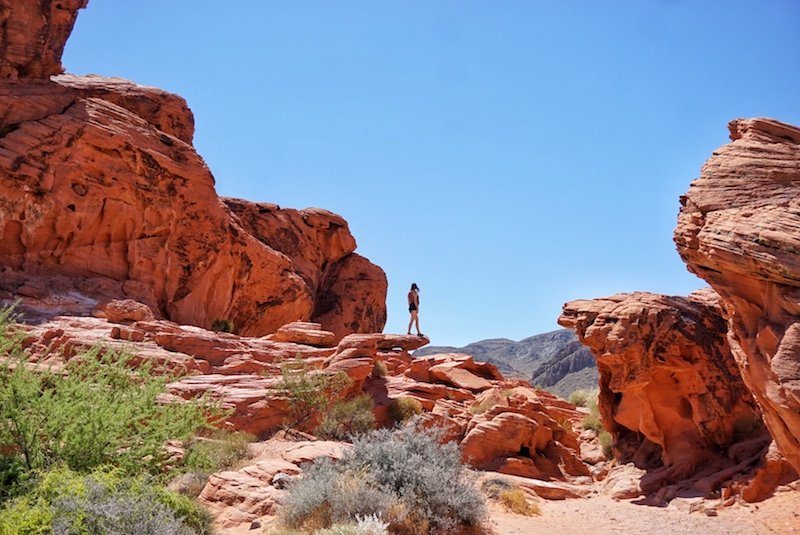
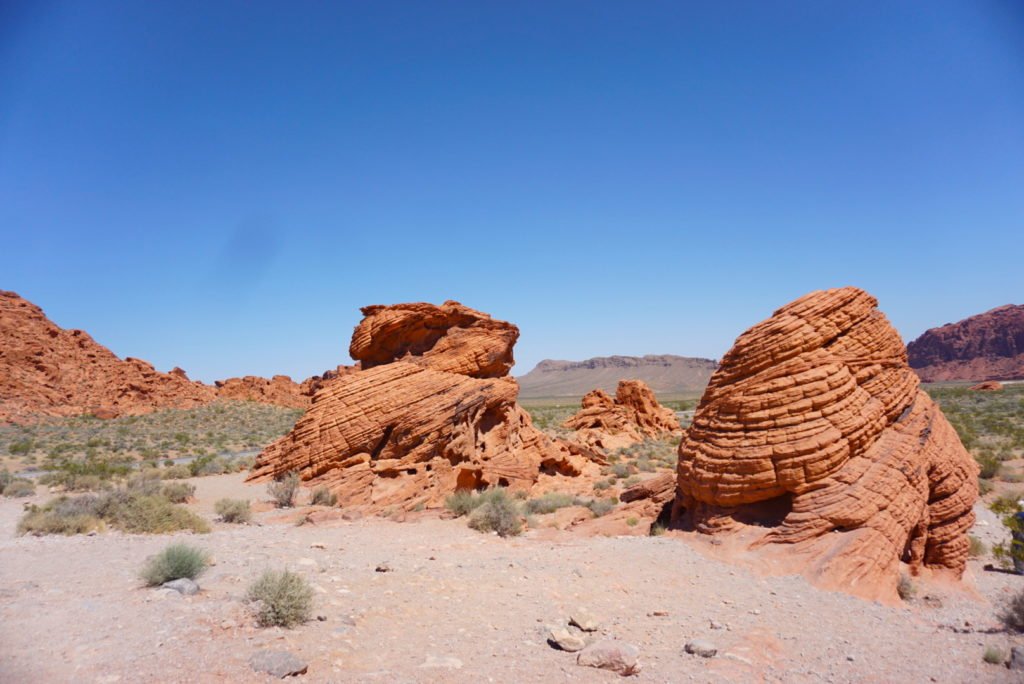
Head back to the main road and park in the Beehives parking lot. You’ll be surrounded by beautiful red rock formations everywhere you look, including the eponymous “beehives” made of sandstone rock. 

These “beehives” have a fascinating geological story behind them. They are marked with hundreds of grooved lines that indicate layers of sediment that were deposited over time. 

The grooves of these “beehives” alternate in different directions according to the wind or water movement that deposited the sandstone silt there, where it then built up on top of each other to form these unique sandstone formations!

The "beehive" formations at Valley of Fire State Park

See the petroglyphs at Atlatl Rock.

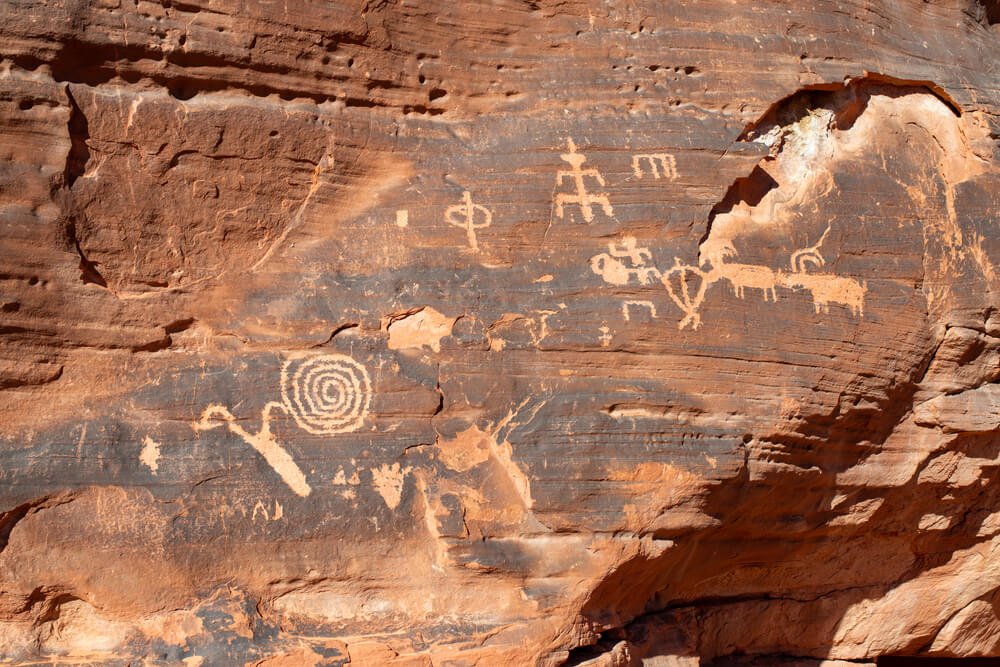
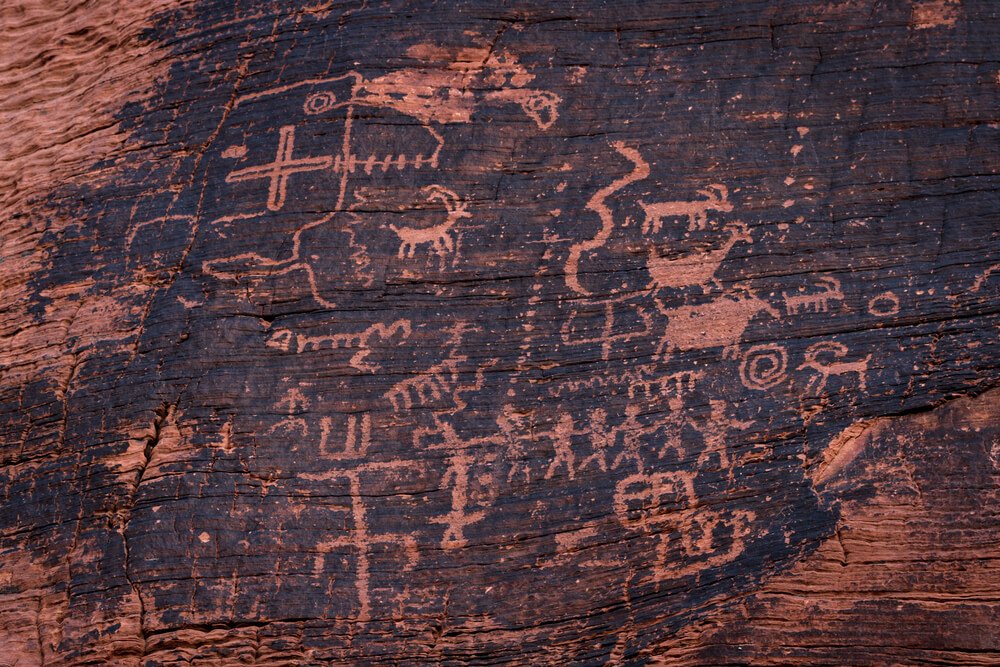
At this next stop, you’ll get to see amazing Native American petroglyphs that are well over 4,000 years old. 

These rock carvings were made about 50-feet up on a boulder, and while there is now a staircase to reach them, you have to wonder how the original artists got up here!

Start at the Atlatl Rock Picnic Area and follow the trail up to the staircase. From there, it’s just under 90 steps up to the viewing area where you can see the incredible petroglyphs etched into the rock.

Not much is known definitively about these petroglyphs due to their age, but the reigning theory is that they were carved by Ancestral Puebloans, perhaps by a shaman due to the height of the carvings.

Unfortunately, there is some contemporary graffiti next to the ancient petroglyphs. Please do not add any marks of your own, so that people can continue to enjoy this beautiful piece of art history.

Petroglyphs of a hunting scene with a person figure and some bighorn sheep

Marvel at Arch Rock.

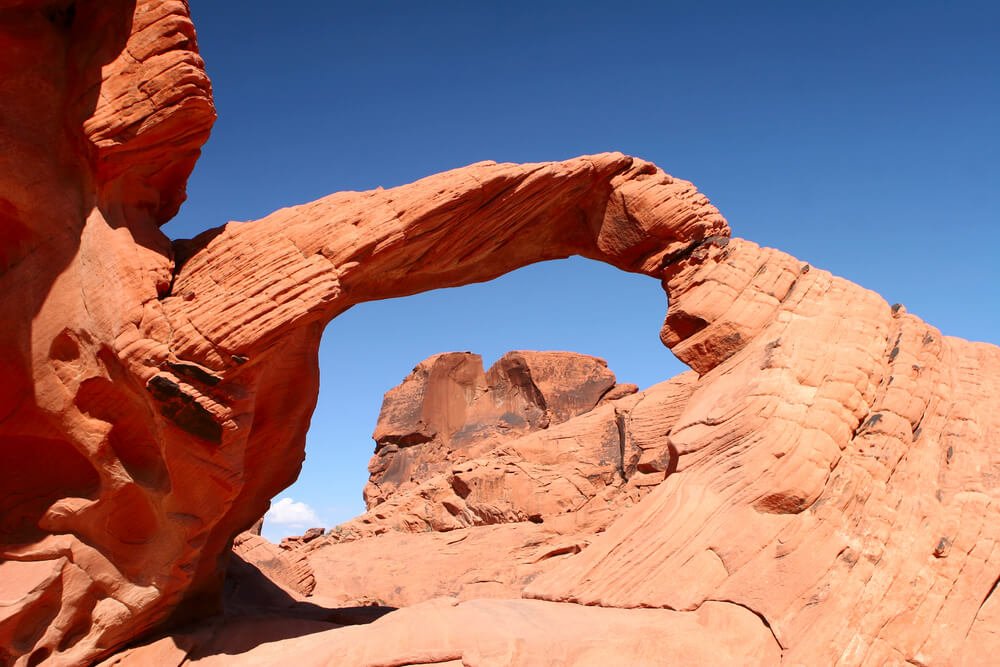
A short distance from Atlatl Rock is your next stop on this one-day Valley of Fire itinerary, Arch Rock! 

You’ll have to park your car in the parking lot and then make your way down just a 0.1-mile path until you reach the viewpoint for Arch Rock. 

Do not climb on it! This is a very fragile piece of the park. Please obey the signage and don’t do anything to mess up the natural beauty of this special place.

The sandstone arch of arch rock in Valley of Fire near Las Vegas

Check out the Seven Sisters en route to Elephant Rock.

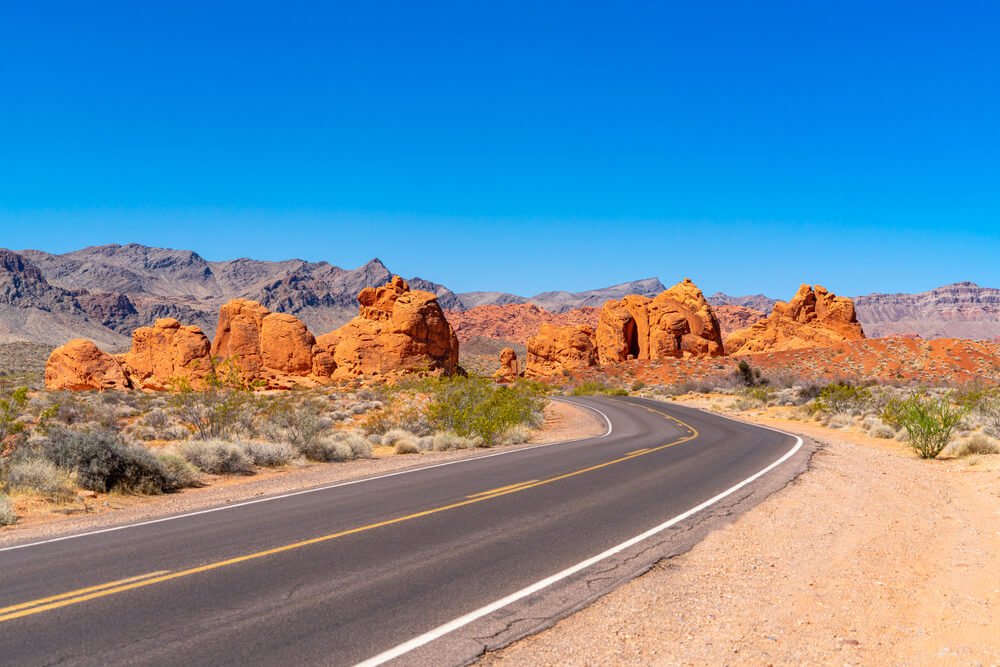
The next place on this Valley of Fire itinerary is a quick stop: you may want to pull over and snap a photo or you may just want to pass through, depending on how much time you want to spend in the park.

The Seven Sisters are a smattering of rock formations straddling the road as you make your way towards Elephant Rock. They are cool to notice, but perhaps not worth a long stop.

Seven Sisters rock formations in the Valley of Fire State Park in Southern Nevada near Las Vegas.

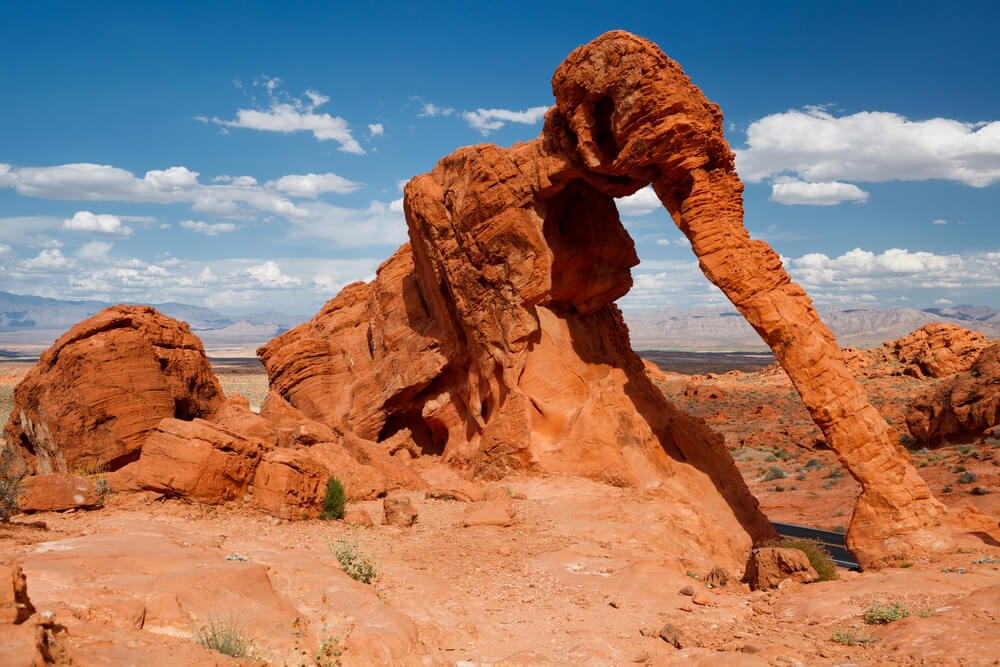
Snap some photos of the unique Elephant Rock.

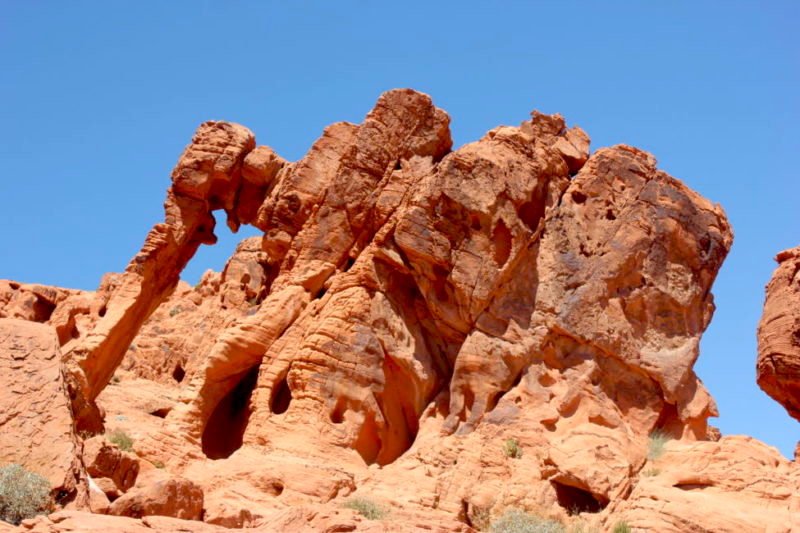
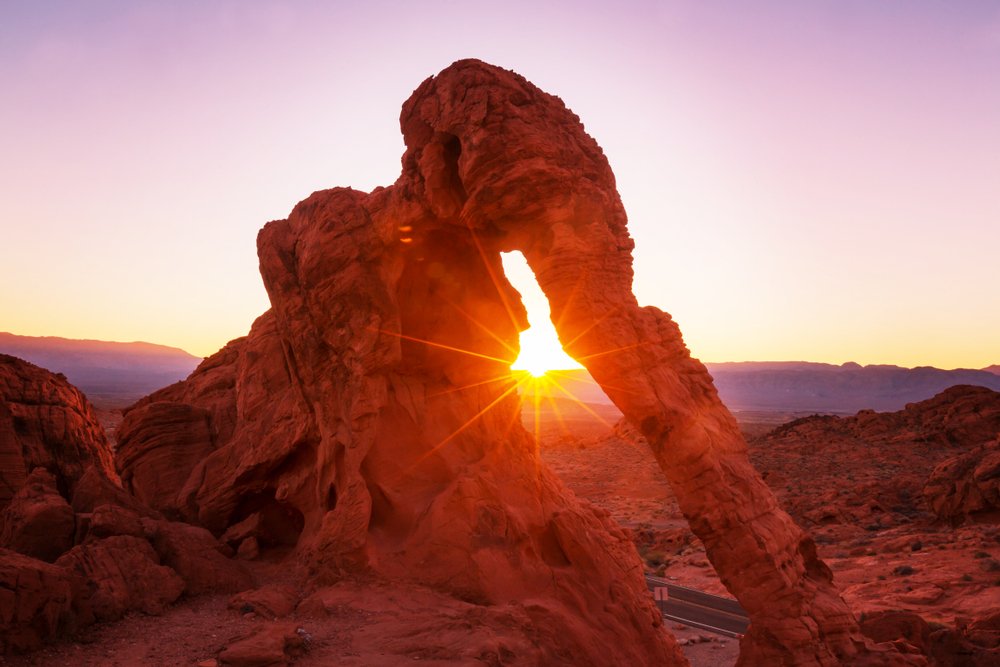
Next up is one of my favorite places in all of Valley of Fire: Elephant Rock!

Make your way to the parking lot and find the trailhead for Elephant Rock. Follow the short trail up about a quarter-mile until you are at the backside of the “elephant” in the rock, looking over the valley and the road below.

This is the best and most “lifelike” shot!

You can either head back out the way you came, or you could continue on the loop — the full hike is only 1.2 miles and it’s really beautiful, and the crowds thin out after the Elephant Rock viewpoint. 

However, if it’s so hot out that even a short hike sounds unappealing, you can snap a photo of Elephant Rock from the front side (not quite as beautiful, but also cool!) or just go to the viewpoint and back, less than half a mile in distance.

Double back to the Visitor Center.

After spending some time snapping photos of the different rock formations in the park, it’s time to drop by the Visitor Center to learn a bit about the history of the park. 

The Visitor Center is really informative (and it’s also air-conditioned, which is a nice break from the park’s relentless heat!) and tells you all about how the park was formed, geologically speaking.
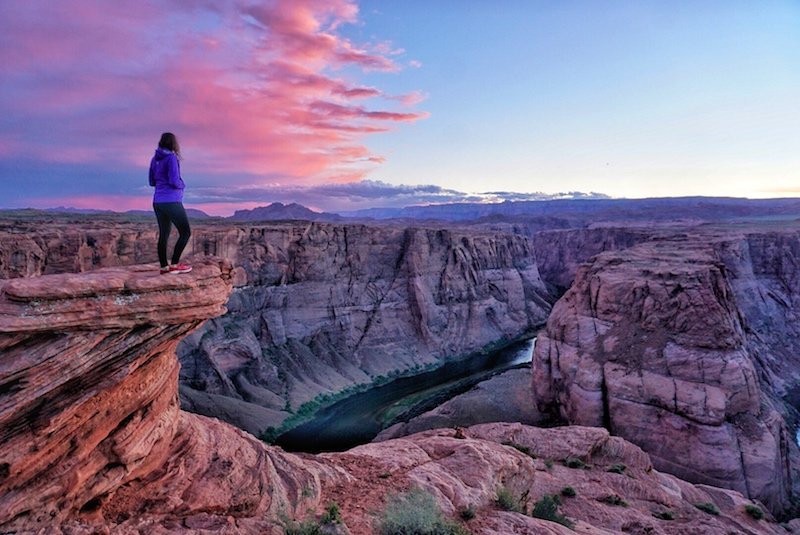
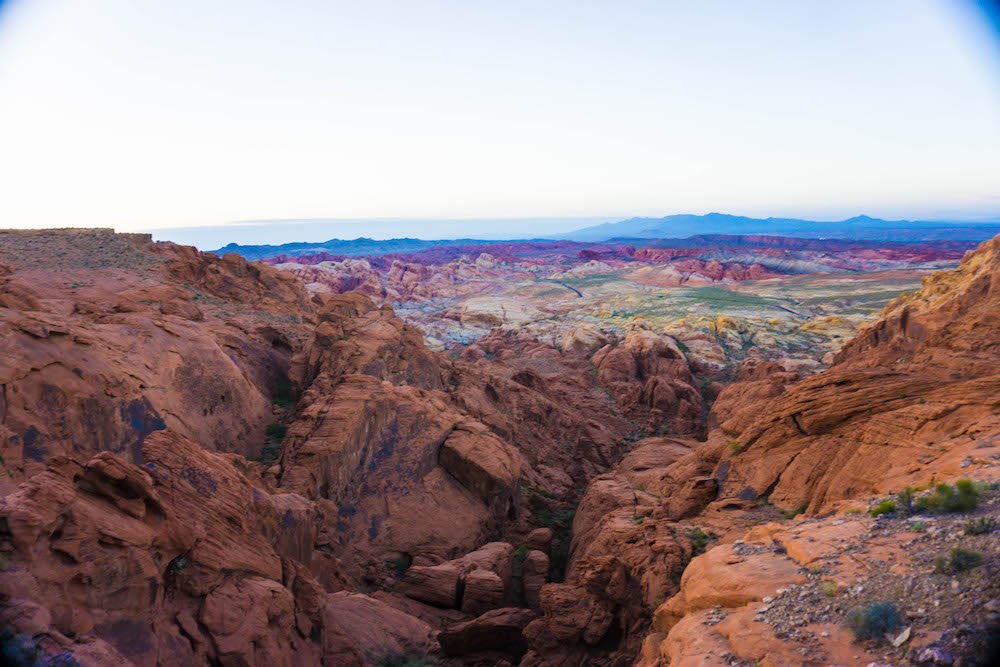
The Valley of Fire is over 150 million years old, and its undulations and rock formations were created by millions of years of erosion and fault line activity. 
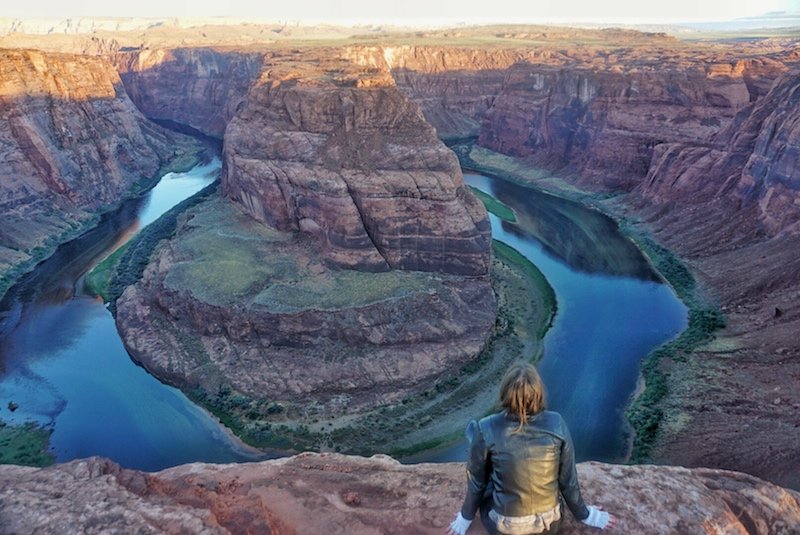
The park is known for its “Aztec Sandstone”, its red sandstone formations rich in iron oxide which gives it that special characteristic hue.

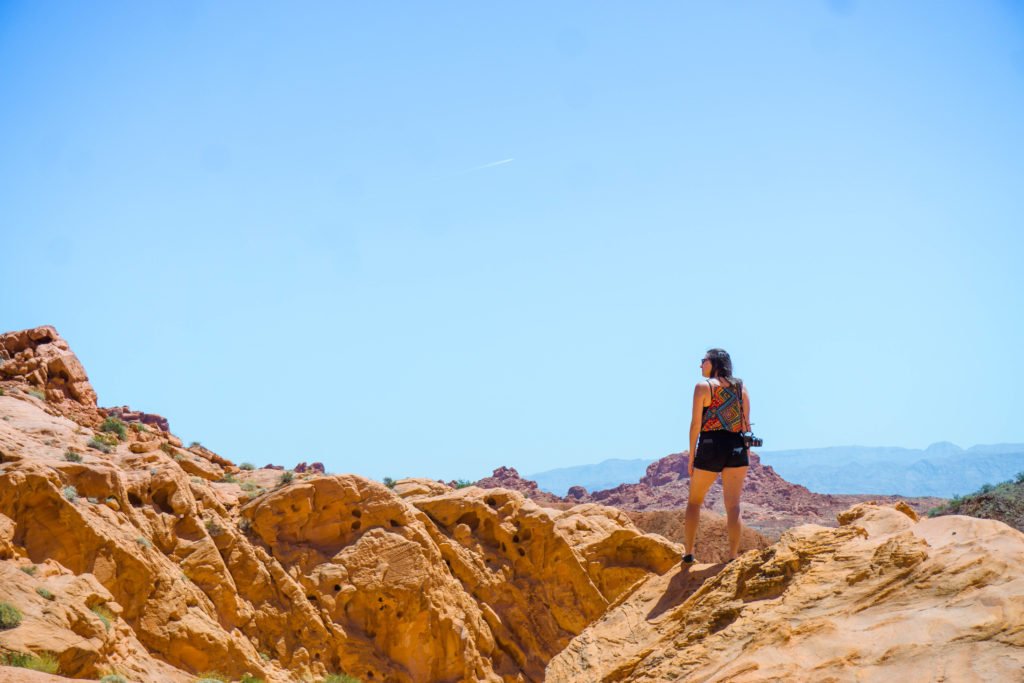
Around the Visitor Center, there are some other cool rock formations that are fun to pose on!

Allison standing on a rock near the Visitor Center of Valley of Fire

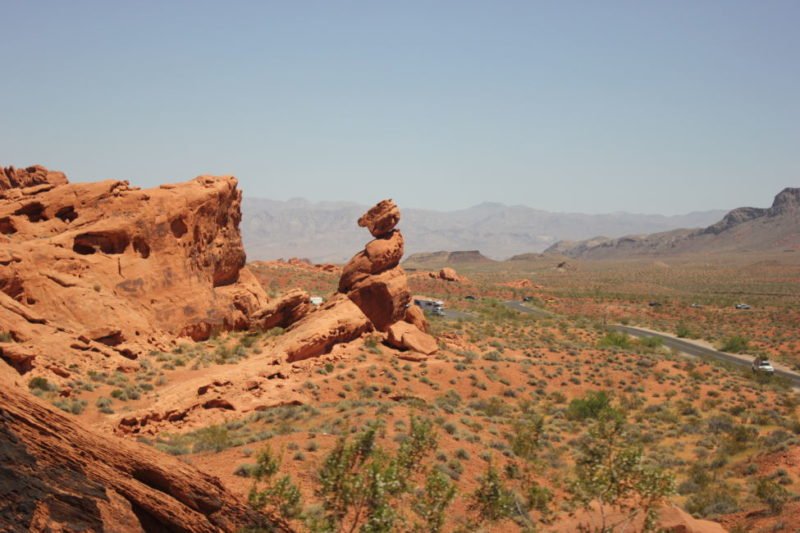
Take some photos of Balanced Rock.

As you leave the Valley of Fire Visitor Center and start heading down Mouse’s Tank Road towards the rest that the park has to offer, you’ll spot Balanced Rock almost immediately after leaving the parking lot!

This gorgeous and seemingly precariously-balanced rock formation is one of the park’s most unique landmarks. It’s worth a stop for a photo, at least, before you continue on the scenic Mouse’s Tank Road!

Photo of Balanced Rock, a rock balancing on another rock in the valley of fire red rock landscape

Hike to Mouse’s Tank or extend to Fire Canyon Wash.

The hike to Petroglyph Canyon via Mouse’s Tank Trail is only 0.4 miles one-way (0.8 miles return) and it’s worth the short detour!

The canyon is filled with historic Native American petroglyphs, as the name would suggest, and it’s really beautiful and scenic. 

The hike is short and easy, with a mostly sandy trail and limited elevation gain (no more than 60 feet).

If you want to continue onto Fire Canyon Wash, this is a longer hiking trail than others that I’ve recommended in this one-day Valley of Fire itinerary. 

I suggest it only in the non-summer months, otherwise it is too hot for a hike of this length. You can read more about it here.

ancient petroglyphs fount on the walls of the the Mouse's Tank hiking trail in Valley of Fire State Park, Nevada

Hike the Rainbow Vista Trail.

Since the Valley of Fire can be really hot most of the year, I’m trying to be mindful of only recommending short trails that are absolutely worth the effort.

Well, Rainbow Vista Trail is exactly that! In less than a mile roundtrip, with a negligible amount of elevation change, you can reach the beautiful viewpoint with a gorgeous 360-degree view of the surrounding rainbow rocks for which the area is named.

It’s a short, sweet, and stunning hike: the best of all worlds!

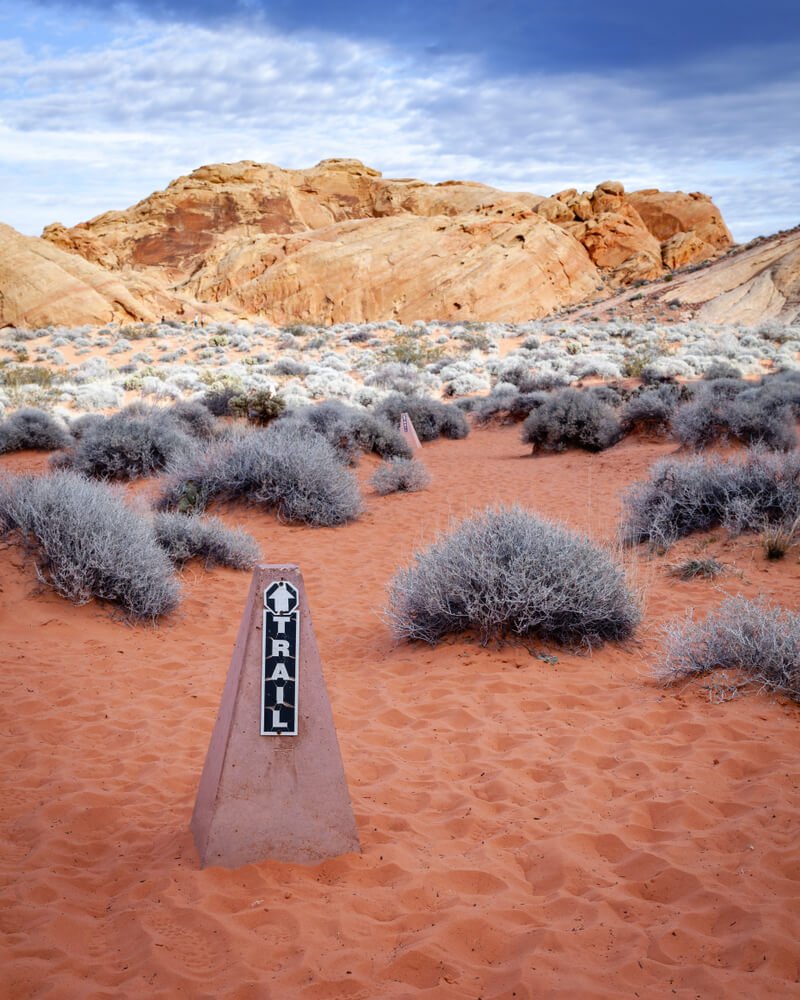
Trail marker on the Rainbow Vista trail in the Valley of Fire State Park, southern Nevada.

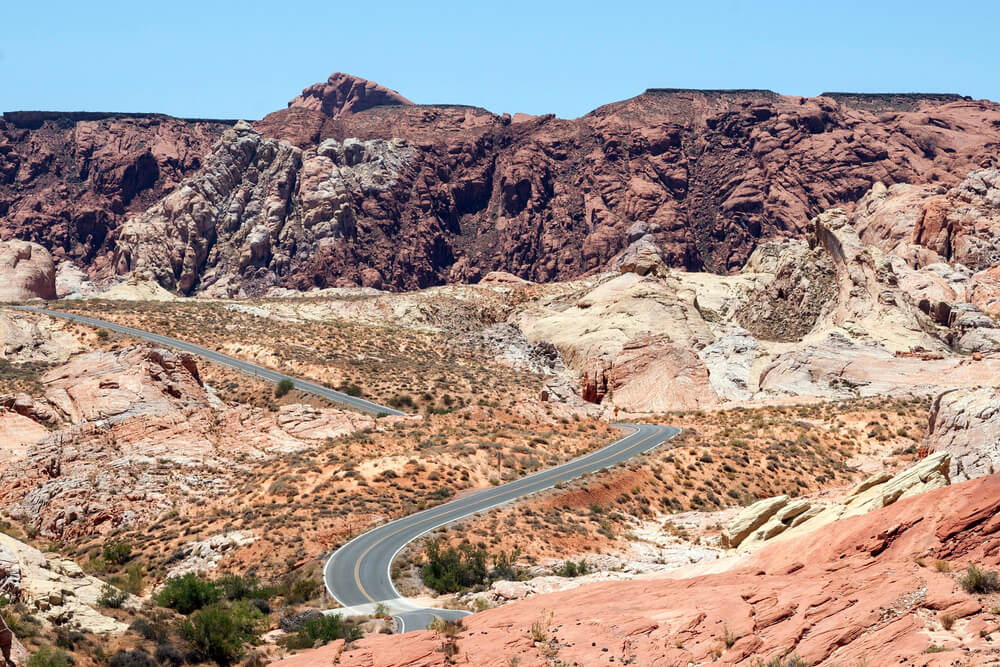
Snap a photo on Mouse’s Tank Road.

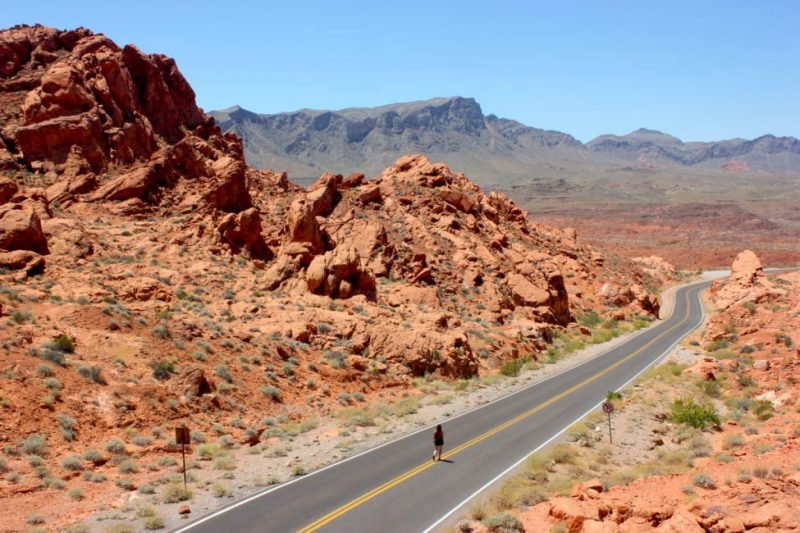
As you continue on towards Fire Wave and other points in the park, you’ll likely want to pull over several times!

This is the best place to snap some amazing “Southwest road” shots as the elevation gain creates beautiful undulations in the road against the red rock formations.

Keep an eye out as you drive — you may spot some bighorn sheep, the state animal of Nevada, grazing on the park lands!

Coloured sandstone formations and Mouse's Tank Road, Valley of Fire State Park, Nevada, USA

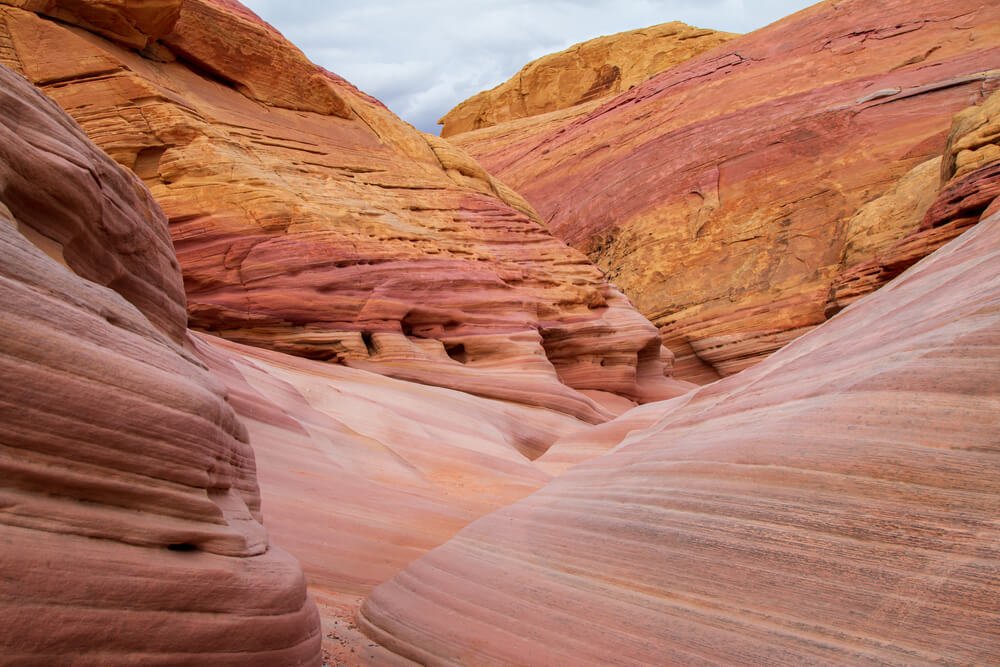
Hike the Pink Canyon.

One of the lesser-known hikes in Valley of Fire is Pink Canyon, also called Pastel Canyon.

Typically, people speed right past on it on their way to the Fire Wave, but I’m here to beg you to stop and visit!

The trailhead can be a bit hard to find. You can put “Pastel (Pink) Canyon Trail” into Google Maps or go to these coordinates: 36°28’46.4″N 114°31’35.7″W

This is an amazing short hike that will take you around 30 minutes to complete. You’ll go through a sandstone slot canyon with pinkish-toned rock, hence the name of the trail.

It’s absolutely stunning and it’s far less crowded than other areas of the park, despite being (in my opinion) one of the best parts!

Pink Canyon Sandstone Bands at Valley of Fire State Park Landscape Views

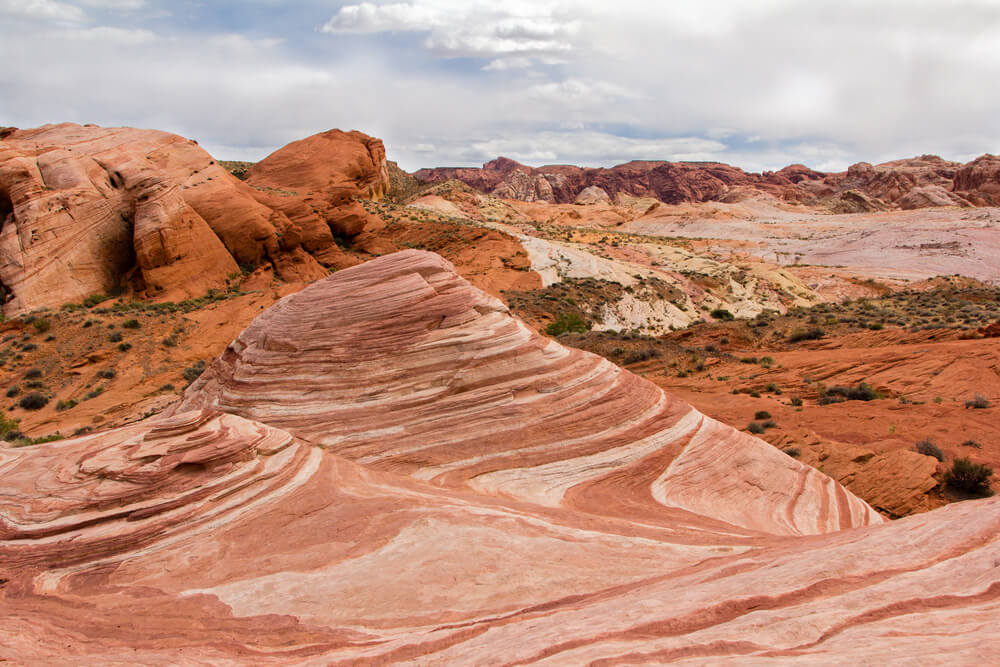
Check out Fire Wave.

Next up is one of the most famous places to visit in Valley of Fire State Park: the Fire Wave!

This is a great short and easy hike, which can be done in about 30 minutes (including time for photos!).

Note that the beginning is a bit sandy, then there are some loose rocks near the beginning of the trail, but then it’s easy from there!

I suggest going later in the day, when the heat has worn off and when the red rocks pick up more color from the golden hour.

Take the White Domes Trail.

This scenic hike through a white slot canyon is the perfect way to end your day in Valley of Fire.

It’s a 1.1-mile hike that can get quite busy, so this is the perfect way to cap off the early evening, when many day trippers have already returned to Las Vegas.

On this hiking trail, you may find a small ruin left over from the filming of the movie The Professionals

It is so small you may not notice it unless you are looking for it, but it’s a cool piece of trivia to know. All that remains is a little rock wall that formed part of a hacienda, with some wooden posts sticking out. 

White Domes Slot Canyon, at Valley of Fire State Park, in Nevada, USA

My Experience Visiting Valley of Fire State Park

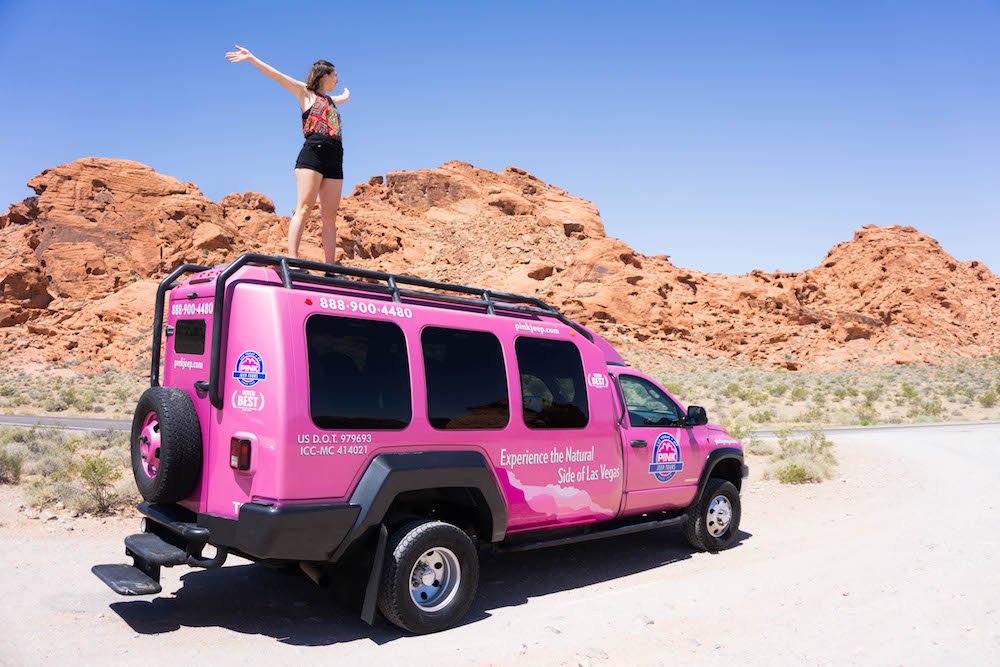
Although I had rented a car in preparation for a road trip around the Southwest, my friend and I decided to take a guided tour through Valley of Fire State Park with Pink Jeep Tours

We wanted to rest up for the thousands of miles we’d be driving and have someone lead the way to all the best sights in the park, and it ended up being a great decision.

We had a great time and saw so much of the park without the stress!

We arrived at the Valley of Fire early, before the sun reached its midday intensity. 

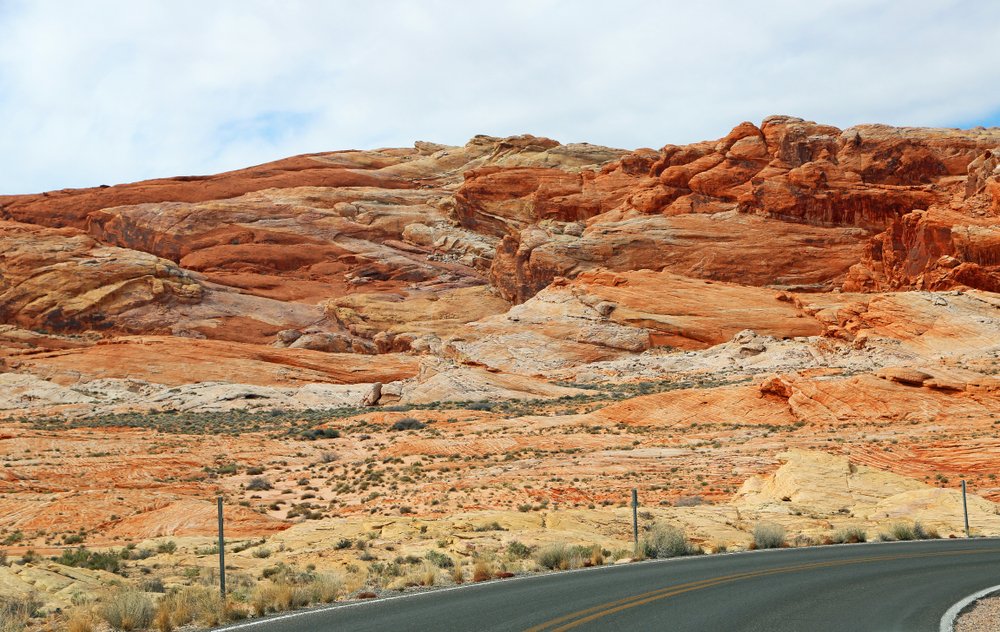
Immediately, we were stunned by the landscape. A rusty red color was everywhere the eye could see. 

The landscape so reminiscent of Mars that it’s actually taken its place in such artistic masterpieces (please hear the sarcasm here, I know it’s the internet) as Total Recall.

Our first stop was The Beehives — aptly named for their oddly round hive-shaped forms. 

After that, we made our way to perhaps the most famous resident of the Valley of Fire: Elephant Rock

Our awesome guide, Dennis — who jokingly went by “Dennis the Menace” — pointed out other, less popular “wildlife” in the parks, encouraging us to imagine shapes in the rocks. It brought me back to laying on my back as a kid, watching clouds float past in the sky. 

We all got into the spirit, seeing everything from baby elephants to Sphinxes to turtles and beyond, each “wildlife spotting” getting more fantastical as the day went on.

But more than any one specific sight on the tour, I enjoyed the grandness and scale of it as a whole. Despite how little known it is outside of the Vegas area, it’s actually huge: I’m talking over 45,000 acres huge. 

It’s grand in another way, too: it’s amazingly old. 

The rocks are essentially the calcified results of ancient sand dunes, more than twice as old as the last living dinosaurs. 

150 million years ago, these dunes formed: dinosaurs last walked the Earth about 65 million years ago. So yeah, they’re pretty freaking old!

And even before the sand dunes formed, all this land was once ocean floor, forced up by roiling plate tectonics and active volcanoes and weathered by time.

Allison walking in the valley of fire

If you’d like to experience the Valley of Fire on a day trip from Vegas, I highly recommend going with Pink Jeep Tours! 

A tour starts at 9 AM and will get you back by 3 PM including roundtrip transfers to your hotel. A tour costs $169, including transfers, all the bottled water you can drink (trust me, you’ll need a lot!), and a packed lunch.

Book your Pink Jeep tour online here!

Another Way to Visit the Valley of Fire

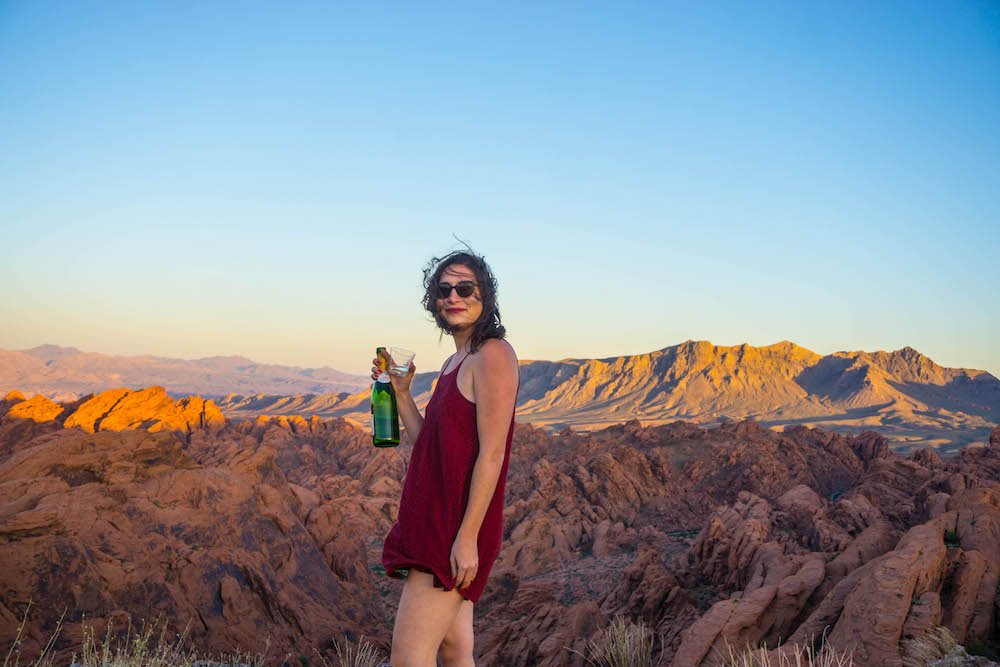
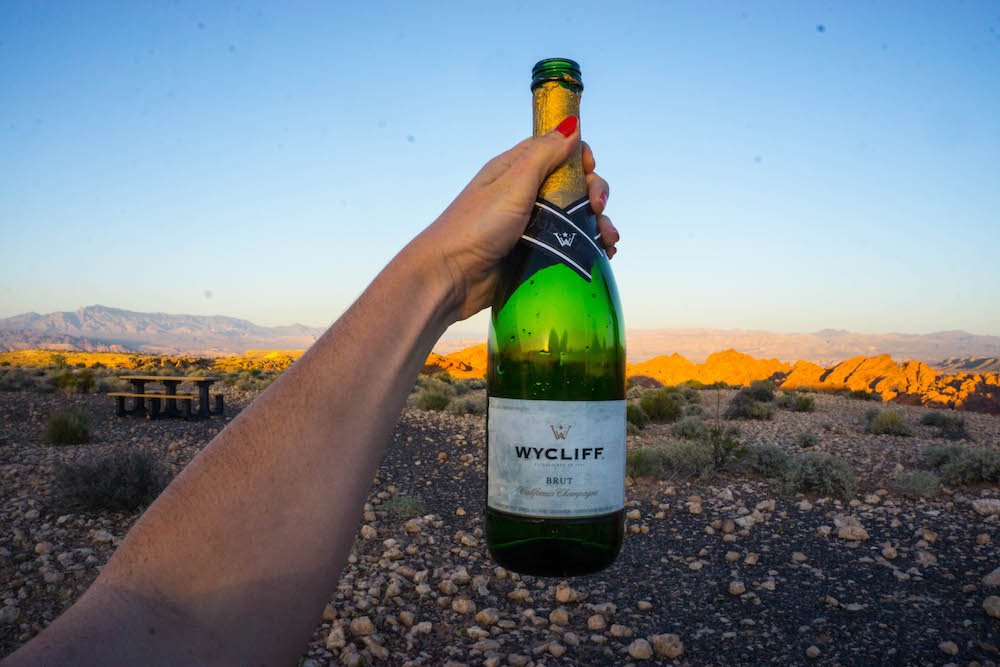
Allison with a bottle of champagne at the Valley of Fire at sunset

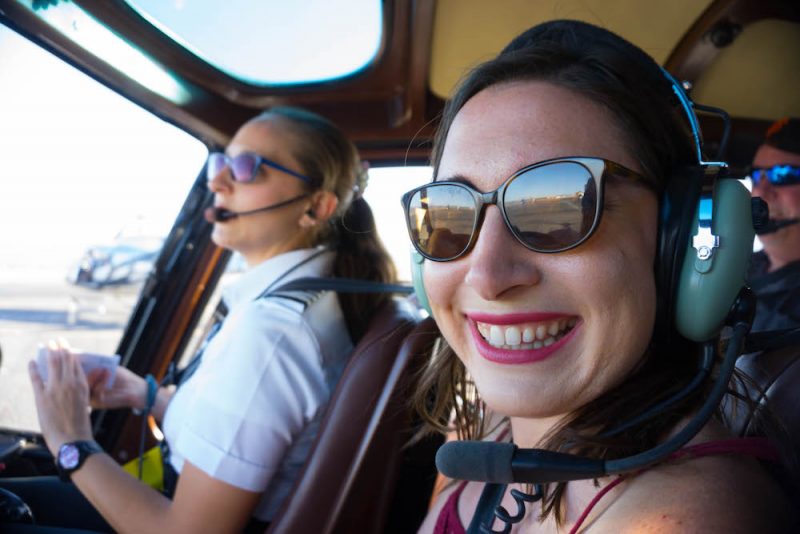
While I visited Valley of Fire on a pink Jeep tour, I also visited another way: by helicopter! 

While it was an expensive experience, it absolutely is the most bucket-list-worthy way to visit the Valley of Fire!

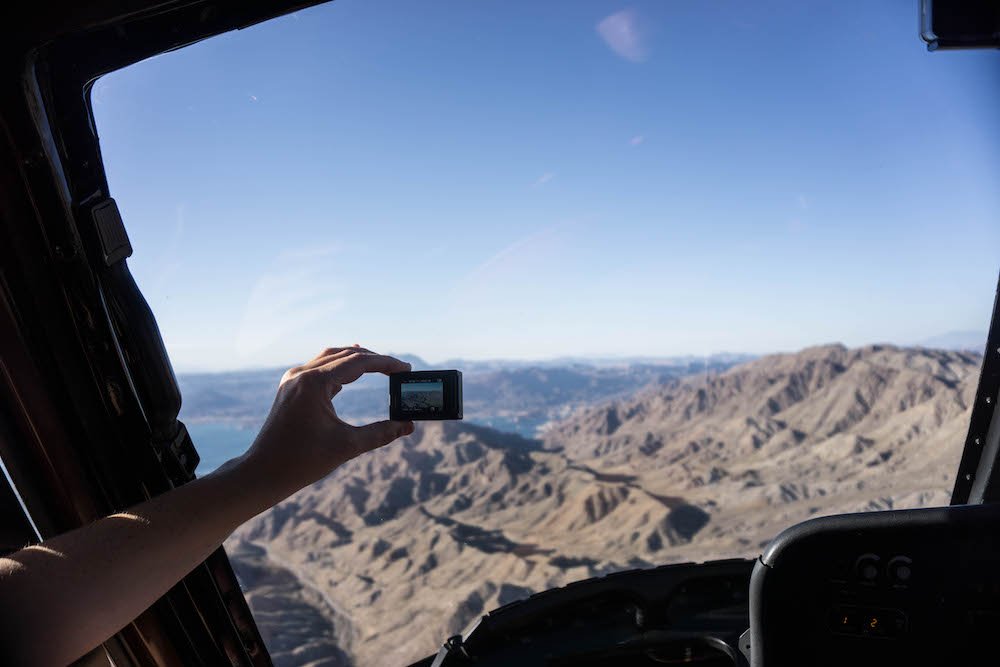
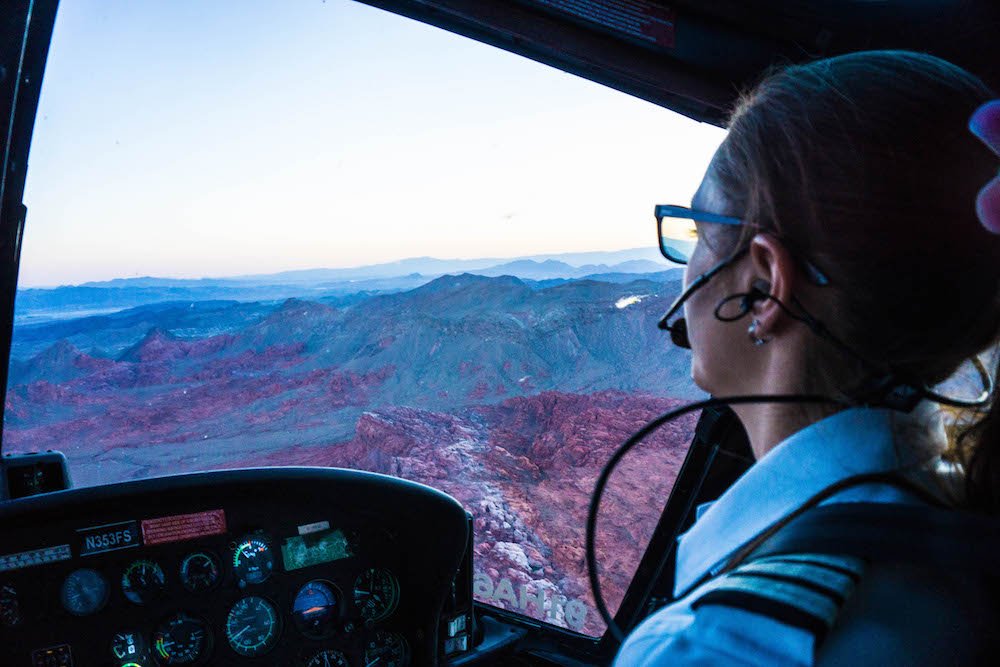
Starting in Las Vegas, we were picked up at our hotel for a transfer to the helicopter launch pads outside of Las Vegas. After being given a quick safety briefing, we rose up in the sky on our way to the West Rim of the Grand Canyon!

Allison in a helicopter over the Valley of FIre

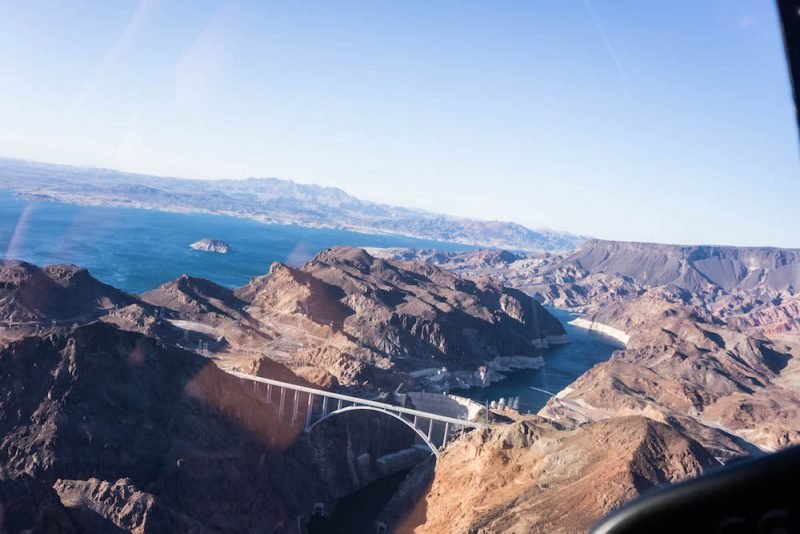
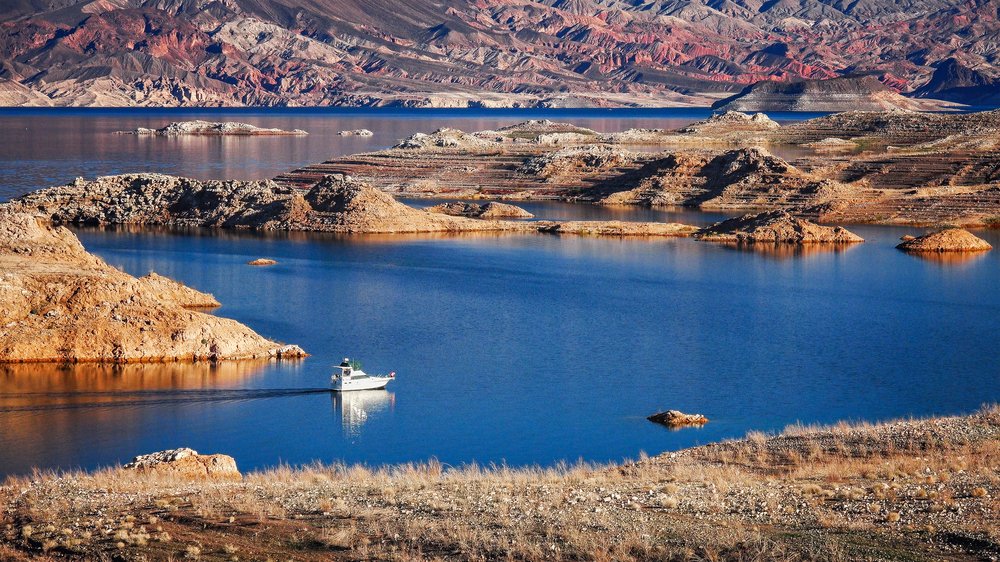
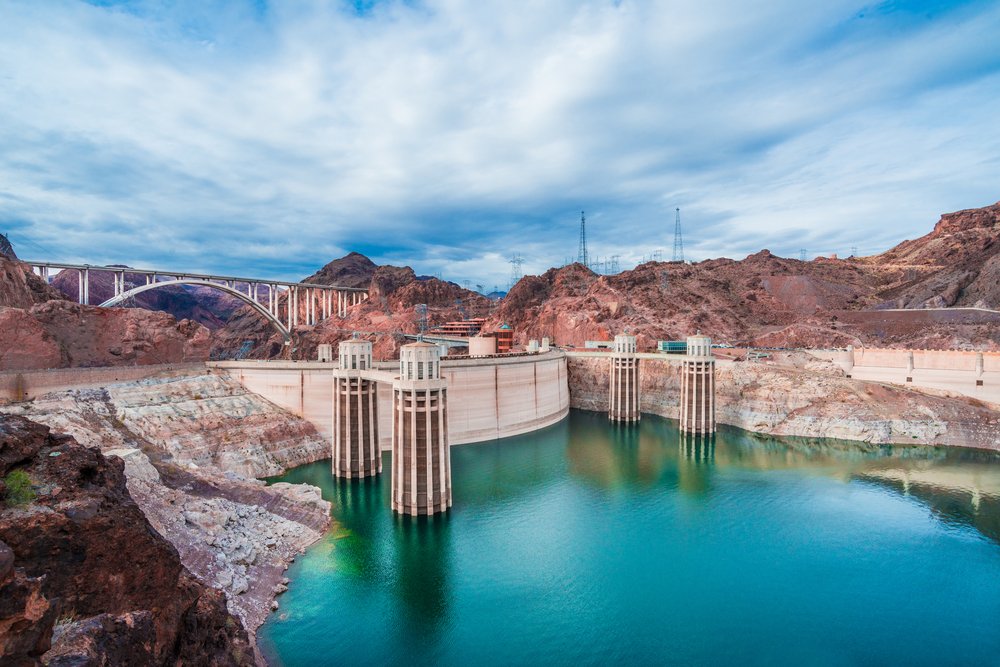
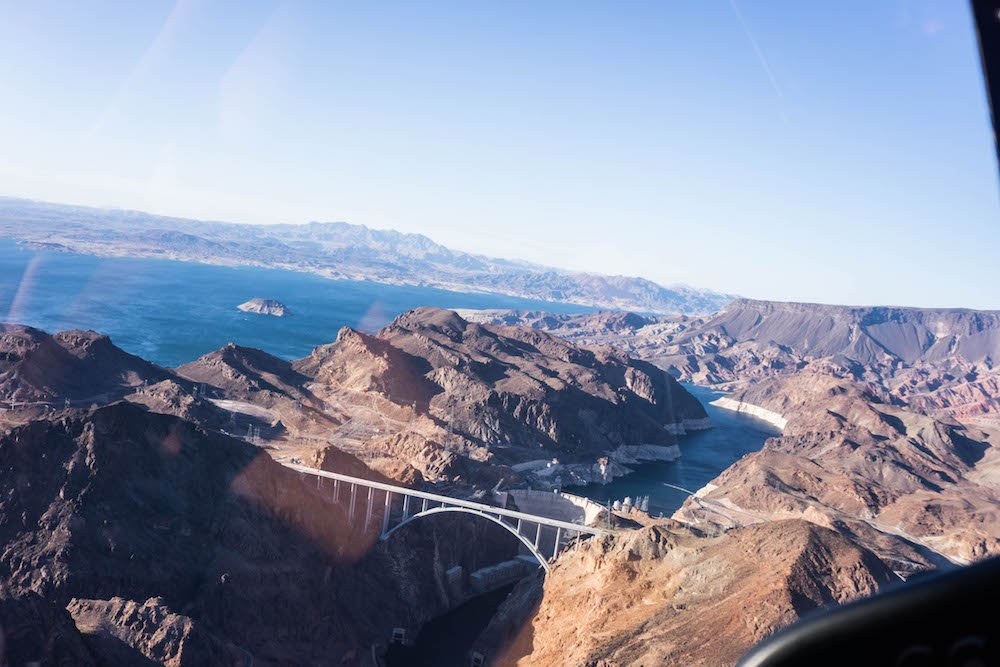
On our way, we passed over the gorgeous Lake Mead and the world-famous feat of engineering, the Hoover Dam, until we arrived at the Grand Canyon.

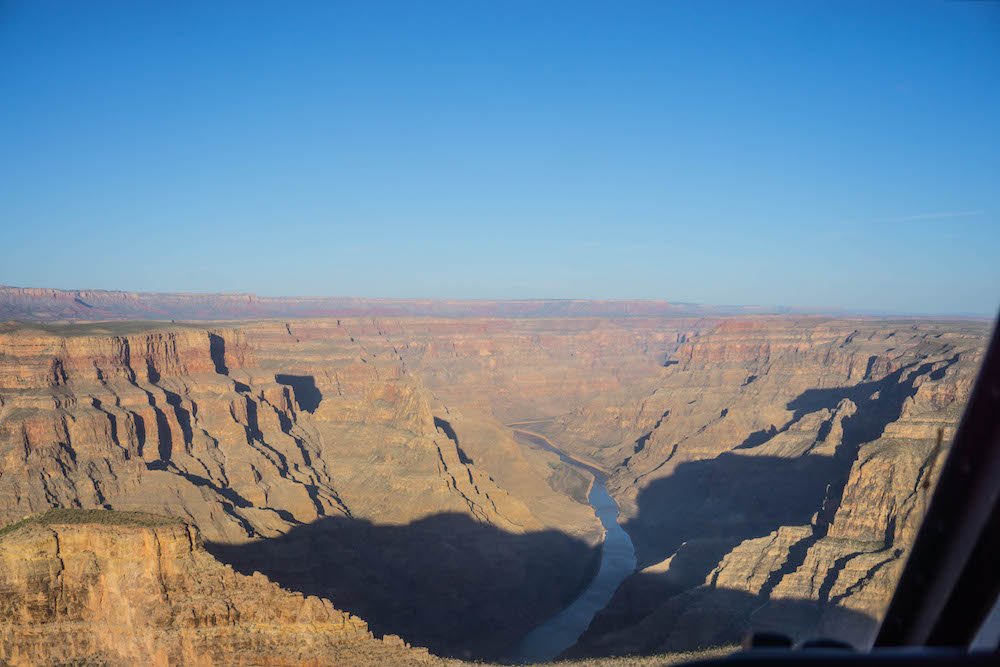
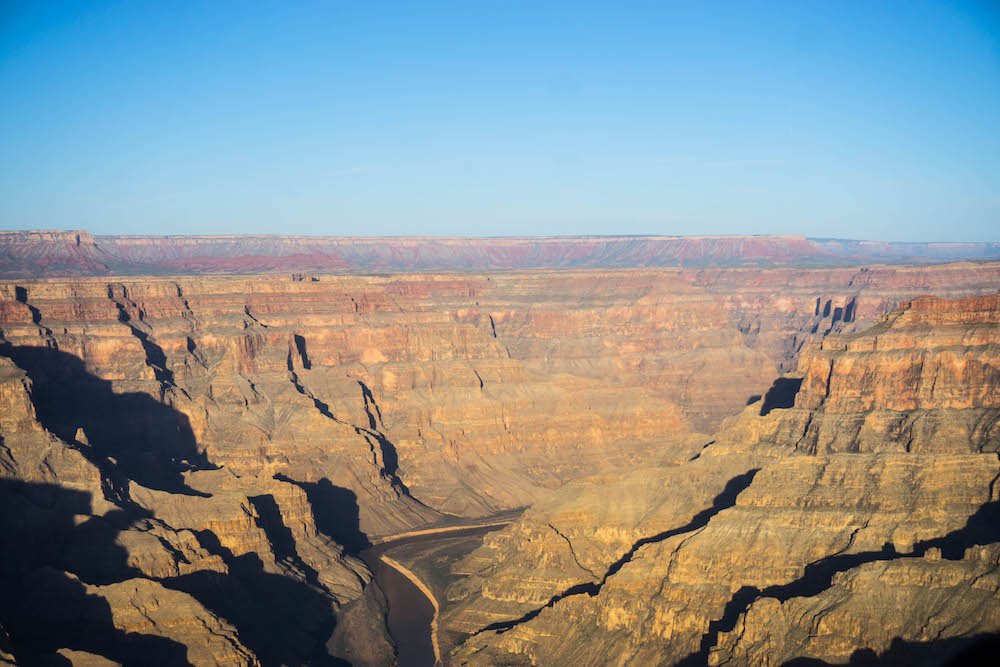
We didn’t land at the Grand Canyon but rather flew over it for about 20-30 minutes, enjoying all the incredible views that this magical national park has to offer.

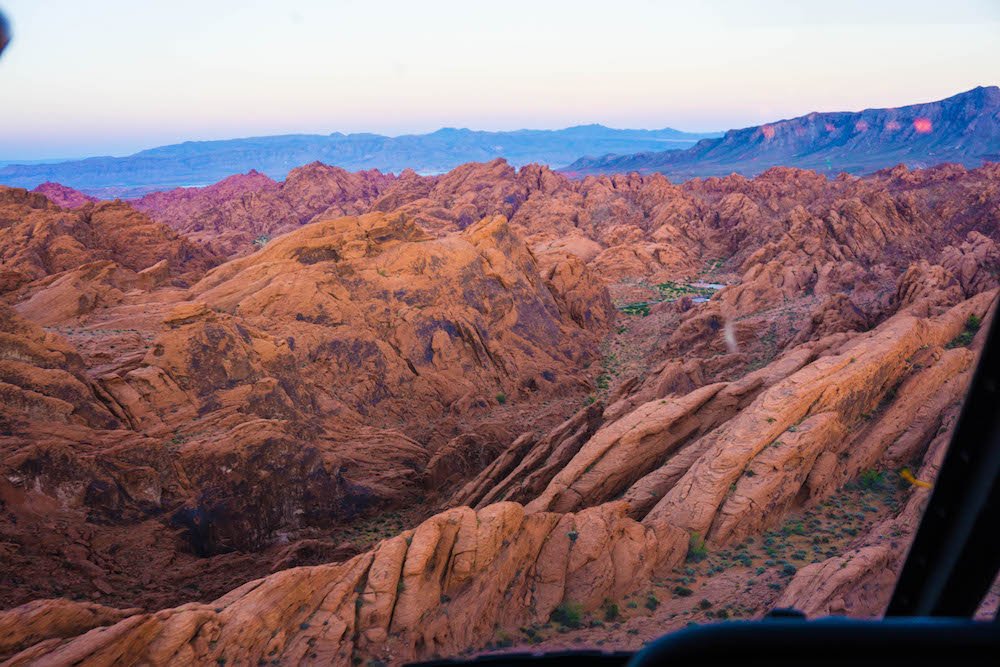
Then we landed at the Valley of Fire for sunset!

We were totally alone when we landed: no other tours do this, as it is exclusive to this one helicopter tour.

We enjoyed a delicious champagne toast as the sun sunk into the horizon, and the setting sun set the stage for one of the most spectacular colorful shows possible.

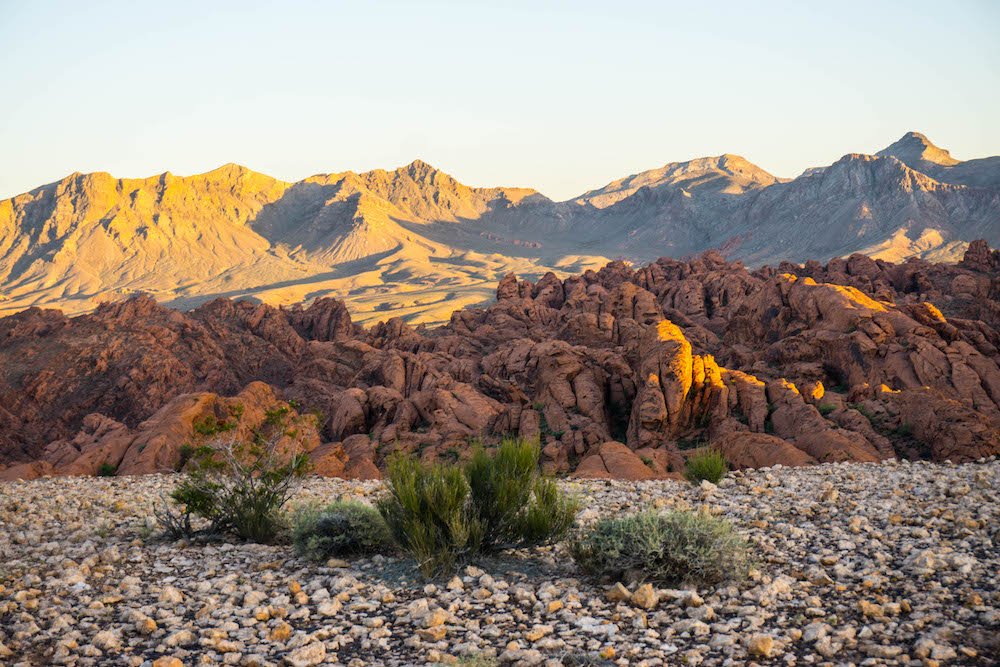
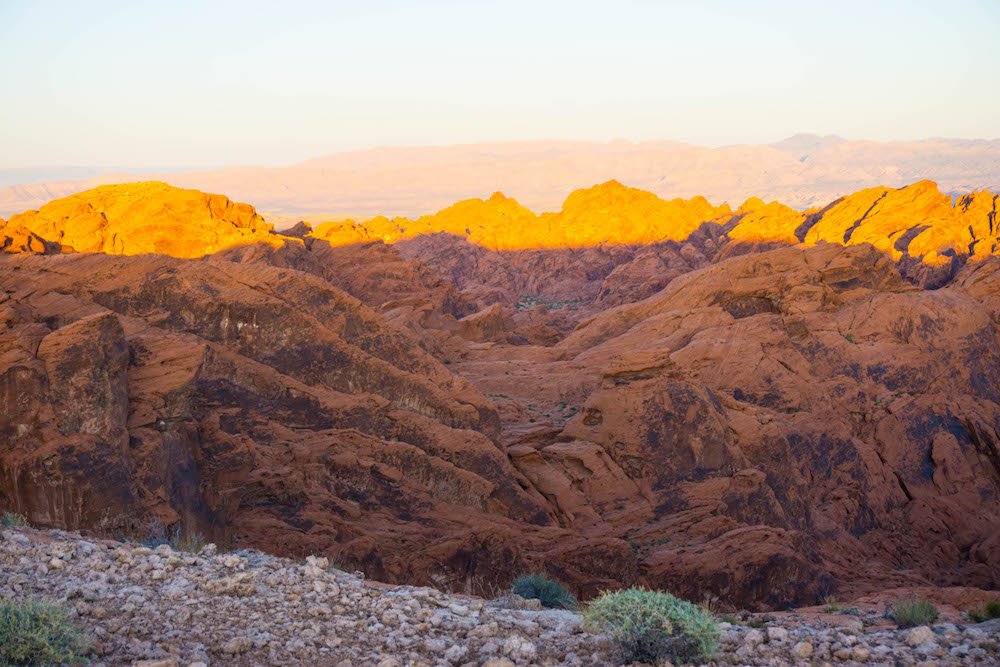
The rocks were ablaze with color!

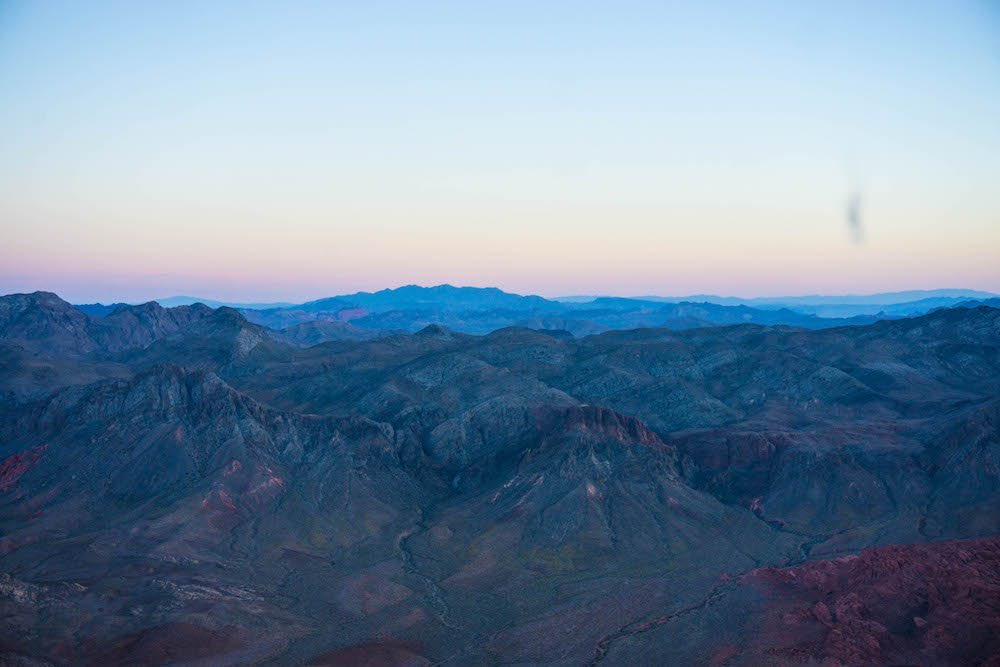
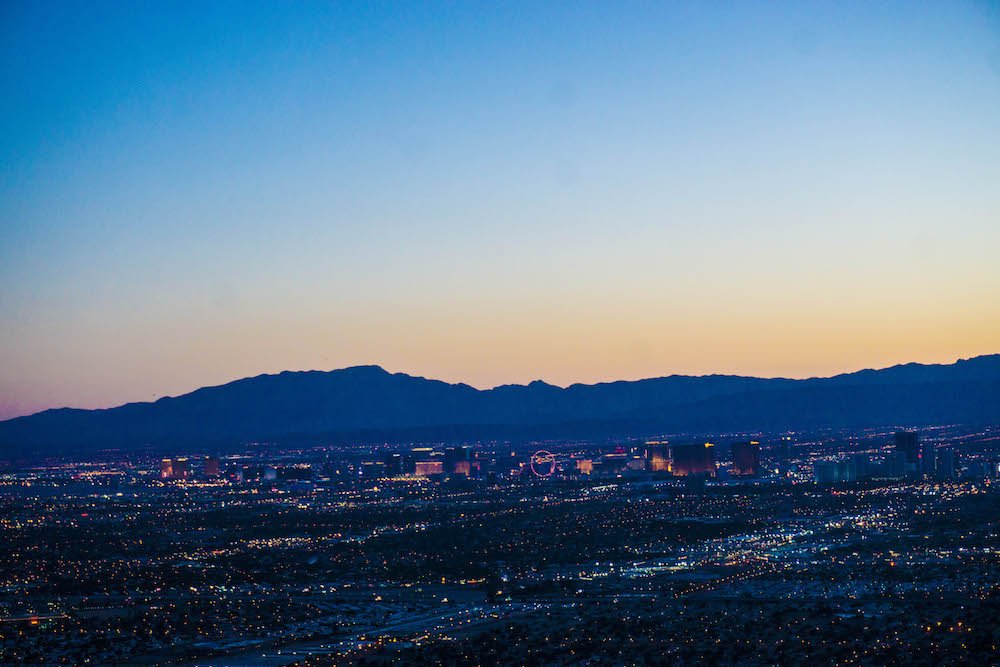
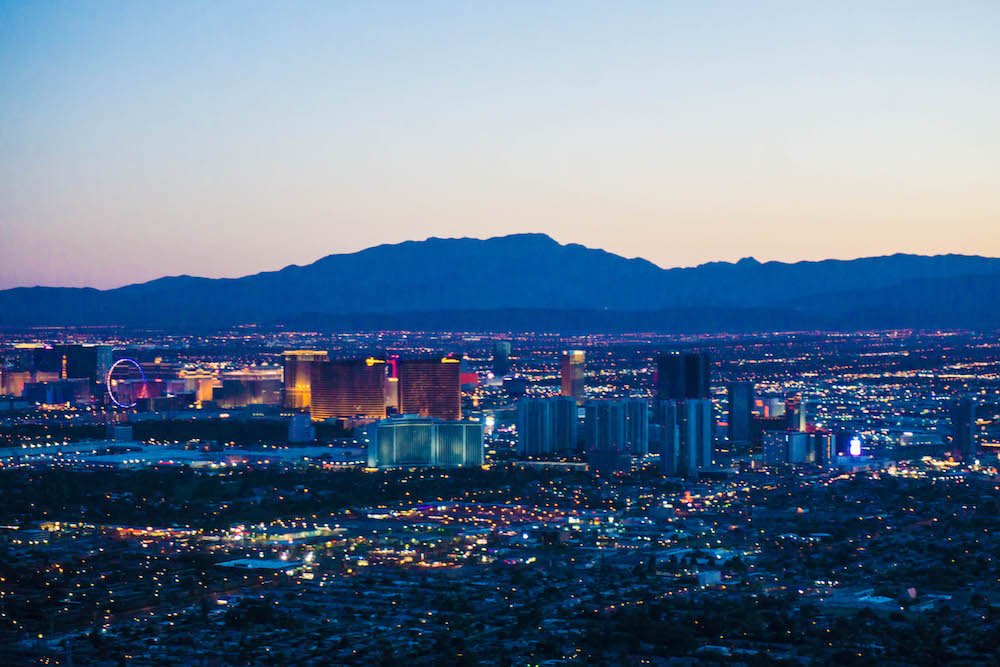
As we returned, the sky darkened and the Las Vegas Strip came alive. We flew over it, sparkling in its full glory, and landed back at where we started.

All in all, the tour took about 3 hours including a 30-minute stop in the Valley of Fire. I would strongly suggest this as a way to complement further exploration of Valley of Fire State Park! 

Seeing it both at ground level and from above really makes you realize the scale and splendor of this unique place.

Book your helicopter sunset Grand Canyon & Valley of Fire tour online here!

Sunset toast over the Valley of Fire with a bottle of champagne!

Want More Time in the Valley of Fire?

If you have a little more time and are interested in some camping, I’d highly recommend a longer stay at the Valley of Fire! 

Camping is first come, first serve and costs $20-30 per night depending on if you need utility hookups. 

Then you’ll get a chance to do some of the longer hikes and see the lovely colors as the sunrises and sunsets set the rocks ablaze.

Where to Go After the Valley of Fire

The Valley of Fire is a great addition to any Las Vegas itinerary. But it also makes a phenomenal stop on a larger Southwest road trip! 

I often suggest people start their road trips of the Southwest in Las Vegas because the car rentals here are quite cheap, and Vegas is not far from many worthwhile stops in Utah and Arizona. 

To explore more of the Las Vegas area, I recommend adding a trip to Red Rock Canyon National Conservation Area. You can also visit Lake Mead and the Hoover Dam.

You could also explore Southern California, such as the Mojave Desert and Death Valley National Park.

Where to Stay in Las Vegas

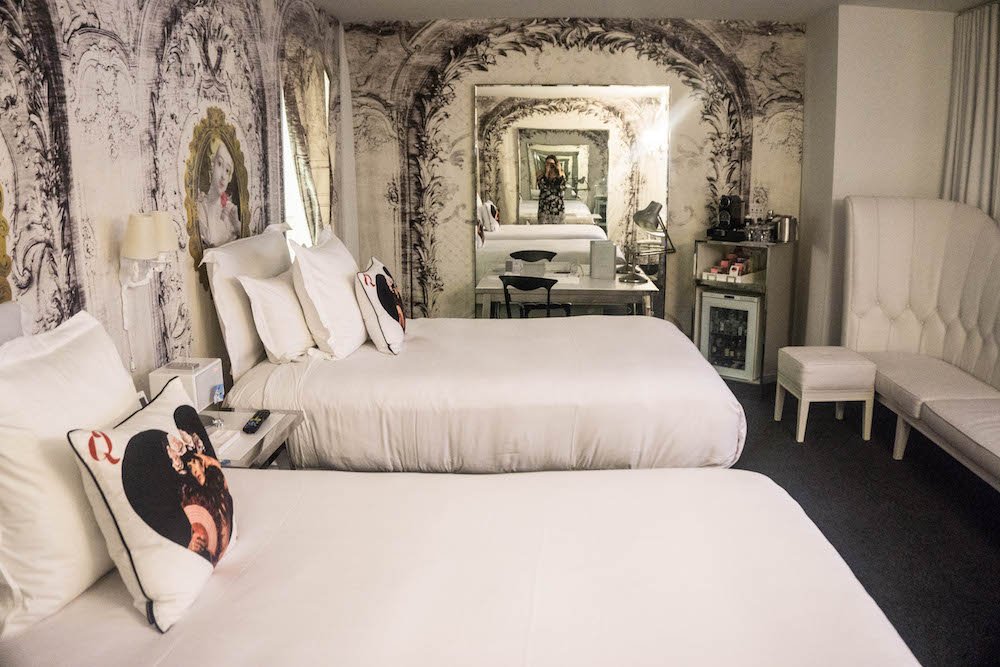
BOUTIQUE | The W is the funkiest boutique hotel in all of Vegas — perfect for the ‘gram! The rooms are over the top and ridiculously outlandish and the staff is amazing with their personalized recommendations and greetings.

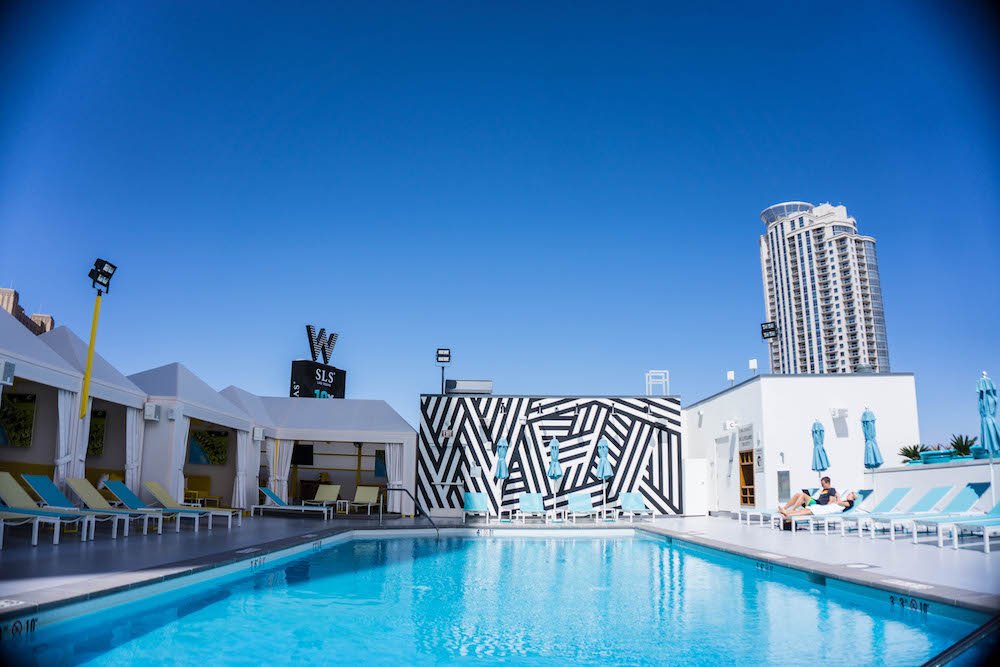
I loved the calm of the pool there compared to at the SLS (which you can also visit if you stay at the W!). It was an awesome oasis in the middle of crazy Vegas. Can’t rate highly enough! 
>> Check prices, ratings, and availability at The W here.

Relaxing at the W hotel in Las Vegas

BUDGET | For a cool place to stay in Las Vegas on a budget, the Golden Nugget is the classic choice! Highly-rated yet affordable, the Golden Nugget is located off the Strip in the heart of the funky Fremont Street area of Las Vegas, one of my favorite parts of the city.

The Golden Nugget is nostalgic and charming, with a retro facade with updated interiors. It has all the amenities of splashier Vegas hotels — outdoor pool, poolside bar, sauna, and even aquarium-side dining. Baller on a budget!
>> Check prices, ratings, and availability at the Golden Nugget here.
LUXURY | The beautiful The Wynn Las Vegas is a great luxury place to stay in Vegas that is still funky, unique, and decidedly Vegas.

With a luxe full-service spa, five oasis-style pools with cabana areas, designer boutiques on the property, upscale rooms, and a dedicated concierge service to facilitate all you need in the Vegas area, you’ll feel like you just struck it rich!
>> Check prices, ratings, and availability at the Wynn Las Vegas here.

The Only Southwest Road Trip Itinerary You Need

Planning an epic road trip through America’s Southwest? You’ll be richly rewarded with insane Martian-esque landscapes, beautiful national parks, empty stretches of road, and stunning sunsets.

I’ve highlighted all the best on and off the beaten path adventures so you can create a Southwest road trip of your dreams.

This itinerary for the American Southwest starts and ends in Las Vegas, Nevada, taking you through six national parks and a handful of state parks and national monuments along the way.

Get ready for the USA road trip of a lifetime — this Southwest road trip is truly one for the bucket list.

How Long Do You Need For This Southwest Itinerary?

This Southwest itinerary should take you from 10 days to two weeks to complete.

However, if you were pressed for time, you could certainly condense it to a one-week road trip or hit a few highlights in just 5 days, though you would definitely need to cut out quite a few things.

As written, this road trip will take you through six national parks, three state parks, a handful of national monuments, and through hundreds if not thousands of miles of untamed landscapes. We saw one national park in Arizona and all five national parks in Utah.

If you were trying to condense this Southwest road trip into just five days, I’d make it go from Las Vegas to Zion to Bryce to Page to Sedona and back to Las Vegas via the Hoover Dam.

Extending this Southwest Road Trip

If you have even more time? There’s so much more to road tripping in the Southwest that you could tack on, or even go slightly beyond the Southwest itself.

You can also easily add on a little Western road trip from Vegas to see some of California’s famous parks (Joshua Tree and Death Valley come to mind) or swing up north after Moab to visit the famous Yellowstone National Park.

New Mexico with its beautiful White Sands National Park and Carlsbad Caverns National Park, plus its beautiful cities of Sante Fe, Taos, and Albuquerque, are also a great idea.

Personally, we swung north and east after Moab and went up to Denver and Boulder for a few days before heading back to Las Vegas to drop off our rental car.

However, considering the drive from Moab is about 8 hours, you may want to break it up with some time in Grand Junction or somewhere else in Colorado if you choose to continue eastwards. We just took the long driving day and took turns driving, but if you have only one driver, you may want to break up the journey.

Tips for Saving Money on this Southwest Itinerary

To save money, be sure to buy an Annual Pass for the national parks– you can easily purchase an America the Beautiful park pass online at REI.

For $80, you have unlimited entrances to all US national parks (and monuments, forests, seashores, etc — over 2,000 protected lands) for one vehicle for a year!

Seeing as national parks cost anywhere from $10-30 to enter, with most near the $30 side of the spectrum, you’ll definitely save money by buying an annual pass.

Another way to save money is to travel by campervan or RV, eliminating or reducing your accommodation costs.

There is free camping in BLM (Bureau of Land Management) land across most of the Southwest. I have a guide to free camping in Utah, which will cover most of this Southwest itinerary.

If you prefer the amenities of a maintained campground, you still won’t pay too much, as paid campgrounds are typically around $30 per night.

Finally, another big way to save money if you’re not going with a campervan is to book your car rental in and out of the same place — when I was researching, I found Las Vegas to have the best options, followed by Phoenix, which isn’t on this itinerary but would be an easy swap.

Not sure where to get the best deal on your rental? I’ve rented cars dozens of times through various search engines and have settled on Discover Cars as the best car rental search engine – it searches over 500 trusted rental companies to find the cheapest price for your rental! Compare prices for car rentals in Las Vegas here.

Southwest Road Trip Itinerary

Stop One: Las Vegas, Nevada

My Southwest road trip itinerary has you starting in Las Vegas for a variety of reasons: the first being that renting a car in Vegas is loads cheaper than renting in most other places along this American Southwest itinerary.

You can also rent an RV in Las Vegas and use that as your transportation and accommodation all in one!

The second reason being that flights to Las Vegas are often incredibly affordable — my flight from Vegas to San Francisco was only $32 on Southwest, which even includes a bag!

While in Vegas, check out the Seven Magic Mountains about 20 minutes outside of town – it’s a fabulous art installation by Swiss artist Ugo Rondinone, which will be dismantled at the end of 2018.

The Seven Magic Mountains installation, a temporary art exhibit 20 minutes outside of Vegas

If money permits, there’s no better way to get excited about the landscape you’re about to see than to take a helicopter tour from Las Vegas.

There’s a variety of helicopter tours you can take from Vegas, each offering a completely unique landscape. If budget allows, I strongly recommend taking a flight over the Grand Canyon.

You’ll get to see the Hoover Dam, Lake Mead, and an extinct volcano on your way to the Grand Canyon — the 7th natural wonder of the world!

You can opt for an aerial-only flight (which is more affordable) or a canyon landing tour that stops 3,500 feet below the Canyon Rim, right next to the beautiful Colorado River. Both are a great choice — it depends on how badly you’d like to land at the bottom of the canyon!

Book your flight to the Grand Canyon — aerial-only or canyon landing!

But if you’re on a tight budget in Vegas and still want to ride in a helicopter, there are several more affordable rides you can do, including a nighttime flight over the Las Vegas strip!

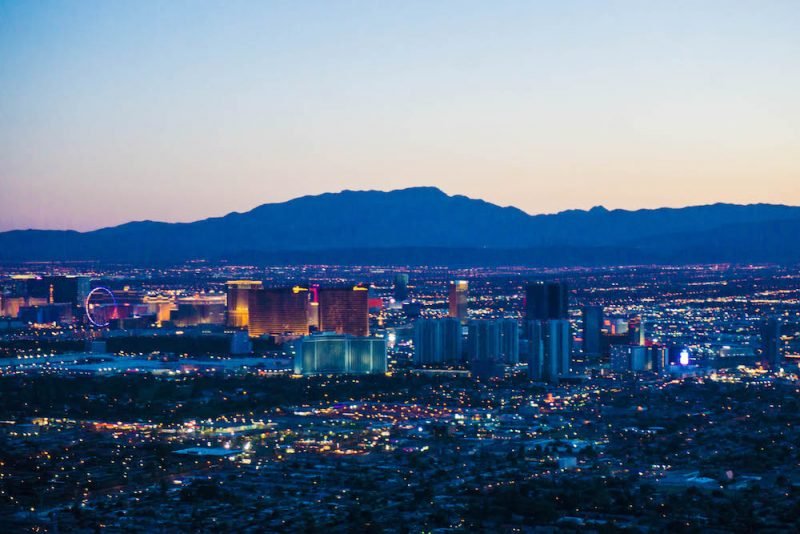
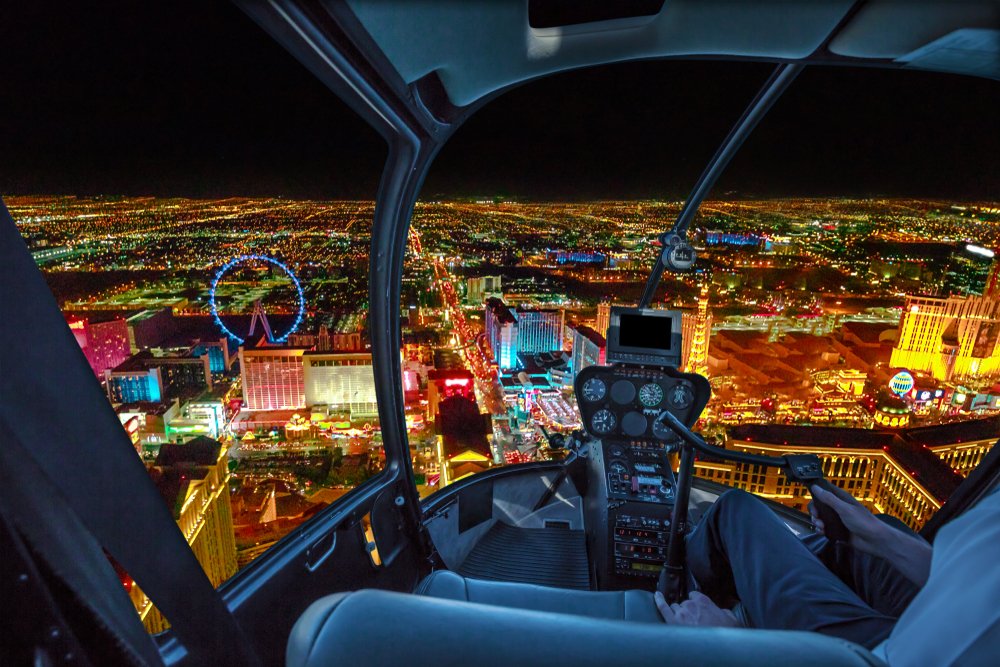
A short helicopter flight over the Las Vegas Strip just after sunset as the lights come down over the city is an incredible experience, and one I won’t soon forget. I was surprised at how breathtaking it was even after having my breath taken away seeing the Grand Canyon… but the Las Vegas Strip did not disappoint!

You can opt for a night flight with a romantic dinner or for the more budget-friendly helicopter over the Vegas Strip tour.

With prices for the latter just around $100 per person, it’s a great way to experience the high life (literally) without breaking the bank or needing to strike it rich at the slots before booking!

Book your helicopter tour over the Strip — budget or with luxury dinner option

Recommended photo spots: Anywhere and everywhere, really! A helicopter ride will give you stunning views; The Bellagio, the W, the Wynn, and pretty much anywhere on the Strip are also great places for photos.

Recommended accommodations: The W is the funkiest boutique hotel in all of Vegas — perfect for the ‘gram! The rooms are over the top and ridiculously outlandish, the staff is amazing with their personalized recommendations and greetings, and the calm of the pool there compared to at the SLS (which you can also visit if you stay at the W) was an awesome oasis in the middle of crazy Vegas. Can’t rate highly enough! Check prices, ratings, and availability at The W here.

Stop Two: Valley of Fire

About 45 minutes from Las Vegas is what I deem to be the most underrated spot on this entire Southwest road trip: the Valley of Fire State Park.

I literally have no idea why this isn’t a national park — it’s so massive and the vistas are so spectacular that it surely deserves the title.

That said, the fact that it’s only technically a state park will serve you well, as despite its proximity to Las Vegas there were very few people at the park.

While you could do this independently, I actually did a day trip to the Valley of Fire with Pink Jeep Tours and I can’t speak more highly of it — I definitely recommend it if your budget allows.

We absolutely maximized our time there and got to see all the best parts of the park with expert narration (and a wicked sense of humor!) along the way. It was pretty much a perfect day out.

Since we had so much driving along the way later on in the trip, it was nice to start off the trip at a slow pace and not have to handle the driving and planning ourselves for the Valley of Fire.

As it’s just 40 minutes outside of Vegas, it’s an easy and logical day trip if you’re wanting to spend a few nights luxuriating in Vegas before heading out on your Southwest road trip adventure of a lifetime.

I’d recommend the tour, as it’s what we did and loved it, but you can also DIY a day in the Valley of Fire if you have budget constraints.

Book your Pink Jeep Tour online here!

Recommended photo spots: Rainbow Vista trail, The Beehives, Elephant Rock, Balanced Rock, pretty much anywhere with an open road!

Recommended accommodations: Overnight somewhere in Vegas; we loved our stay at The W (find rates & availability here) but there are a ton of other budget-friendly options available in Vegas.

You can also camp inside the park, first come first serve, but get here early if you plan to do that as spots go fast!

Stop Three: Hoover Dam

After visiting the Valley of Fire, you’ll need to route back via Vegas on your way to the Hoover Dam. This is right on your way to Flagstaff and the Grand Canyon – no circuitous rerouting required – so you might as well see one of America’s biggest engineering marvels.

The Hoover Dam used to be the tallest dam in the world when it was first built, but it’s since been overtaken by a dam I’ve never heard of until researching this post, located in Tajikistan.

The most amazing fact (to me at least) about the Hoover Dam is that the concrete holding up is still not dry all the way through!

At its base, it’s a massive 660 feet thick — the equivalent of two back-to-back football fields!

Scientists say it’ll take 125 years for it to dry all the way through; at only 80 years since its construction, we’ve still got 30 to go.

The Hoover Dam from above on a helicopter tour – truly a sight to behold on a Southwest road trip

Recommended photo spots: The dam, obviously; the Pat Tillman memorial bridge

Recommended accommodations: No need to stay overnight – this is best done as a quick stop off on the way to Flagstaff and/or the Grand Canyon.

Stop 4: Flagstaff, Arizona (the Grand Canyon & Sedona)

Flagstaff is a perfect base for further road trips in the Southwest USA.

That said, Flagstaff on its own has plenty to write home about — don’t miss Sunset Crater Volcano National Monument, with its beautiful landscape and exciting lava trails.

But perhaps the best thing about Flagstaff is its proximity to some of Arizona’s greatest attractions.

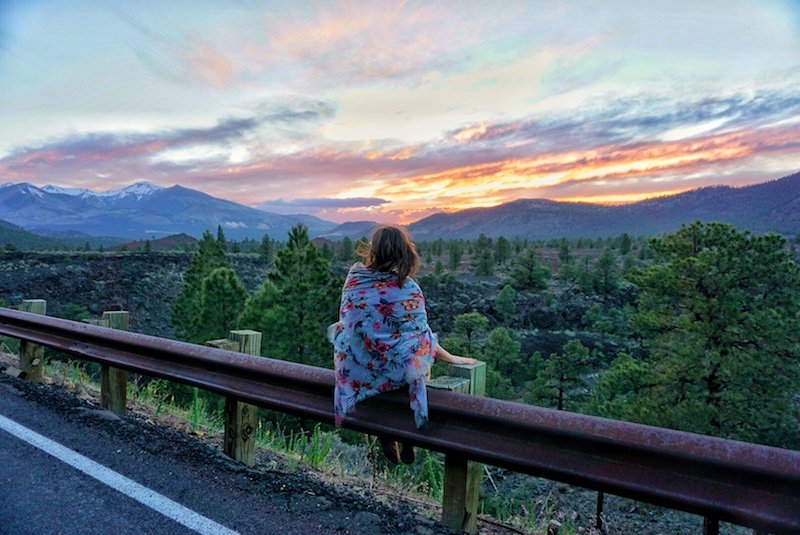
30 minutes through a winding national forest, you’ll find Sedona — one of Arizona’s most scenic places, and a must on any Southwest US road trip itinerary.

If you have time, it’s worth giving at least a full day for exploring Sedona, or even following my 2 day itinerary to exploring Sedona’s best sights.

For the purpose of this post, I’m suggesting Sedona as a day trip from Flagstaff, but you could easily spend more time in Sedona if you wish.

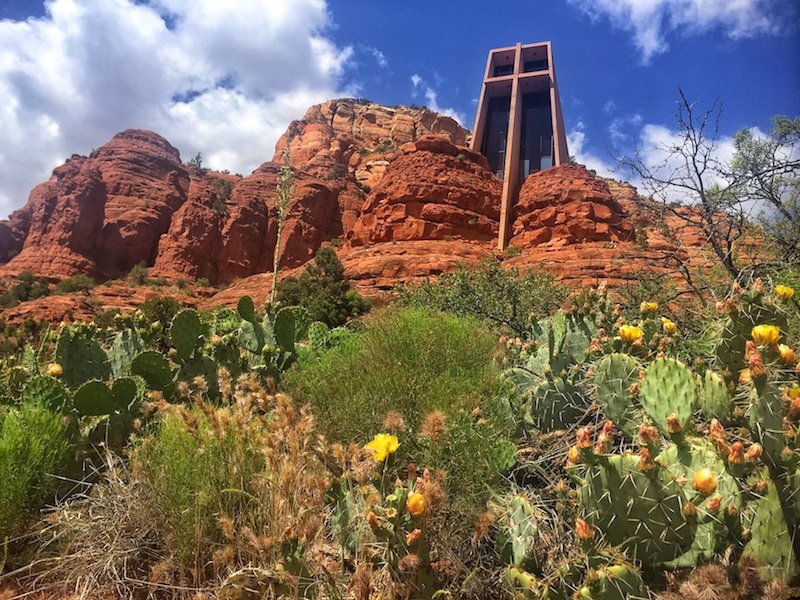
Check out the stunning red rocks arching into the sky, and be sure not to miss the opportunity to go for a hike or to visit the Church of the Holy Cross — a stunning chapel quite literally built into the side of a mountain.

I didn’t have time in Sedona to go on the original Pink Jeep Tour (the same company as I went with on my Valley of Fire tour) but if I did, I absolutely could have gone on this off-roading 2-hour scenic rim tour.

Book your 2-hour offroad tour of Sedona!

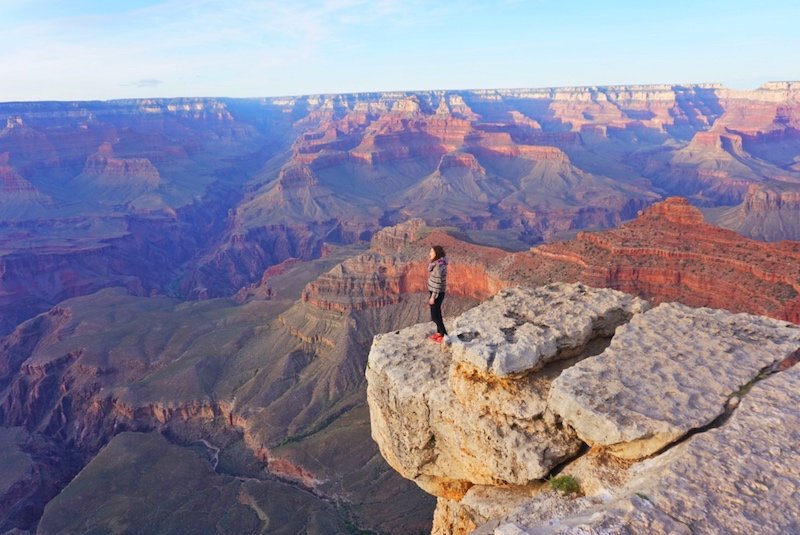
Sedona is great for a day trip, but the main attraction when visiting Flagstaff is the South Rim of the Grand Canyon, which is a mere 90 minutes away.

I picked the South Rim for this itinerary because it works better with the itinerary, but you could also add on the North Rim between Page and Bryce Canyon. (Here’s how to pick between the two).

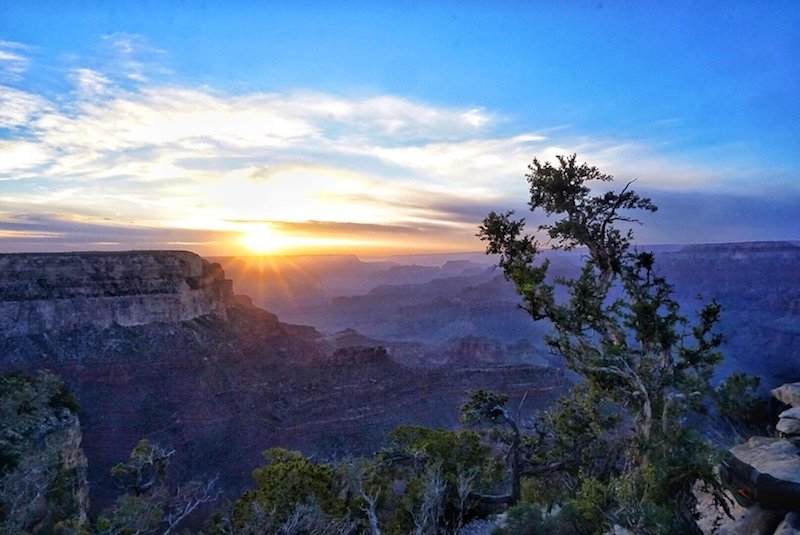
No amount of preparation can truly ready you for the grandeur of what it’s like to stand at the edge of this canyon in person.

I even flew over the Grand Canyon in a helicopter a few days prior to seeing it from the edge.

While the helicopter ride was an absolutely amazing experience, truly nothing beats standing at its edge and seeing its vastness from ground level. If you can see it both ways, do! But don’t underestimate the power of seeing it from ground level with your own eyes. It’s breathtaking.

The easiest way to see the Grand Canyon is to drive there from Flagstaff, about 90 minutes each way, which is what we did.

However, I didn’t realize at the time that there was a really cool historic scenic train that runs right from Flagstaff to the Grand Canyon! If you’re into train history and old, nostalgic train rides, this may be a really cool experience for you to have. You can book it online here.

Recommended Accommodation: When I was in Flagstaff, I stayed at the Hilton Doubletree in town. With free (warm!) cookies upon check-in, large rooms, and an in-house restaurant, it’s a comfortable and affordable crash pad between adventures and it’s much cheaper than staying in either the Grand Canyon or Sedona. Check prices, rates, & availability here.

Stop 5: Page, Arizona (Horseshoe Bend, Antelope Canyon, & Lake Powell)

Page, Arizona has some of the most spectacular sights in all of the American Southwest, all in a tiny little town.

For one, Horseshoe Bend, one of the most iconic photography spots in the entire Southwest US, is located a mere 3 miles down the main highway.

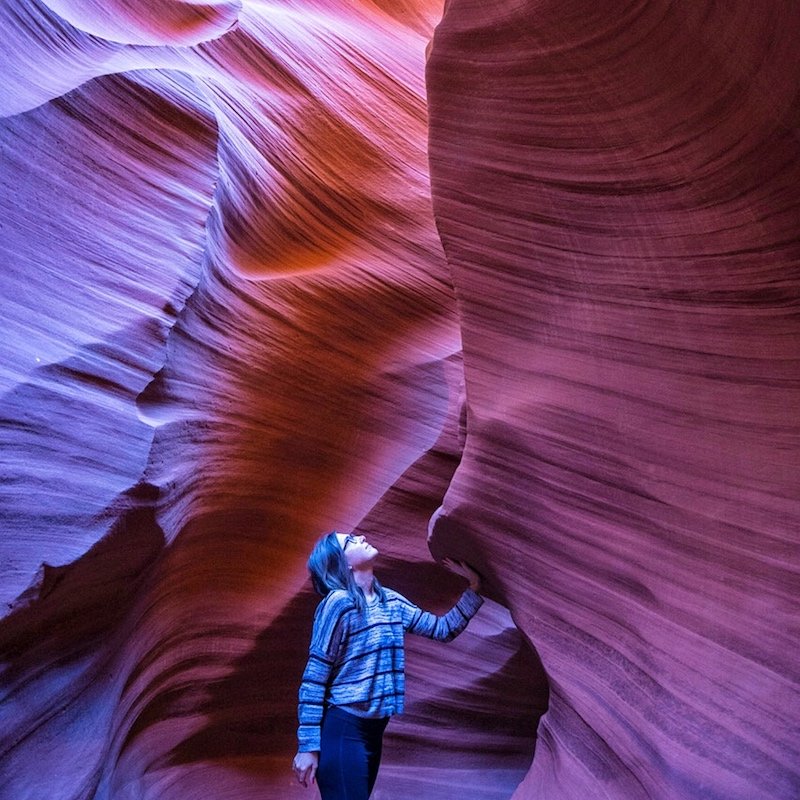
But the main draw to Page is the stunning Antelope Canyon. Broken into two parts, Upper and Lower, we opted for the Lower — having heard that it has more vibrant colors, as opposed to Upper which is famous for its sunbeams much-loved by photographers.

Upper is more popular (and thus more expensive and more crowded) than Lower, plus it requires advance reservations.

Chronic underplanners as we are, we opted for Lower, as we were able to book next-day tickets quite easily.

The information online is a bit out of date; there are now two tour companies operating tours to Lower Antelope Canyon.

Ken’s Tours charges $20 as far as I know, Dixie Ellis’ $25; plus the $8 tribal lands fee. We went with Dixie Ellis’ Lower Antelope Canyon Tours as the line was shorter and highly recommend the experience.

Be aware that this is an incredibly popular tour on everyone’s Southwest itinerary no matter what tour company you go with, and you will be waiting in line quite a bit – not to mention the waiting you’ll have to do in order to snap photos without people in them. However, it’s entirely worth the experience in my opinion!

Horseshoe Bend is a bit less crowded than Antelope Canyon, mainly because it’s more spacious. We actually went three times in the span of 24 hours seeking the perfect shot.

Sunrise is fantastic because so few people are there, although the sun rises on the opposite side of the bend so if you’re looking for sunbursts, you’re better off at sunset. Midday, you’ll see a wild array of colors that you can’t quite see during sunrise/sunset, so it’s worth a separate trip just for that as it’s not so far away from Page

At sunset
At sunrise

While sunset is the most crowded at Horseshoe Bend, it’s also the most magical. As a bonus, if you scrabble up the rocks a bit, you can quite easily get epic photos with no one else in the shot!

A clever way to escape the Horseshoe Bend hoards? Fly over it by helicopter (which seems to be a running theme of this post — sadly, I didn’t have the chance to do this, though. Next time!) You’ll also get to see Lake Powell — more on that in a second.

Finally, as if I haven’t written enough about Page to fill an entire blog post all on its own, you must check out Lake Powell.

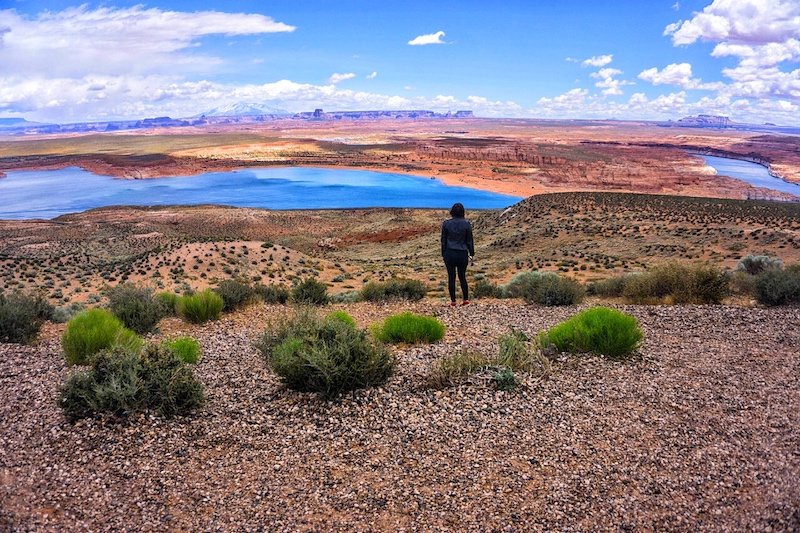
This lake is simply stunning, with glassy blue water amidst a desert landscape. You can rent a paddleboard and check out the lake at your own speed, or go to one of the many viewpoints to see it from above.

Recommended photo spots: Horseshoe Bend, Lower/Upper Antelope, Lake Powell, Wahweap Overlook

Recommended accommodations: We stayed at Hampton Inn & Suites in Page – Lake Powell and highly recommend it. The rooms are large with plenty of space to work and relax in, with all the comfortable amenities you’d expect like a fitness room, a heated indoor pool, a Jacuzzi (perfect for sore legs after hiking all day!).

Breakfast was also delicious and included in the price of the room. It also couldn’t be any closer to Horseshoe Bend, just three miles and a quick five-minute drive down the road.

If you’re planning to visit Horseshoe Bend multiple times for the perfect photo like we did, it’s an awesome place to base yourself because as soon as you leave the parking lot you’re already on the road to Horseshoe Bend! Check rates, prices, & availability here.

Stop Six: Kanab, Utah

On the way from Page to Utah, you can go two different ways. We actually did both as we did a huge circle from Page to Kanab and back all in one day when we couldn’t go to Antelope Canyon as planned, so I can report on each way!

The first way, via I-89, you’ll pass a view of Lake Powell at Wahweap Overlook before making your way to the Visitor Center of Grand Staircase-Escalante National Park.

Stop off at the visitor center in Big Water, Utah and maybe you’ll be lucky enough to meet a man who discovered a brand new species of dinosaur! He is really lovely and fun to talk to, so definitely stop by if you can.

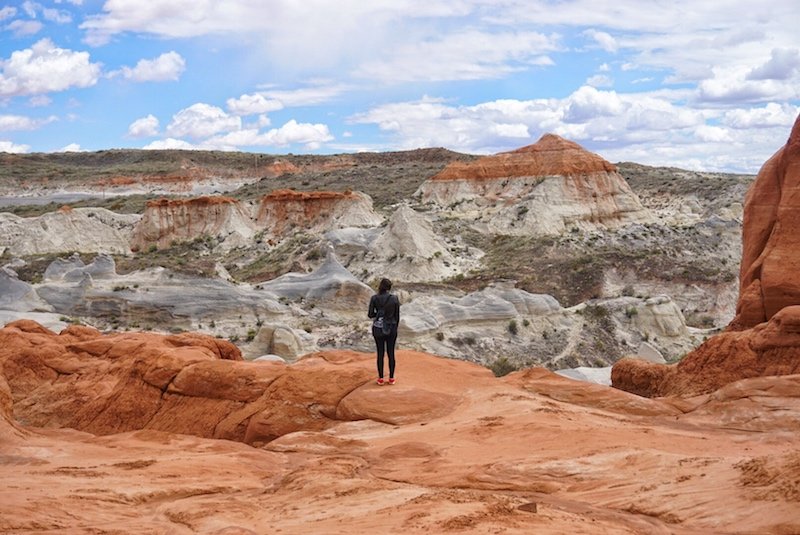
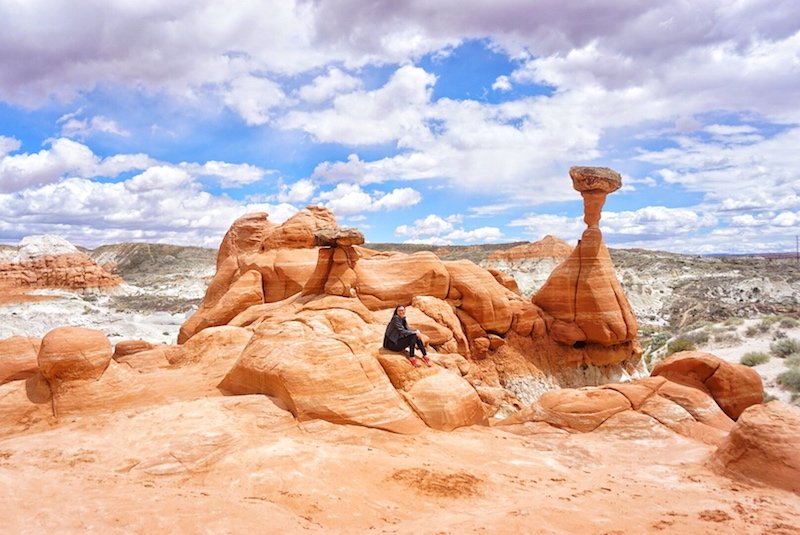
On the way to Kanab, you can stop off to do the Toadstools hike — a short one-hour roundtrip hike that ends in a truly Martian landscape. Quite off the beaten path of most people’s typical Southwest road trip itineraries, and well worth the stop!

“Toadstools” are formed when rain makes boulders fall from cliffs and land atop softer rocks, creating mushroom-looking rock structures. They look manmade but they’re entirely natural!

After passing Kanab, quickly grab lunch somewhere before making your way to the Coral Pink Sand Dunes State Park.

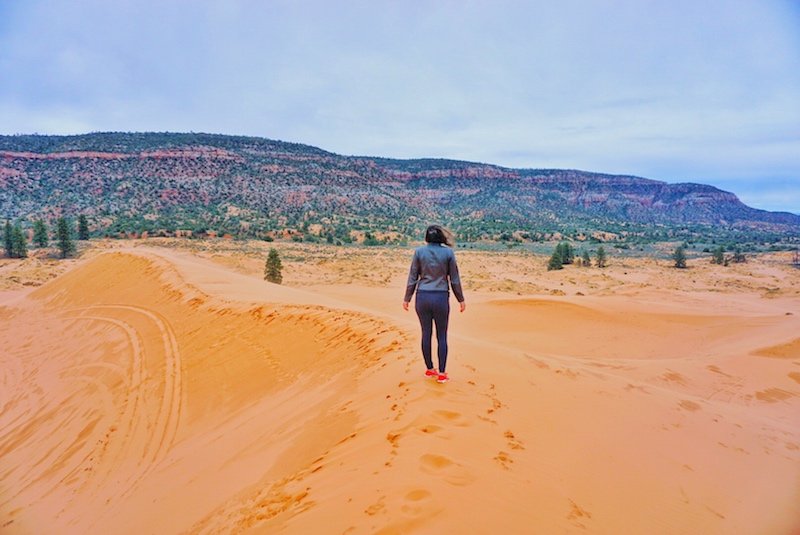
This little-visited park has sand dunes that look as if they’re straight out of the Sahara — all against the backdrop of some legendary Utah mountains.

This park is so close to Zion that I don’t know why it’s more popular, but you definitely should have it on your Southwest itinerary — all the better for you to snap some epic photos without the crowds!

With the clouds, it looked more orange than pink, but on a sunny day, I’m sure the sands are more true to their name.

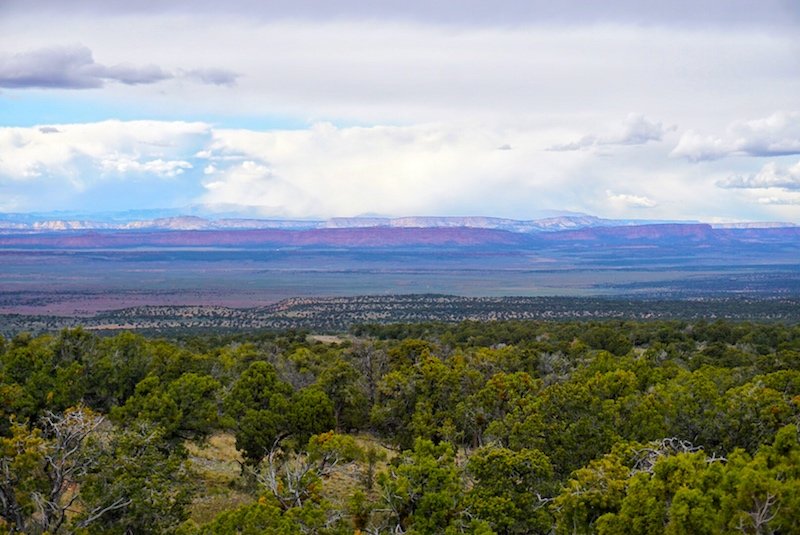
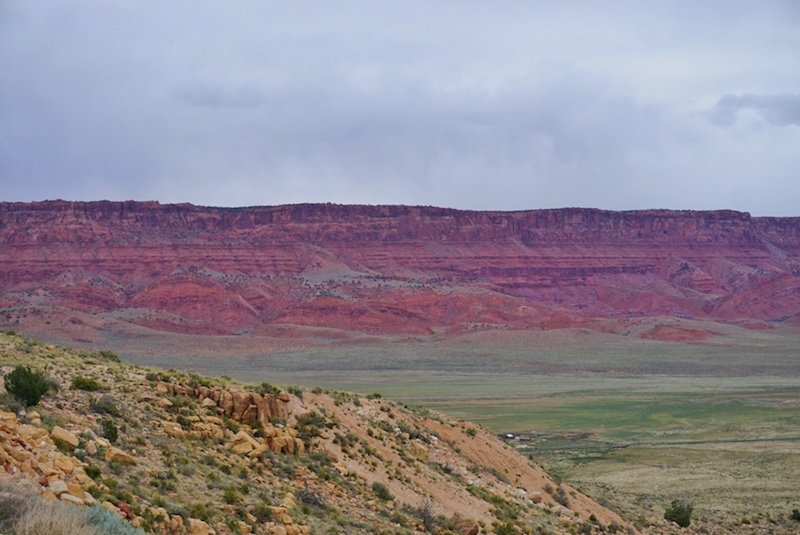
If you go the other way from Page via the longer but more scenic route (I-89A), you can go over a beautiful mountain pass filled with lush evergreen trees and stop at the Vermillion Cliffs viewpoint and LeFevre Overlook.

There, you can see four plateaus that make up the “Staircase” of Grand Staircase-Escalante in a variety of hues — including chocolate brown, vermillion, and purple (two of the plateaus was unfortunately covered by some clouds when we were there!)

While you’re in Kanab, you’re so close to Zion, but I urge you to skip it — for now — in lieu of visiting it on your way back to Las Vegas!

Finally, Kanab is also a good stopping point if you are testing your luck for permits for the Wave in Arizona, as the Grand Staircase-Escalante National Monument Visitor Center visitor center here is where you would need to get your permit.

Your chances are low, but it’s worth a try!

Recommended photo spots: Lefevre Point, Vermillion Cliffs overlook, Toadstools, Coral Pink Sand Dunes State Park

Recommended accommodations: We didn’t stay in Kanab during this trip because we went back to Page in a giant circle (which we don’t recommend — it was only our poor planning that had us doing so!), but Canyons Boutique Hotel would have been a great choice if we did.

With a 8.9 rating on Booking, spacious rooms, nice décor, and a central location, it’s the best choice in town. Check prices, reviews, and availability here.

Stop Seven: Bryce Canyon National Park, Utah

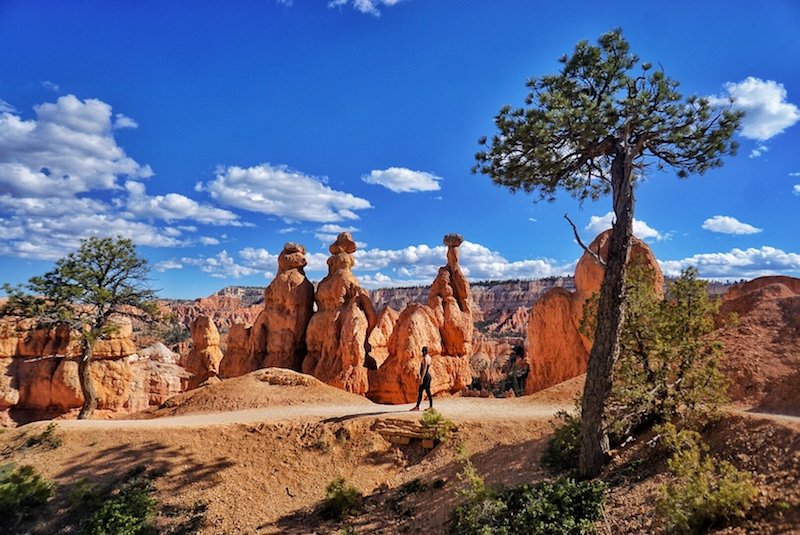
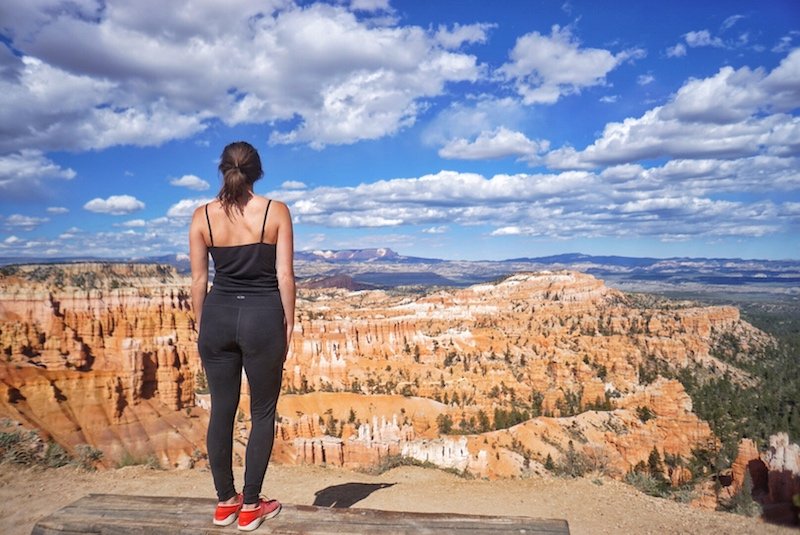
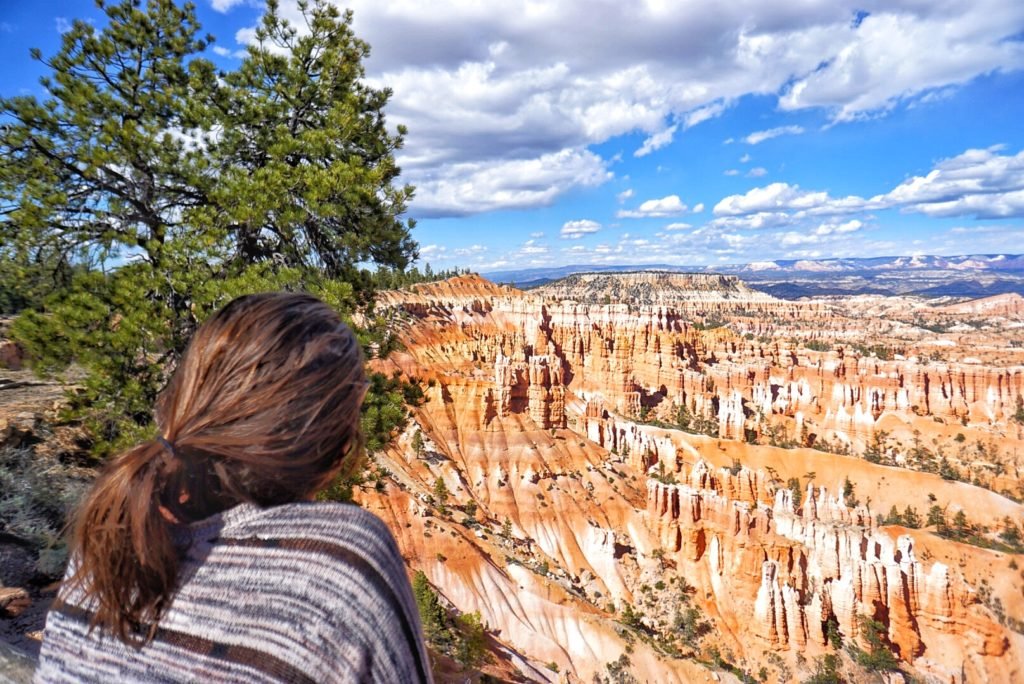
Bryce Canyon is truly one of the most memorable stops on any Southwest US road trip itinerary. For one, it has its distinctive hoodoos which you’ll be hard-pressed to find anywhere else in the world in such number and scale.

Hoodoos (also called “fairy chimneys”) form when the water from melting snow seeps into the cracks of the rock and freezes overnight. Bit by bit, the cracks expand until large chunks of rock fall away, leaving pillars in their place.

Hoodoos form all over the world, but there are thousands of them at Bryce Canyon, partly because the elevation is so high (around 8,000 feet!) that the melt-freeze cycle happens at least 200 nights per year

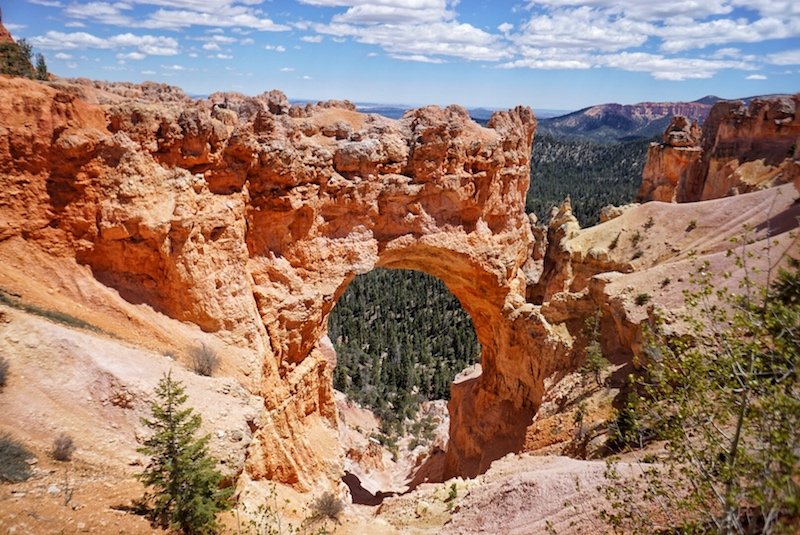
We just drove to a few different viewpoints in the park — Natural Bridge, Sunset Point and Inspiration Point — and then did the Navajo Loop Trail, which filled about a half-day in the park.

If you’re looking for a creative yet structured way to spend some time in Bryce Canyon National Park, you can do an ATV ride, a horseback ride through Red Canyon, or join a hiking tour.

Recommended photo spots: Queen’s Garden Trail, Navajo Loop, Inspiration Point, Natural Bridge, and Sunset/Sunrise Points.

Recommended accommodations: Bryce Canyon doesn’t have the most exciting options for accommodations.

We didn’t stay overnight here, as we just visited for a day, but if we had, something simple but comfortable like a Best Western is probably your best bet. Check prices, ratings, and availability. 

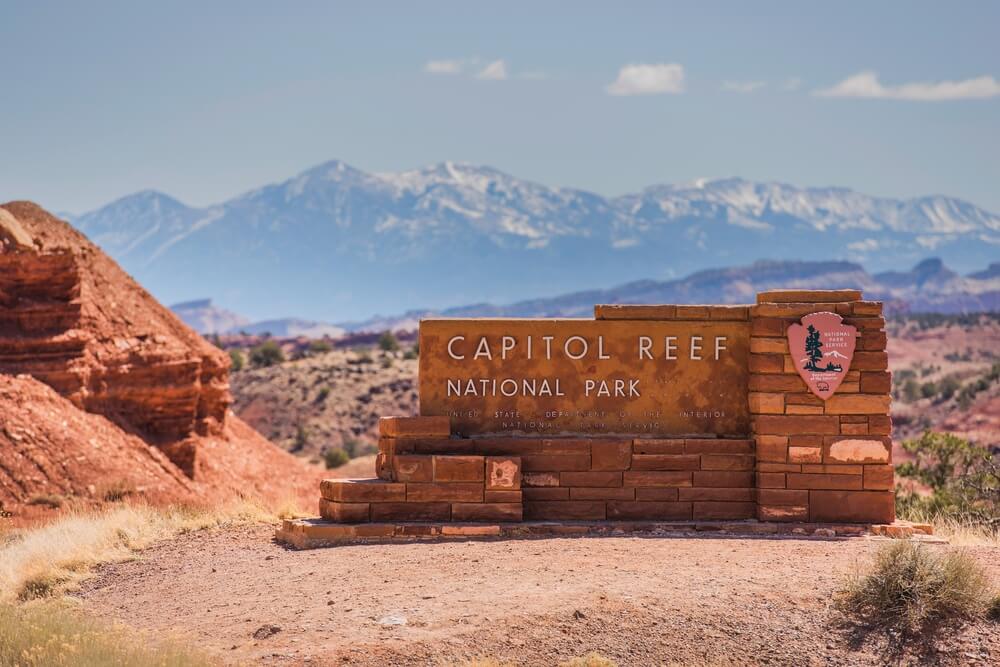
Stop Eight: Capitol Reef National Park

On your way to Moab from Bryce, you can take a scenic route passing through Capitol Reef via Highway 12, which I highly recommend.

The least visited of Utah’s staggering five national parks, it’s not quite as epic as Zion or Bryce but it has its own charms. It’s worth a quick stop as you pass through, at the very least.

Recommended photo spots: The cute barns and old schoolhouse on the main road, the Scenic Drive, Panorama Point, Cassidy Arch, Temple of the Moon and Sun, Chimney Rock.

Recommended accommodations: The best — and in my mind, only! — place to stay in Capitol Reef is in the Capitol Reef Resort. They have covered wagons and tipis for a themed stay, as well as standard rooms and cottages for a more traditional hotel experience. Book a stay at the Capitol Reef Resort here.

Extra Stop: On your way between Capitol Reef and Moab, you’ll have the opportunity to stop off at Goblin Valley State Park!

Frankly, we were exhausted and gave it a pass this trip, but it’s definitely on the list for my next Southwest itinerary!

Stop Nine: Moab, Utah (Canyonlands, Dead Horse Point, and Arches)

Ah, Arches National Park. With its famous Delicate Arch which is featured on the Utah license plate, this is one of the most famous national parks in the US, and a must on any Southwest road trip itinerary.

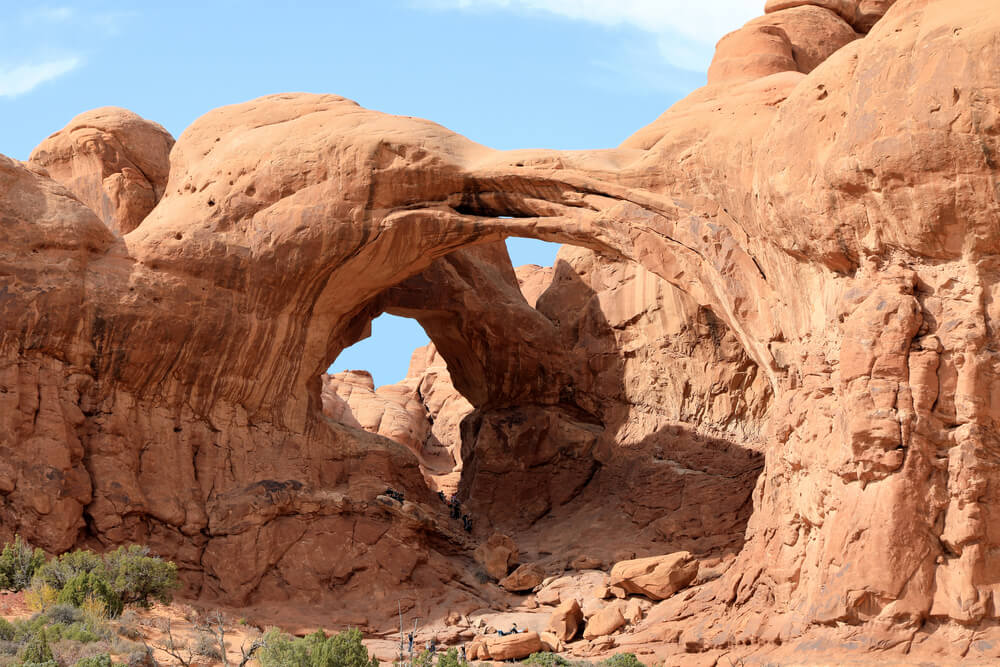
In addition to the Delicate Arch hike, you should also be sure to see the North & South Window arches, the Double Arch, and the Turret Arch.

If you want to dedicate two days to Arches, follow this detailed Arches itinerary which will explain exactly what to do with your time there!

The Devil’s Garden trail was closed when we visited, but you should definitely check it out if possible — it’s supposed to be a stunner.

Also near Moab is the Canyonlands National Park, which I actually preferred to Arches (blasphemy, I know – but I hate crowds). It was super immense, with really colorful rocks and huge canyons, and far fewer people.

There are two entrances to Canyonlands, both of which are quite far from each other.

One is Islands in the Sky, and this is the one that’s closer to Moab (and also Dead Horse Point State Park, another must-see on your Southwest road trip).

The other section, Needles, is rather far away, and suitable if you’re staying longer in Moab.

We didn’t get a chance to visit Needles on this trip, but we weren’t disappointed with the taste of Canyonlands we got at Islands in the Sky — not at all.

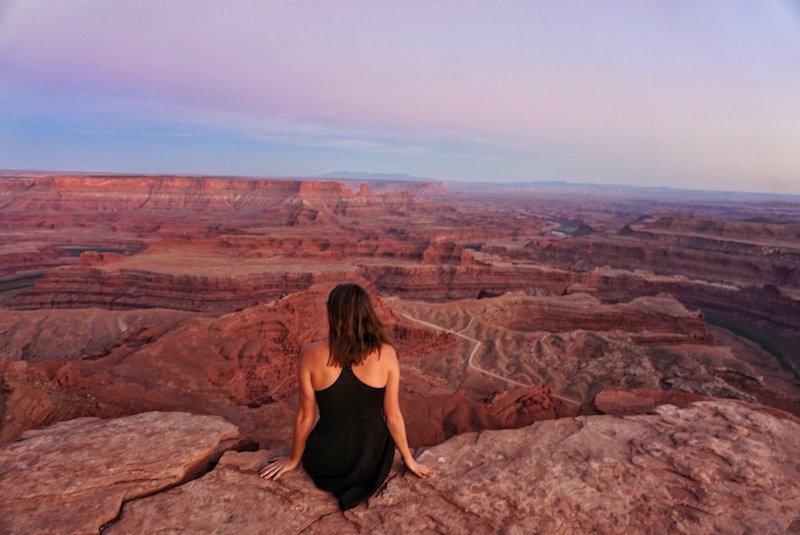
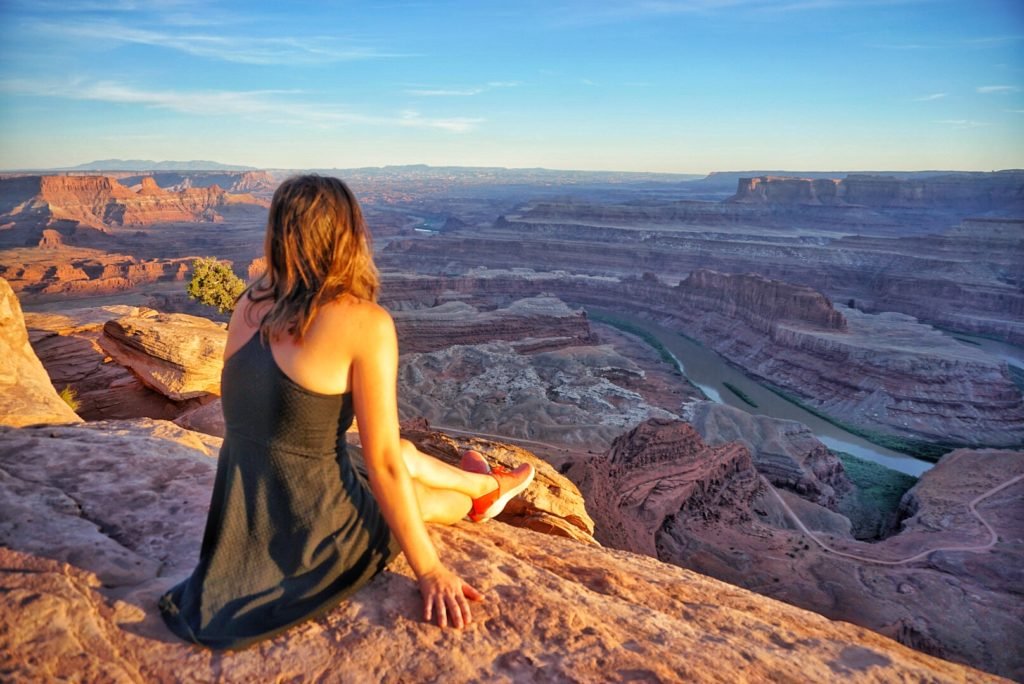
Other spots you can’t miss in the Moab area include Dead Horse Point State Park, a place much more beautiful than the name suggests!

It’s right on the way from Canyonlands – Island in the Sky, so it’s a good idea to go there for sunset after visiting Canyonlands in the late afternoon.

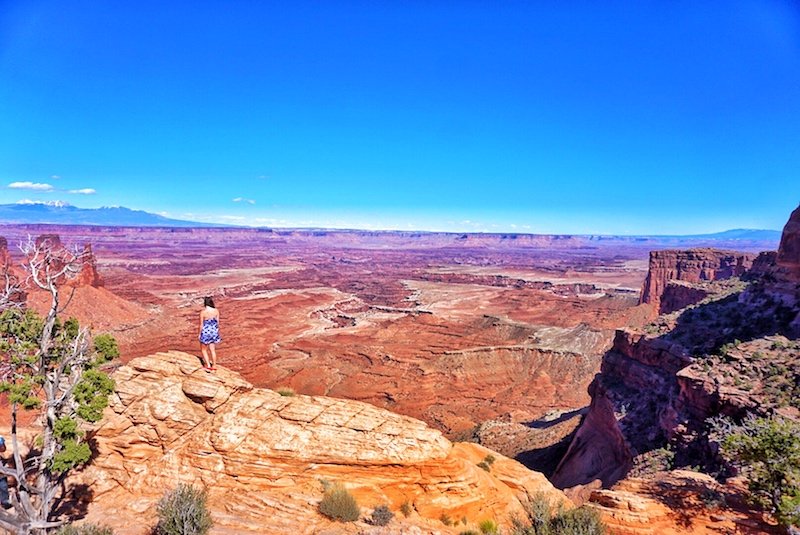
Here, the Colorado River winds and rips its way through a valley, like a combination of the Grand Canyon and Horseshoe Bend all in one.

It’s absolutely stunning at sunset, although sunrise is supposed to be even better. I never woke up early enough to see for myself.

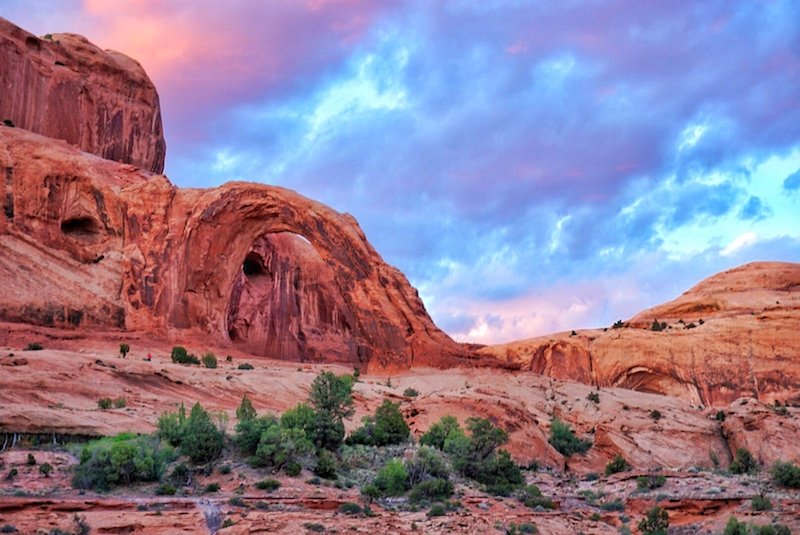
Finally, the Corona Arch is a great sunset spot that’s a bit of a hidden gem compared to the crowds you’ll find around Dead Horse Point and Arches.

Make sure you arrive there with about an hour to spare, as the hike is one hour on a not super well-marked path, and make sure you leave before it gets too dark!

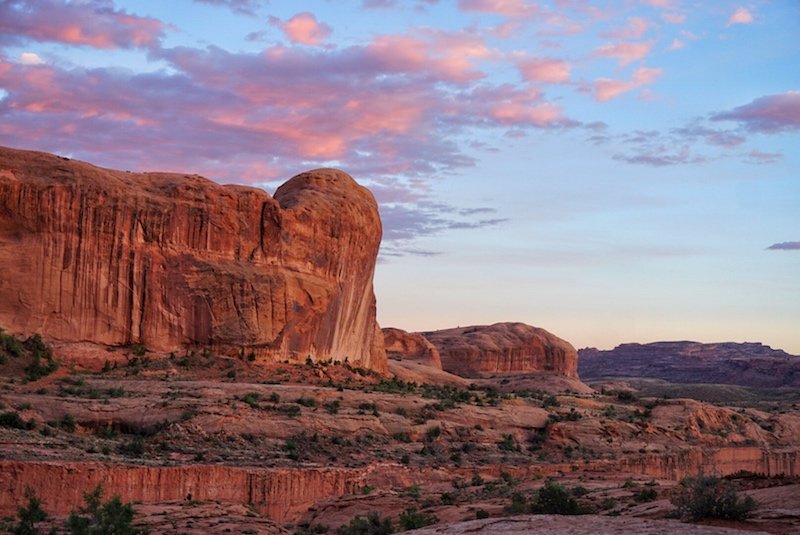
We missed the sunset by at least a half-hour and ended up walking back in the dark because we didn’t give ourselves enough time for this hike (#travelbloggerfail) but we at least made it in time for some super pretty cloud action!

Bring a headlamp if you do this hike, trust me — it’s not fun navigating back in the dark with just your cell-phone as a light source.

There are some other great things you can do in Moab if you have the time — as if having two national parks and a state park in your backyard isn’t enough choice!

For an adventure rush, go rafting on either class I and II rapids or III and IV rapids on the Colorado River or hit the ominously-named Hell’s Revenge ATV trail which crisscrosses a rugged terrain in ATVs until you hit the Colorado River.

Book a rafting tour (class I & II), a tougher white water rafting tour (class III & IV) or an ATV tour!

Not into heart-stopping adventure? There are also more leisurely ways to relax in Moab, such as taking a 3-hour jet boat cruise to Dead Horse Point State Park along a peaceful stretch of the Colorado River, checking out side canyons and marveling at the canyon walls which reach 2,200 feet above your head.

Alternately, if you need some R&R after several long days of driving and adventuring, there are tons of great spas in Moab catering to soothing tired and aching muscles! Sorrel River Ranch and Spa Moab are two great choices.

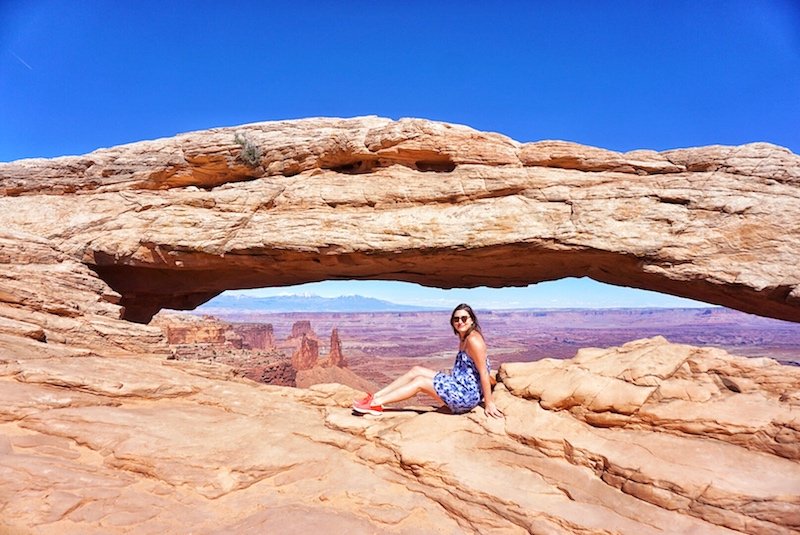
Recommended photo spots: Mesa Arch (sunrise is supposed to be fantastic as the sun will rise directly through the arch!) in Canyonlands NP as well as the scenic drive pulling over at the various viewpoints, Delicate Arch and the other arches (North & South Window, Double, Turret) in Arches NP.

Outside of these national parks, be sure to also visit Dead Horse Point State Park (please don’t miss this!!), and Corona Arch. Be sure to give yourself enough time in Moab, it’s stunning! At least 3 days is a good start.

Recommended accommodations: Moab is a bit expensive compared to other places on the Southwest itinerary. If you are looking for a decent but budget-friendly place, book well in advance as the best-priced places book up quickly.

For people on a budget, I’d suggest the Aarchway Inn is just a tiny bit outside of Moab and has gorgeous settings with that classic Utah red rock all around, a lovely swimming pool, and well-appointed rooms. Check out rates, reviews, and availability here.

If you want a world-class stay, try glamping! Under Canvas Moab knocks it out of the park in terms of comfort, style, and entertainment, and is frequently cited as one of the best glamping lodges in the entire United States.

Book your stay at Under Canvas Moab here!

Stop Ten: Zion National Park

I recommended skipping Zion initially and saving it for the end because it’s probably one of the most epic national parks in all of the United States, and you’ll want a cool place to stop on the long drive between Moab and Las Vegas.

It’s a great way to end your Southwest road trip with something memorable, and it’s a great stopover on the way between Moab and Vegas.

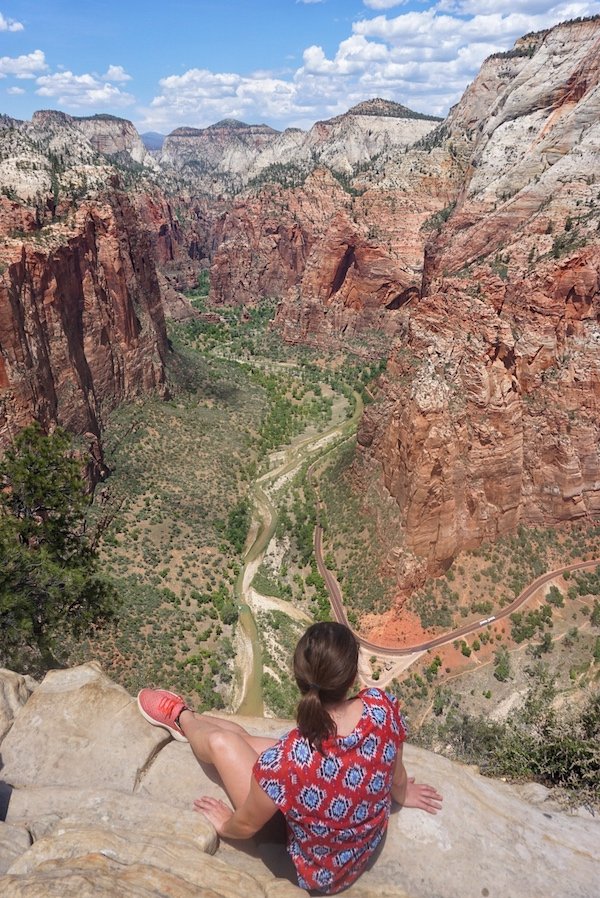
If you’re at all into hiking, the Angels Landing hike is truly a can’t-miss experience.

Climbing up 1,500 feet over a grueling two hour hike (the last half mile of which is up rocks, which you have to use chain handrails to ascend) is not easy — but no epic view really is.

I feel compelled to leave an important safety note about this photo.

Angles are deceiving – there was a larger chunk of the rock edge beneath me which is obfuscated a bit by the high camera angle of this shot. I scooted around while maintaining at least 3 points of contact at all times to be safe. I never stood close to the edge, only scooted on hands and knees.

Still, I posed for this photo 3 years ago — after seeing so many articles in the last few years about selfie deaths, I wouldn’t pose the same way now, but I’d choose to leave a few feet more room between myself and the first edge.

Please be careful when posing on Angels Landing and never do anything you don’t feel comfortable with, especially in pursuit of a good picture! You will likely be exhausted from the hike in the heat, so you won’t have the best balance or judgment. Be cautious and respect your body’s limits. Always be on the safe side.

If you have more time, be sure to check out The Narrows, a hike that can take up to a full day wading through water through a beautiful slot canyon. You can also opt to do a shorter hike and turn around before the endpoint.

We didn’t have time for this, as we were flying out of Vegas later that evening, but it’s on my bucket list for my return to Zion. There are some other shorter hikes in Zion that are also fantastic if you’re too afraid of heights to take on Angels Landing.

Recommended photo spots: the top of Angel’s Landing OR Observation Point (higher and harder hike), Emerald Pools, Watchman, the Narrows

Recommended accommodations: We stayed about 45 minutes outside of the East Ranger Station at Zion Backcountry Yurt, with insane views of the Milky Way surrounding us. Book way in advance on Airbnb (you can find it here).  

It’s also common to stay by the West Ranger Station, close to Springdale, but expect to pay a pretty penny for the privilege. The best combination of proximity, value, and high-quality amenities is at Driftwood Lodge about a mile outside the center of Springdale. Check prices, reviews, and availability here.

After Zion, head back to Vegas, return your rental, and marvel at all your photos from the trip of a lifetime!

IMPORTANT NOTE: Don’t forget to travel with travel insurance, especially on a trip involving lots of driving and hiking! You want to be covered in case of an accident or medical emergency. I use and highly recommend World Nomads for their easy purchasing, extensive coverage, and low prices. Get your free quote here.

What to Pack for a Southwest Road Trip

Not sure how to handle packing for a long road trip? I have a full guide to how to pack for a road trip, but I’ll briefly go over the essentials here!

Essentials

Car documents and license: This should be rather obvious, but you’ll need your license, car documentation, and insurance papers (both car insurance and travel insurance) ready for any road trip you take.

Travel insurance: If your road trip includes going to another state or country where you are not insured locally, you may need travel insurance in order to cover you in case of an incident. I use and recommend World Nomads.

Roadside emergency kit: If traveling with your own car, you should already have one of these kits, including (but not limited to) a reflective triangle, rain poncho and emergency blanket, safety vest and whistle, etc. If renting a car, ask if they provide one and if not, bring your own roadside emergency kit that also includes a first aid kit.

Spare tire & tire changing kit: Having a spare tire isn’t much good if you don’t have a jack or kit to change out the tire. Make sure your tire changing kit is complete (or buy your tire changing kit before you head out), and make sure you know how to use it!

Flashlight or headlamp: In case you get somewhere poorly lit after dark, have an emergency in the night, or just go on a sunset hike and need to light your way back, a flashlight or headlamp is key (and make sure to bring some extra batteries, too!) I suggest a rechargeable headlamp like this — it’s a great travel must-have that I find myself using more often than I’d expect.

Car charger and phone mount: Navigating, picking tunes, taking photos: your phone battery goes fast on a road trip, so don’t forget a car charger. I like this dual purpose phone mount and charger! Don’t forget any and all USB cords you might need to for your charging needs!

A road trip playlist: I’d argue this is as essential as anything else on this list! Make sure you download it before you go so that you’re not dependent on data, as a few stretches of this Southwest road trip do go through service deserts.

Hygiene and Safety

Alcohol wipes: Be sure to bring some Lysol or alcohol wipes. These are hard to find currently in the current context, so I’d suggest buying alcohol prep pads, as these seem to be the safest source of 70% isopropyl alcohol wipes. Be a decent person and only buy one box. Do not hoard anything — these alcohol wipes are needed by many people with chronic health conditions such as diabetics. One box will more than suit your needs.

NOTE: Use alcohol wipes or prep pads ONLY on high-touch surfaces as needed and not excessively — soap and water should be your primary line of cleaning and defense. Only use these when not otherwise possible, such as when at a gas station or using a touchpad at an ATM or grocery store.

Hand sanitizer: Sources of hand sanitizer and soap cannot always be guaranteed, and there may be times where it is difficult or less safe to go to a public restroom. It’s better to try to source hand sanitizer in a store from a trusted brand, but in the absence of that being possible, this brand available online looks to be safe, FDA-approved, and with a high-enough level of ethyl alcohol to be safe.

Spare liquid soap: Liquid or bar soap should be chosen over hand sanitizer whenever you have access to water. It’s safer and easier to get ahold of proper soap. Some gas stations, park bathrooms, etc. may not be well-attended, so bring some spare liquid soap with a locking top or a bar of soap in a Ziploc baggie just in case. Be sure to wash your hands for 30-40 seconds, including every part.

Face mask: When in places where distancing is not possible, you will need to wear a face mask to keep yourself and fellow humans safe. I suggest KN94s as opposed to cloth masks when possible, as these offer you (and your fellow humans) the most protection. They’re the Korean equivalent of the N95, and they work quite well. Unfortunately, the N95 is still in short supply and should be reserved for health care workers, unless you’re lucky enough to already have your own personal supply of N95s from a previous need.

Extra water: Be sure to have a few gallons of extra water in your car for emergencies — especially since this road trip through the Southwest covers a lot of harsh desert climates. Whether it’s replacing the water to cool down your engine or emergency drinking water if you’re stranded, it’s a cheap and simple thing to add to your road trip packing list with no downside.

Extras

Snacks: I fully believe the adage “It doesn’t matter how old you get, buying snacks for a road trip should always look like an unsupervised 9-year-old was given $100.” Pro tip: mix salty and sweet — too much of one or the other is a no go. I like having things like KIND bars, trail mix, chips when I need something salty, RXBar protein bars, etc. for my trip

Toilet paper or Kleenex: Good for poorly stocked roadside bathrooms or other emergency needs.

Basic medicines: Any prescription medicine you need, plus motion sickness tablets, ibuprofen/paracetamol, and Pepto-Bismol tablets for upset stomachs.

Rehydration packets: I always pack some rehydration packets with me on my travels as I’m prone to getting dehydrated and getting headaches, and they’re a lifesaver. I recommend these ones.

Travel towel: Great for a quick dip, toweling off after a rain storm, having a spare towel in case of a poorly stocked hotel or Airbnb, a microfiber travel towel is a road trip must pack.

Bug spray: So necessary in the summer months! I love this lemon eucalyptus-based mosquito repellent. If I get any bites, I use this After Bite itch eraser, which instantly soothes mosquito bites.

Sunscreen: Did you know you should always wear sunscreen while driving? The windshield doesn’t protect you against all UV rays — while they protect against UVB rays (which cause sunburn), most do not block UVA rays, which cause aging and skin cancer. This is the sunscreen I use on my face daily, and I use a cheaper basic sunscreen for my skin. No matter your skin tone or race, you need sunscreen!

Lip balm with SPF: I love this key lime-flavored Sun Bum chapstick!

Sunglasses: Bring your favorite sunglasses plus a cheap spare pair as backup — driving without sunglasses = absolute misery.

Travel pillow: If you have someone to divvy up driving duty with, this is a comfortable must-have for kicking back and enjoying your time off! I like this cozy memory-foam travel pillow, because it comes with an eye mask if you want to take a quick nap!

Battery pack: The Anker external battery pack is a travel must. While you can charge your phone while driving, you may want to charge other devices — a camera, someone else’s phone, portable speakers, an e-reader — as well.

Insulated travel mug: A Contigo travel mug is leakproof and pretty much indestructible — and they’re inexpensive to boot. This one is vacuum-insulated and fits standard cupholders easily, great for early morning coffee to power up your road trip. It’ll also be a good thing to bring along on any sunrise hike to keep you warm!

Refillable water bottle: Get a refillable water bottle and either refill it from your extra-large water containers mentioned above or fill up in sinks and fountains along the way. This one is insulated, stainless steel, and convenient to drink from

Day pack: This Osprey day pack is a perfect size. Plus, it’s designed by a company that specializes in ergonomic solutions for backpackers and multi-day trekkers, so you know it’ll be comfortable.

Camera: For years, I’ve relied on my Sony A6000 to take nearly-professional quality images, and the photos you see in this post were almost exclusively taken on this camera! I truly believe this camera is the perfect middle-ground above a smartphone yet below the 5-figure kits that most photographers use. Don’t forget extra memory cards – I only use 64GB Sandisk memory cards.

Toiletries

Wet wipes: These biodegradable wet wipes are easy on the environment and your skin, with aloe vera and Vitamin E.

Vaseline: For fixing flyaway hairs to helping chapped or burned lips to soothing hands or chub-rubbed thighs (ladies, if you know, you know)… I always make sure I travel with Vaseline!

Haircare: Whatever you need to travel with. I just bring a brush and hair ties and shampoo, but your hair needs may be different than mine!

Other basic toiletries: Body wash, shampoo, conditioner, razor, shaving cream, deodorant, toothbrush and toothpaste, face wash, any sort of face cleansing or anti-acne products, moisturizer, body lotion, makeup, etc.

Clothing

Hiking Clothes: Depending on the time of year you do this Southwest road trip, you’ll want to bring either shorts or leggings, long-sleeve or short-sleeve hiking clothes.

Jeans and Ts: Good for non-hiking days and just basic walking-around-town days.

Comfortable hiking shoes: Absolutely necessary for tougher hikes and strongly recommended for even shorter hikes like Angel’s Landing. While tennis shoes may work, hiking shoes are safer.

Sandals: Great for being able to kick them on and off in the car and suitable for shorter walks to observation points, overlooks, etc. I use Birkenstocks.

Rain jacket: It does rain even in the desert! I love the Marmot PreCip rain jacket (there’s a women’s version and a men’s version) and I actually used mine twice on my Southwest road trip.

Dress up clothes: In case you want to have a few nice meals out, you’ll want to bring some nicer clothes as well.

The Big Nevada Bucket List: 25 Places to Visit in Nevada

Nevada is a state with so much to offer, but with California flanking it on one side and Arizona on the other, it seems to get ignored a bit.

People seem to not be aware of all that Nevada has to offer, and how many incredible places to visit in Nevada there are.

I’ve created this Nevada bucket list for everyone to see just how diverse and beautiful Nevada is, to inspire you to think beyond the Strip and see the gorgeous landscapes that Nevada has to offer.

From the east coast of Lake Tahoe to the edge of Death Valley to the Valley of Fire State Park and beyond, here are all the incredible places to visit in Nevada, perfect for a Nevada road trip, planning a Nevada itinerary, or adding to your Nevada bucket list if you’re lucky enough to live in the state!

The Big Nevada Bucket List

Attend the Burning Man Festival

Helicopter over the Vegas Strip by night

Take your photo with the famous Las Vegas sign

Drive through the Valley of Fire State Park

Hike through the Valley of Fire’s colorful Fire Wave

Hike the Rainbow Vista trail in the Valley of Fire

Photograph the iconic Elephant Rock

Cruise around gorgeous Lake Mead

Marvel at the Hoover Dam’s engineering

Gawk at Wheeler Peak in Great Basin National Park

See the stunning sand dunes of Amargosa Valley

Look for petroglyphs and caves on the Grimes Point Archaelogical Trail

See the cute marina houses of Sparks

Relax in the scenic Spring Mountain Ranch State Park

Ski the stunning Sierra Nevadas

Hike in the beautiful Ruby Mountains through Lamoille Canyon

Visit Lake Tahoe’s stunning eastern shores

See the peaceful Carson River

Relax in the quiet, isolated Trego Hot Springs

Visit the ghost mining town of Rhyolite

Marvel at the vistas of Cathedral Gorge

Relax on the scenic Pyramid Lake

Discover the 7 Magic Mountains exhibit in the desert

See the stunning Red Rock Canyon at sunrise

Take a tour to see the Fly Geyser

Pin this Nevada Bucket List Full of the Best Places to Visit in Nevada!

Planning to visit Nevada? This Nevada bucket list has all the best places to visit in Nevada in one list! 

Nevada nature | Nevada national parks | Nevada itinerary | Nevada travel tips | Nevada places to visit | Nevada map | Nevada trip | Nevada vacation | Nevada inspiration | off the beaten path Nevada | Nevada nature

Inside The W, the Funkiest Boutique Hotel in Vegas

There’s perhaps no city in the United States begging to be photographed as much as Las Vegas.

From its neon lights to its quirky sights, Vegas is Instagram gold. The whole time I was there, I saw so many insane photo opportunities that it was hard to even go anywhere without my camera glued to my face.

And there is no Vegas hotel that’s more true for than The W, a brand new boutique hotel within the larger SLS Hotel & Casino. Equal parts quirky and glamorous, The W combines tongue-in-cheek décor with luxury amenities for a picture perfect, 5 star Vegas experience.

A “hotel within a hotel,” The W is actually attached to the same building as the famous SLS Casino & Resort – but with a secret entrance away from the crowd. So secret, in fact, that most of our Uber drivers didn’t even know about it!

The best thing about this concept is that you have access to all the SLS amenities: their casino, their pool, their restaurants (I’ve heard ravings about Bazaar Meat, a steakhouse inside the SLS, but lacked the funds to see for myself) — while still having a more bespoke boutique hotel experience.

Whereas in the larger casino hotels you can easily feel like a cattle in a herd, The W pays impeccable attention to detail to make your experience feel personal: an important distinction in a city as capitalism-on-steroids as Vegas.

Every guest at The W has their own Insider – a concierge who tailors unique suggestions to your personal tastes. Taking advice from Romeo, our amazing Insider, was one of the best things we did in all of Vegas!

Per his recommendation, we ended up at the most unique and funky bar in Vegas, dancing the night away to 80s music videos projected on the wall, in the company of an off-brand Edward Scissorhands and a bunch of locals. It was an experience that was much more my style than one of the $16-for-a-Budweiser nightclubs littering the Strip.

Though with the gorgeous bar and lounge areas in The W proper, you’d be forgiven for never leaving the comforts of your hotel. Experienced bartenders will mix you up any cocktail you fancy or you can choose something from their specialty cocktail menu. Meanwhile, the design just begs to be photographed.

I mean, where else do you get a gold coin upon check in, good only for getting your fortune read?

The design of the rooms is delightfully quirky, with crossdresser-bedecked pillows, a wraparound chaise couch, and stunning Stratosphere views.

… Yes, I said crossdresser pillows!

The wallpaper has a funky Marie Antoinette meets Andy Warhol vibe… livened up by the peep-through shower which you can close with a simple curtain if you’re not feeling like giving the room a show.

As a guest of The W, you have access to their private pool club Wet, calmer by far than the pool at the SLS, which you can also access by showing your room card. As for what’s better, it really depends on what kind of pool experience you want.

I much preferred the quiet atmosphere and modern decor of Wet at The W, but if you’re into meeting other people and drinking in a pool all day, the SLS is your spot.

If you’re looking for something different than the faceless rooms of the big casino-hotel hybrids littering the Strip, I don’t think you can do any better than The W. Boutique customer service, quirky decor, and all the amenities of a big casino without the impersonal feel — I’d go back in a heartbeat.

Check out today’s best deals on The W

Note: I was a complimentary guest of The W in order to write this review. As always, all opinions are entirely my own.

The Valley of Fire and Grand Canyon by Helicopter in Vegas

Whatever you have at the top of your bucket list, give it a nudge to make room for one of the best experiences I’ve ever had: seeing the Grand Canyon by helicopter with 5 Star Helicopter Tours.

Words aren’t sufficient to describe the feeling of seeing the most beautiful and iconic landmark in all of the United States from a helicopter. But seeing as I’m a professional travel writer… I’ve got to try. And luckily I snapped a few photos along the way to help a sister out.

Fly over the Grand Canyon in a helicopter as a day trip from Vegas

It’s a humbling feeling, seeing with your own eyes the endless strata of rock that date back nearly 2 billion years — nearly half the lifetime of our earth.

It simultaneously makes you feel so small and unimportant in the timeline of our planet, yet so lucky that you happen to live in an age where you can harness the power of flight to see it from a helicopter.

Flying over the Colorado River, I couldn’t help but think: all that was carved from that tiny little stream? The magnitude of the stacks of rock of the canyon next to the relative puniness of the Colorado River is a sight to behold. It’s awe-inspiring to say to least to see how the twin forces of water and wind collaborated over the years — some 5 or more million of them, it seems — to carve out this insane view.

The hoover dam was part of helicopter in Vegas tour

En route to the Grand Canyon on your helicopter tour, you’ll see the impact that another force has had on America’s landscape: human determination. Over the span of just a few hundred years – a millisecond compared to the Grand Canyon’s timeline — we’ve quite literally created something from nothing.

An oasis in the middle of the desert, the creation of the Hoover Dam and Lake Mead – the tallest dam in the U.S. and the largest manmade lake in the U.S. respectively – was crucial to expansion in this inhospitable corner of the country.

It’s beautiful to see how anthropological forces combine with the geological, trying to tame our earth to eke out an existence. Oddly, it made me rather emotional, feeling — for a change — faith in the drive of the human spirit and our ability to collaborate in pursuit of a common goal.

I know, I know — only I would get this philosophical on a freaking helicopter tour over the Grand Canyon.

A snap from our Grand Canyon helicopter tour from Vegas
Trying to capture the beauty of manmade Lake Mead

Yet as jaw-droppingly beautiful as the Grand Canyon was, I wasn’t prepared for what would actually be the show stealer: flying over the Valley of Fire by the light of sunset.

I had visited the Valley of Fire by day previously and was blown away by its landscape, but nothing could have prepared me for how amazing it would look approaching by helicopter with the sun setting the red rocks ablaze.


Luckily for me, all my philosophizing about the grandness of our planet, our tiny place in the grand scheme of it, etc. was interrupted by a call for happy hour.

Oh, I didn’t mention that this was a sunset and champagne helicopter tour?

I stole away the bottle for some photo opportunities because I’m a professional. Much to the surprise of the couple who did the tour with us, I returned it just as full as I left it — it was all for the ‘gram, baby.

(Also, pro tip – don’t wear a dress on a helicopter tour if you have this little thing I’ve heard people talk about called shame. Oops)

The more the sun set, the more it cast insane light on the amazing viewpoint we had landed at — drawing out all the colors of the Valley of Fire’s Rainbow Vista. It was, dare I say, even more beautiful than the Grand Canyon.

As we wistfully got back onto the helicopter to say goodbye to the Valley of Fire, all four of us let out an audible whoa — then a big belly laugh at our nearly choreographed response — as we shot up, up, up and saw the colorful beauty of the Valley of Fire laid bare before us.

As our kickass female pilot flew our helicopter back to Vegas, I felt sadness well up in me that one of the most amazing experiences of my life was nearly over.

Luckily, I was quickly distracted by the shiny lights of the Strip as we passed overhead.

I’ll admit, I came to Vegas not expecting much. As someone who prefers Netflix and onesies to club hits, and a miserly gambler who feels like losing $6 is the end of the world, I thought I’d be sorely out of place.

But Las Vegas – this madman’s hallucination in the middle of the desert – is so close to some of the most beautiful places in this entire country that you’d be hasty to write it off as just an adult Disneyworld.

Get off – or at least above – the Strip, and you’ll see just what I’m talking about.

I’ve partnered with 5 Star Helicopter Tours to offer a 10% discount to my readers on any helicopter tour they offer – just mention that you were referred by Eternal Arrival to get the discount. Prices range from $149 per person for a Las Vegas Strip helicopter tour for those visiting Vegas on a budget to $499 for this tour, the Grand Canyon and Valley of Fire sunset tour which lasts about 4 hours.

Note: Many thanks to 5 Star Helicopter Tours for the complimentary helicopter tour. All opinions are entirely my own.

See the Grand Canyon, the Valley of Fire, AND The Las Vegas Strip by helicopter - with sunset champagne! TIck this one off the bucket list with an exclusive discount code for readers inside.