The Only Southwest Road Trip Itinerary You Need
On & off the beaten path stops to make on a Southwest road trip.


On & off the beaten path stops to make on a Southwest road trip.
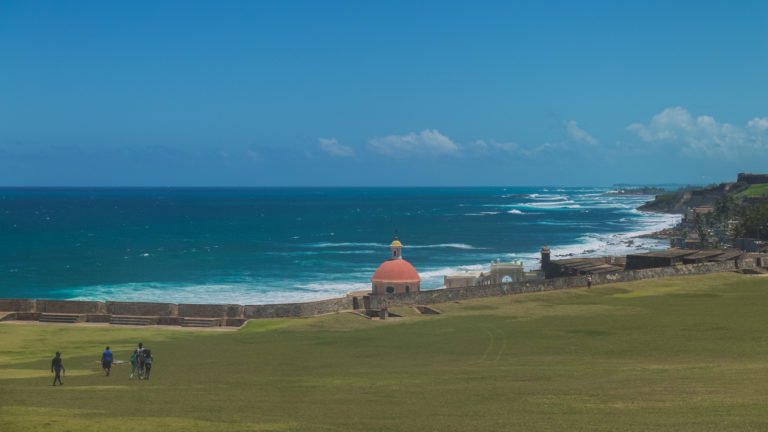
Thanks to its odd status somewhere between territory, colony, and state, Old San Juan is the most historic and architecturally interesting place Americans can get to without a passport.
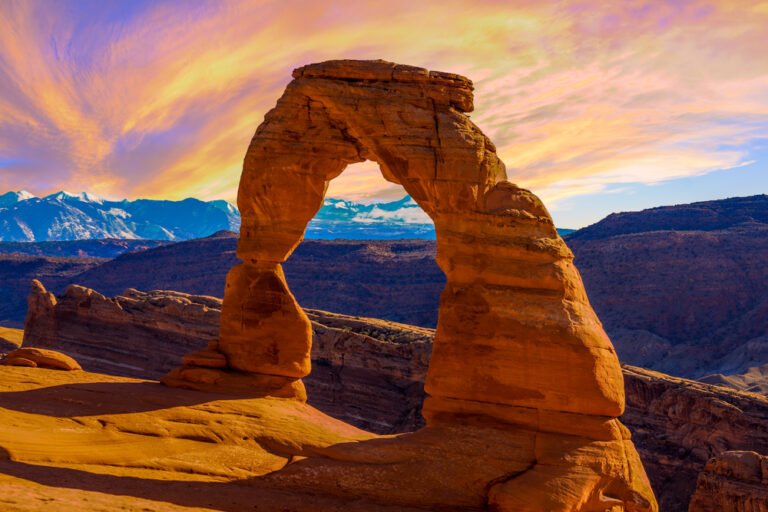
The perfect desert adventure is waiting for you in Moab, Utah, at Arches National Park! This outdoor playground is home to the highest density of natural sandstone arches in the world: we’re talking over 2,000 documented to date! Full of breathtaking red rock features and scenic hiking trails, Arches National Park is sure to impress…
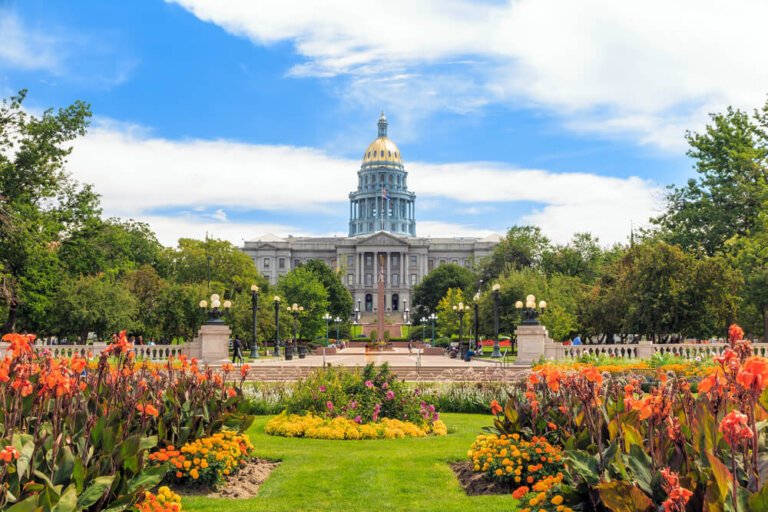
Denver, Colorado, is often seen as the perfect home base for adventuring in the Rocky Mountains, but the city itself is filled with great history, tasty food, and tons of fun things to do. Whether you’re planning on spending a few days in Denver before exploring the Rockies, or you’re just stopping by for a…
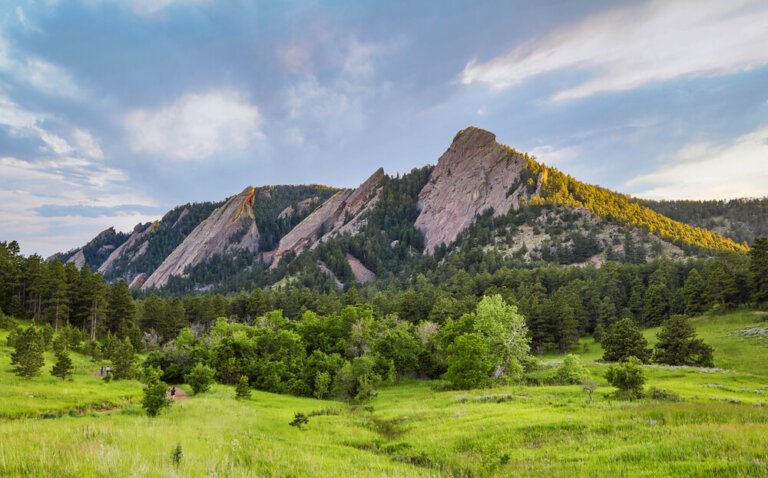
Located right outside of Denver, Boulder, Colorado is one gorgeous destination that you’re not going to want to miss! From epic hikes to some of the best breweries in the state, Boulder is filled with tons of fun things to do. It’s a lively city, in part thanks to the University of Colorado in Boulder,…
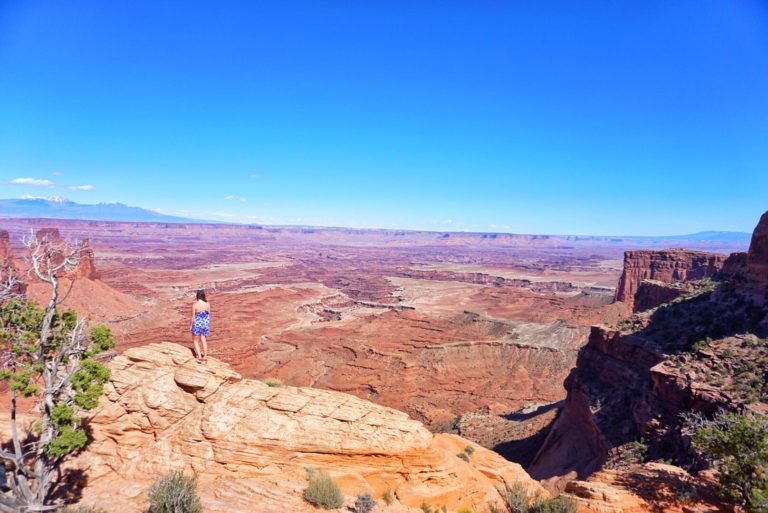
I’ve spent a lot of time in Utah over the years, road tripping through its national parks and exploring as much of the Southwest as I could. Of all the places in Utah I’ve visited — which include five national parks and at least twice as many state parks — truly nothing beats the beauty…