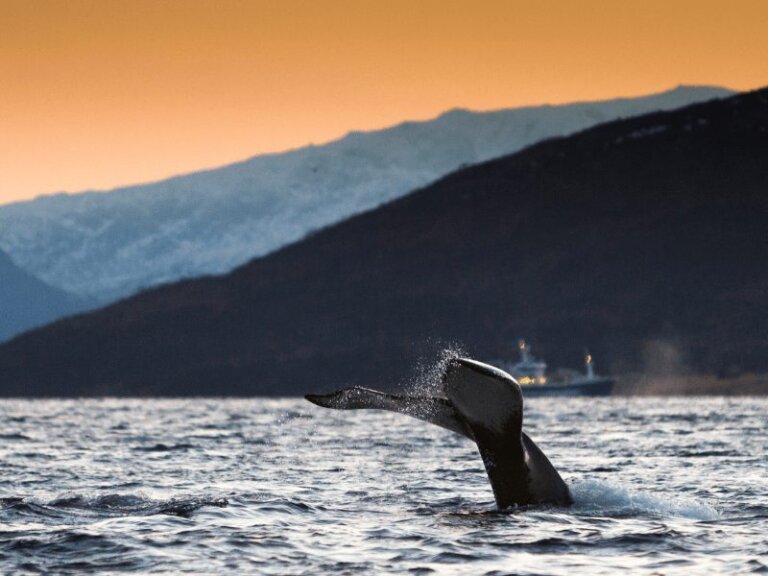
The 4 Best Tromsø Whale Watching Tours, Ranked (& Key Things to Know!)
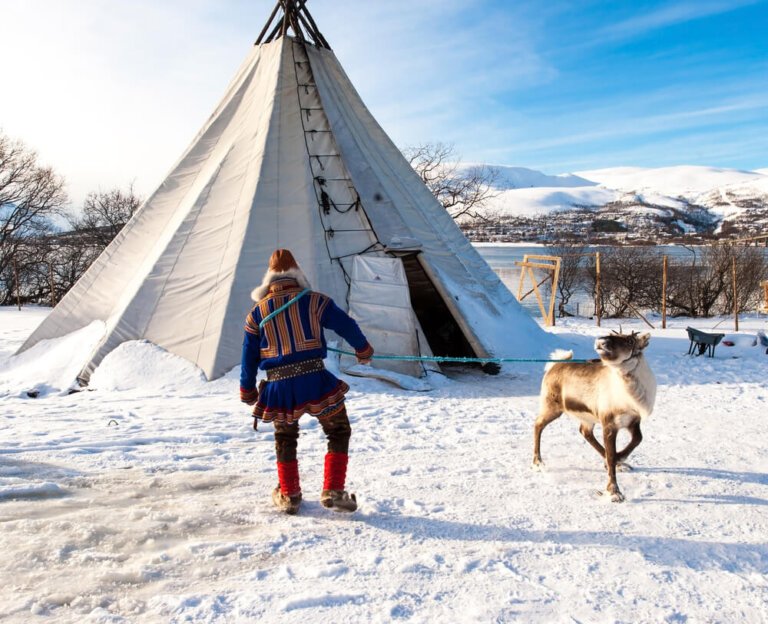
In Tromso, by day, you can visit the incredible Ice Domes, dog sled through frozen landscapes with fjords in the background, or meet Sámi reindeer herders. When darkness falls, you have a chance to see the flashing aurora in brilliant hues of lime and possibly even fuchsia swirling overhead at night. I’m ready to re-book…